Learning with Digital Green Screen
I love teaching ‘Macbeth’. Like all of Shakespeare’s plays, it’s full of imagery and beautiful language that students can sink their teeth into. As I teach the play nearly every year, I'm always looking out for new and engaging ways to explore the text. While I love discussing, explaining and teaching key knowledge, I believe there is always scope for students to engage with ‘Macbeth’ creatively and meaningfully.
I first came across the digital green screen technique last year when Apple integrated the ‘Green/Bluescreen’ feature into iMovie. At the time, it ignited an explosion of tweets showcasing various ways it can be used with students - from wormholes to fun animations. Scrolling through Twitter, I appreciated the excitement and creativity on show - however, it brought me back to a question I tend to ask a lot: why? Two principles I stand by are:
Good pedagogy should always precede the use of technology.
Getting students to think should always precede getting students to do.
With this in mind, I was reluctant to introduce green screen at first. I always want my students to be excited about English and think deeply about layers of meaning but I was afraid that tinkering with green screen would just be a fun exercise. That’s when I saw a tweet by my good friend Lou Cimetta (@Blueprintlearn) who showed how green screen can be used to open a window to reveal deeper understanding. This got me thinking…
How could my students engage with deep thinking and subsequently present their understanding in a creative and visual way?
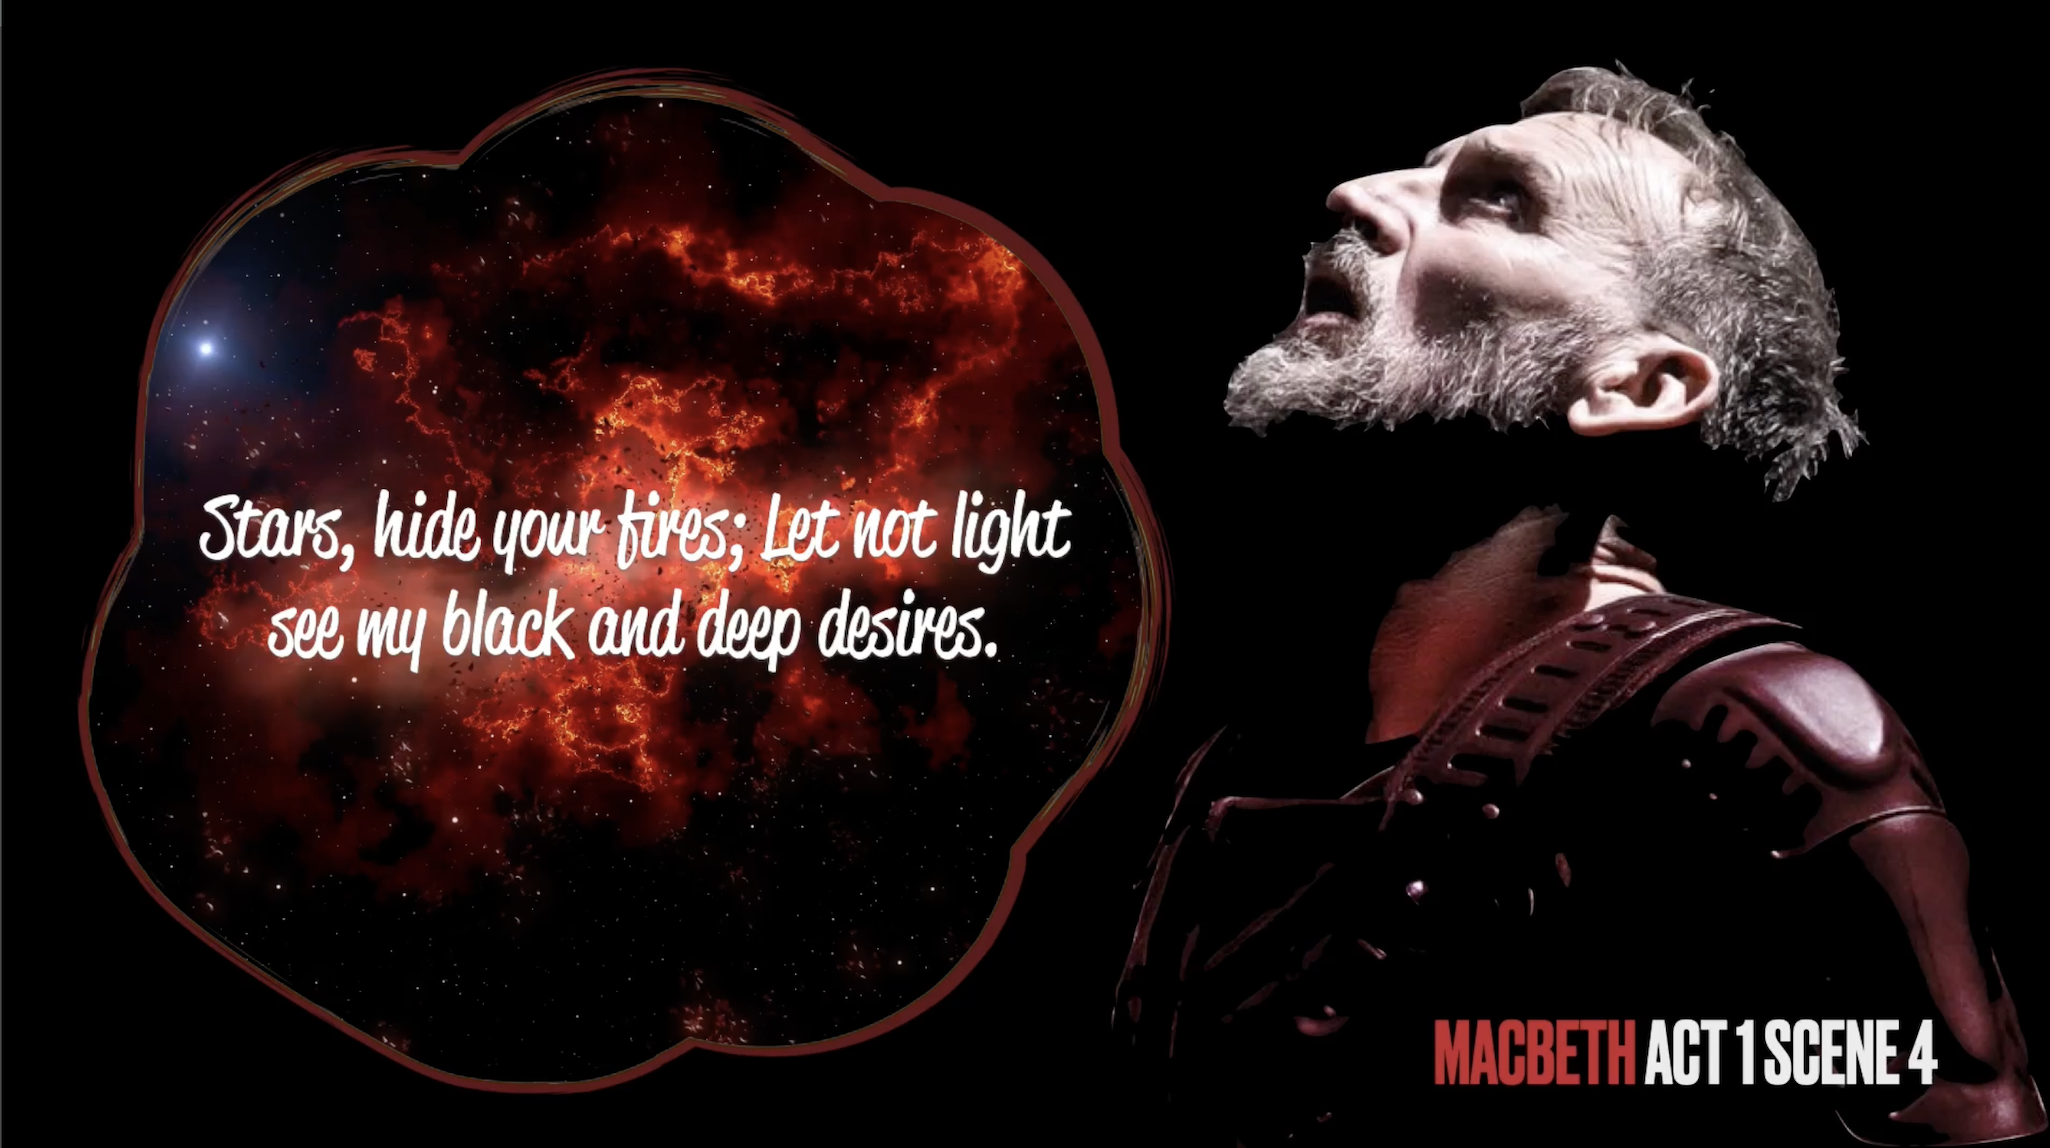
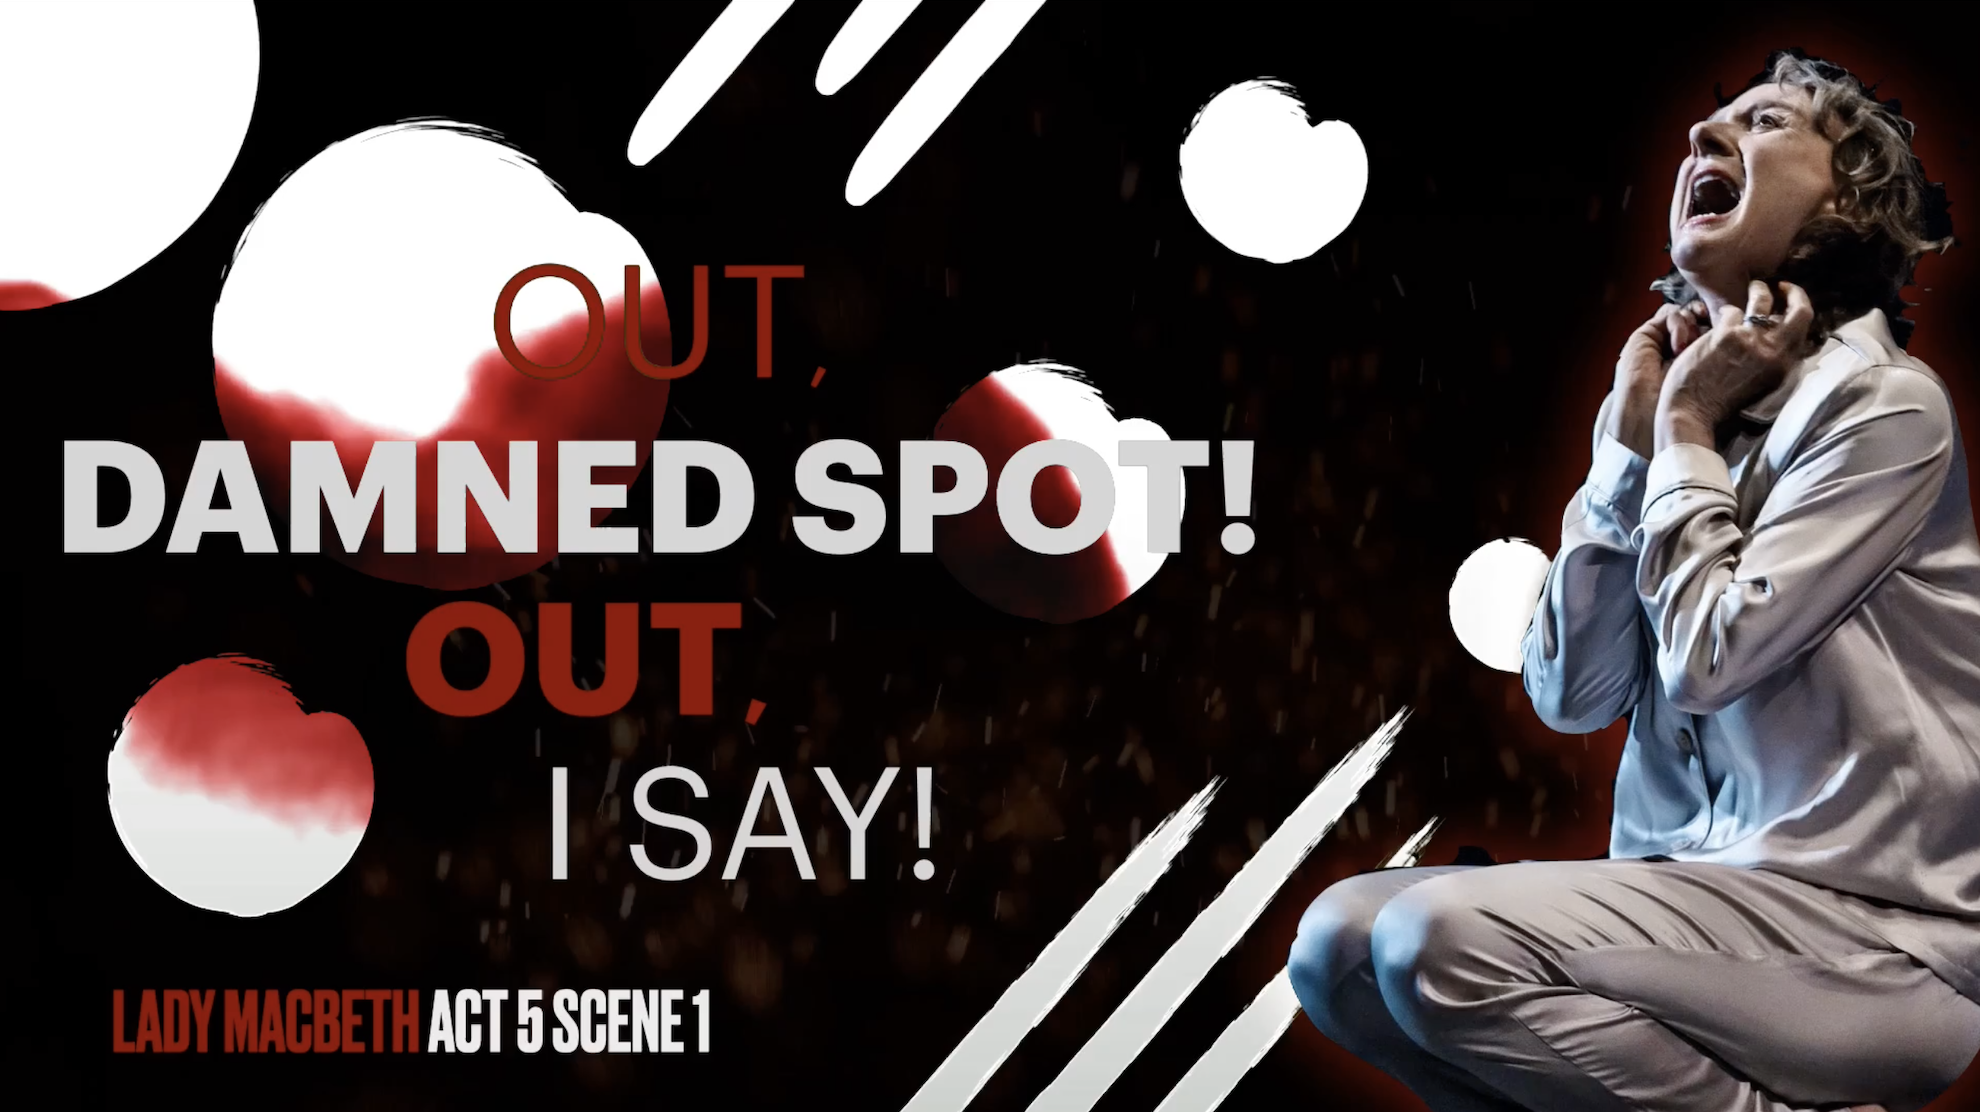
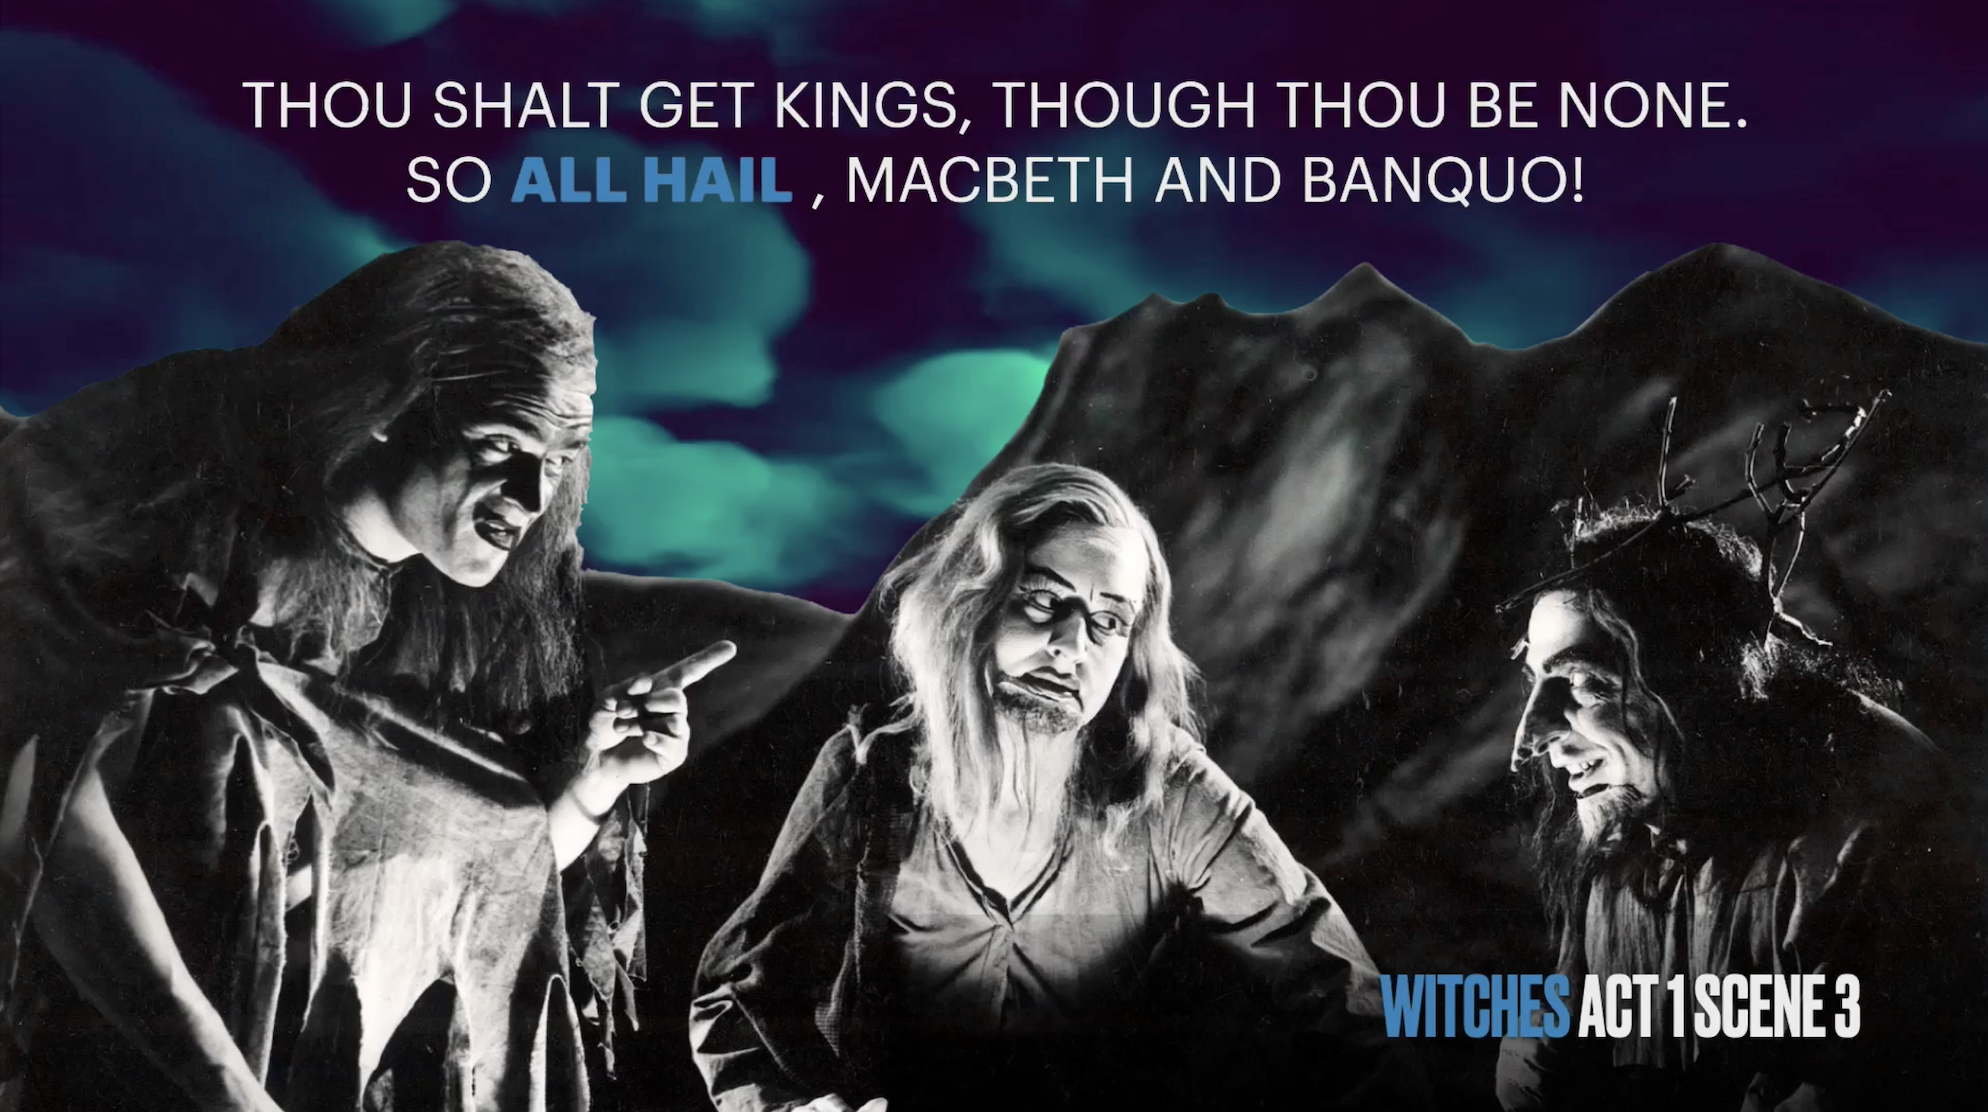
You might have seen recently on Twitter my example ‘Macbeth’ animated quotations made with digital green screen in Keynote and iMovie. I found the process of creating these can be a powerful method for students to explore the main quotations deeply whilst engage in deeper thinking.
1. Analyse & visualise first by dual coding
Before getting into the creative stuff, students really need to know the ins-and-outs of the quotations they will present. This will enable them to visualise them properly when it comes to creating their green screen animation. I often ask students to ‘explode a quotation’ and break it down into individual ideas, words and images. This is followed by a sequence of simple sketches supported by words from the quotation to help them form visualisations. Dual coding is a powerful way of helping students develop a deep connection and consolidate their understanding of key concepts - this is an important step before beginning a digital green screen project.


2. Have a go yourself and live model examples
When students are ready, walk them through the process of creating a digital green screen (I’d advise you to have a go yourself so that you know how it works). Live modelling the main steps and providing a simple instructional slide can also help to direct students through the activity. What’s more, tutorial videos are always helpful because students can rewatch them as many times as they like. Luckily, I have created two tutorial videos for both beginners and experts - you can find the YouTube playlist below!
3. Ask process questions & encourage metacognitive talk
Once completed, challenge students to explain their animations and narrate their thinking processes throughout. Prompt them to respond to process questions like - why did they choose a specific image? What insight does it give into the mindset of the character? What words have you captured in your image and why? Why did you choose that particular sound track? You can also take this further by asking students to write an analytical response to the work they have animated. If you have structured the activity effectively, you might be surprised at the quality of responses you receive.
Feel free to reach out on Twitter if you have any questions - I’d love to see some examples of what your students come up with!


