


Visual Instruction Plans: Word-diagrams to Support Writing
A Visual Instruction Plan (VIP) is a set of visual prompts that provide a clear step-by-step outline of what students have to do to complete a procedure or process. They are much like the instructions you receive with IKEA flat-pack furniture — they have limited words, use diagrams and have simple steps to follow. Learn how they can be used in class to support students with analytical writing.
For some students, analytical writing does not come naturally. In fact, the process of analysing language and unearthing layers of meaning presents a formidable challenge.
To write a successful analysis, students have to interpret a range of complex information whilst ensuring their writing is well-structured, uses academic vocabulary, and builds-on ideas throughout. If there is too much information for students to process at any given time, the working memory can be overloaded and learning can be lost.
Recently, I have had the honour of contributing to Oliver Caviglioli and David Goodwin’s upcoming book ‘Graphic Organisers: Thinking by Hand, Extending the Mind’. The experience opened my eyes to ways in which graphic organisers — or more specifically, Visual Instruction Plans (VIPs) — can help students capture transient information and support them throughout the writing process.
Thanks to Oliver and David, VIPs have become part of my practice when teaching writing in English. Having a clear organisational structure for students to follow has helped students develop more independence and improved the overall quality of their analytical writing.

Oliver and David’s book will be released in Summer 2021 and features over 50 teacher contributors from all over the world.
What is a VIP?
A Visual Instruction Plan (VIP) is a set of visual prompts that provide a clear step-by-step outline of what students have to do to complete a procedure or process. They are much like the instructions you receive with IKEA flat-pack furniture — they have limited words, use diagrams and have simple steps to follow.

Concept map explaining the Visual Instruction Plan (VIP)
The term, Visual Instruction Plan was introduced by Dr. Fred Jones in his article, Weaning the Helpless Handraisers, Part 2: Teaching To The Visual Modality where he writes about the limitations of verbal prompts and traditional graphics. Jones considers the VIP like “a string of visual prompts that a student can refer to at will… [it] guides performance just as you would if you were tutoring the student.” The idea is that students refer to the VIP as needed and, when it is no longer required, they stop referring to it. Jones believes that this helps “the student become more independent” over time.
The YouTube video shows Dr. Fred Jones in action using a live VIP to break down a mathematics concept.
How can VIPs support writing?
During analytical writing practice, I have found word-only VIPs to be transformational in helping externalise the process. Using flow-spray graphic organisers has been effective in showing students how to sequence ideas. The map supports students by freeing up the working memory so that they can focus on thinking more deeply and elaborate on their analysis. The VIP serves as an advanced visual scaffold - like all scaffolding, it needs to be taken down over time so that students do not become reliant on it.

This example flow-spray VIP is was used successfully with my Year 10 class when writing analytical paragraphs on ‘Romeo and Juliet’.
What makes a good VIP?
Flow-spray VIPs are made up of boxes that organise information horizontally or vertically on the page or slide. Normally, I avoid overcomplicating the design by sticking to three predominate coloured containers:
Colour Major step or concept
Black Concise teacher instruction
Blank Sentence starters/key vocabulary
What, How & Why Questions
To encourage students to think about texts in more detail, I regularly integrate ‘what’, ‘how’ and ‘why’ questions under each heading. This method of analysis was first introduced by English teacher Becky Woods and works brilliantly in assisting students with unpacking and inferring key ideas. Example ‘WHW’ questions include:
‘What is the writer trying to tell us?’
‘How does it make the reader feel?’
‘Why does the writer use language in this specific way?’
Sentence Starters & Prompts
Attaching sentence starters to the map assist students in achieving a more sophisticated and academic style of writing. It is important that sentences starters are left as open as possible to avoid leading students to a specific response or idea - for many students, this is critical to their success when developing ways to express their understanding. Breaking down key vocabulary into smaller containers also provides useful visual prompts to generate thinking and connect ideas to prior learning.
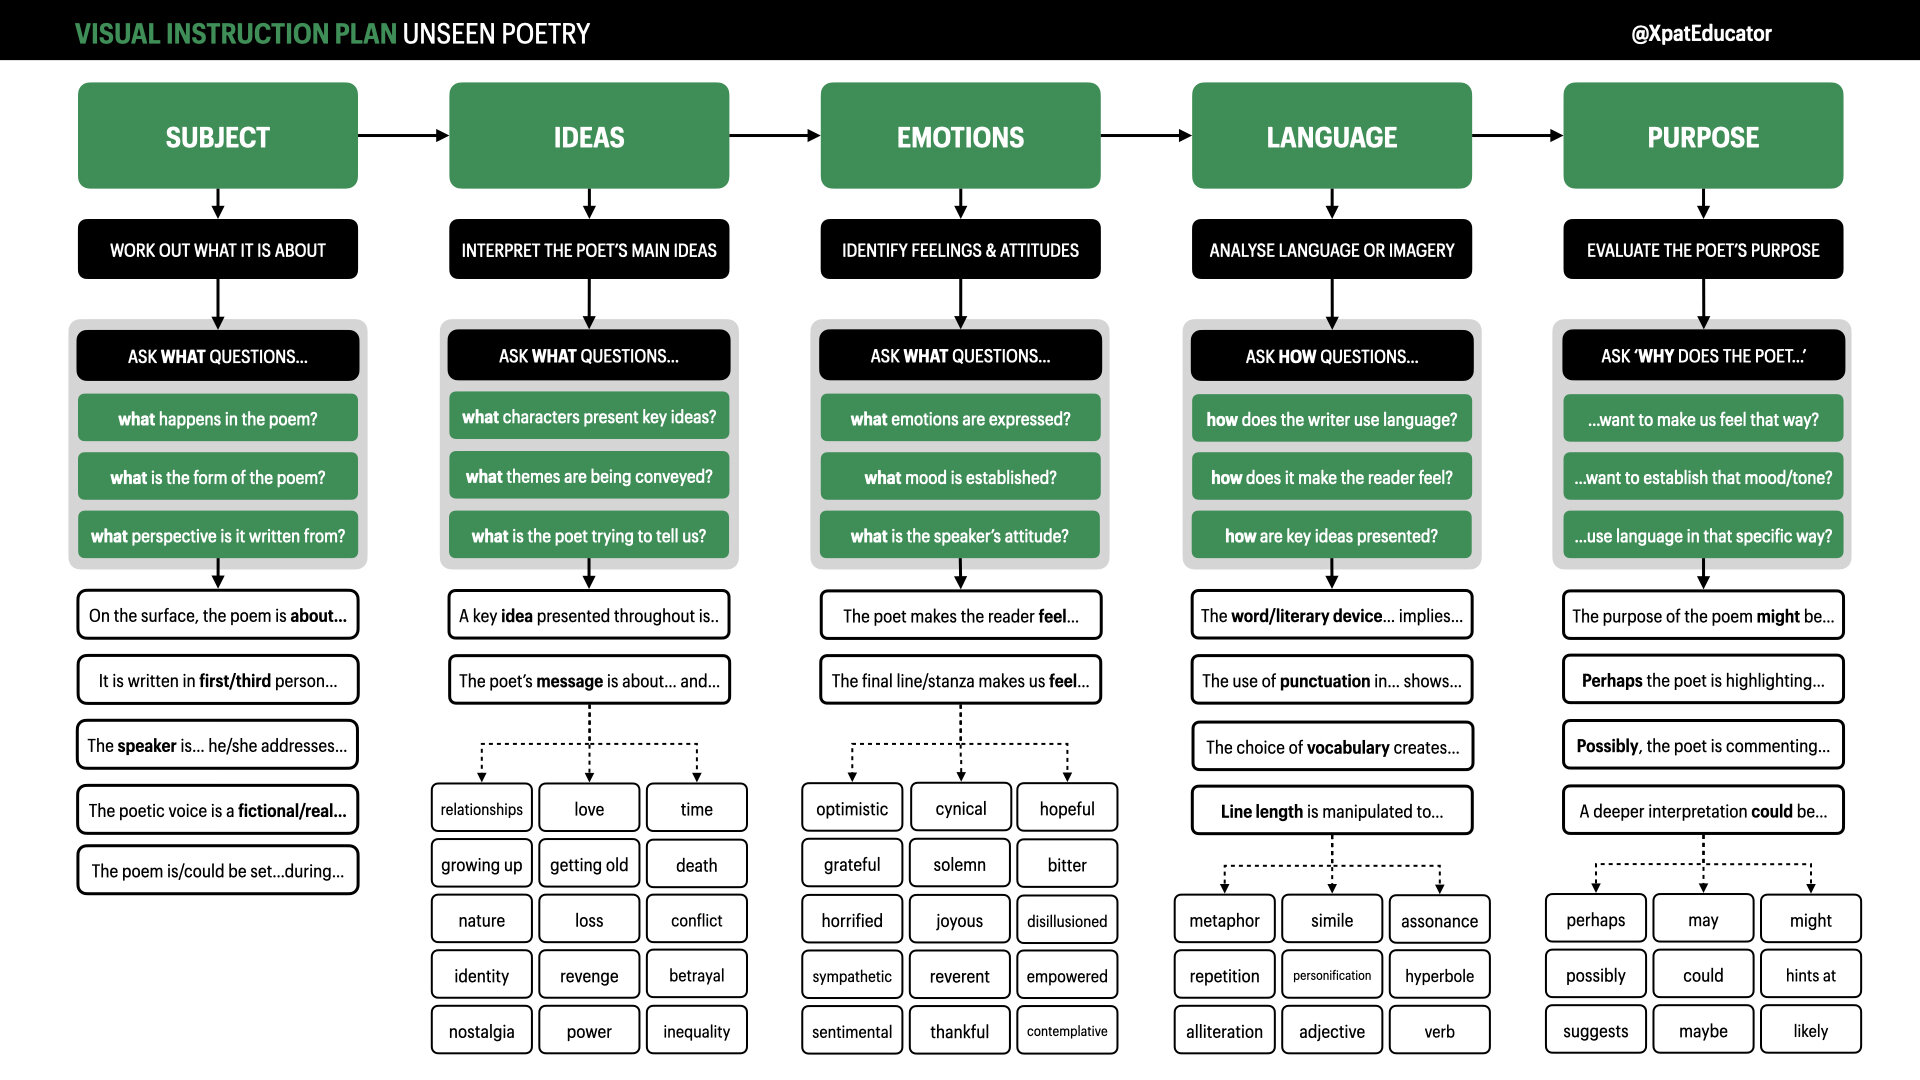
The examples below, show supporting VIPs for quotation analysis, essay writing and deconstructing unseen poetry.


How do you use them in class?
Visual Instruction Plans can be introduced into your lessons at any stage in the learning journey — both as a teaching tool or for independent study. Here are some suggested steps on how a VIP can be integrated into a conventional lesson sequence:
Select the type of writing you want students to produce and break it down into manageable step-by-step instructions on a flow-spray map.
Integrate sentence starters & questions below the headings, to support students’ writing.
Introduce and explain the map to students section-by-section to avoid cognitive overload and then distribute hard copies.
Live model the writing process using the graphic organiser as a guide.
As students develop their knowledge of the writing process, gradually remove the VIP and encourage independent practice.
How do I create my own VIP?
VIPs can be created in Microsoft PowerPoint, Google Slides or Apple’s Keynote software. You can use shapes/containers, arrows and text to create basic word diagrams.
If you'd like a starting point in creating your own Visual Instruction Plan, you can download my existing examples to adapt to your own subject. Please credit me if you decide to share your work on social media.

The Science of Learning: Top Five Tech Tools
In recent years more and more educators are engaging with evidence from cognitive psychology and introducing research based practices to support teaching and learning. Here are my top five tools and apps that support research from cognitive science.
In recent years more and more educators are engaging with evidence from cognitive psychology and introducing research based practices to support teaching and learning. For one, the movement towards research based pedagogy has inspired me, and transformed many aspects of my day-to-day teaching . As Director of Digital Integration at a Catholic private school, the recent revolution has left me questioning how technology can be used in meaningful ways to support key research on the science of learning.

After reading Daisy Christodoulou’s book, Teachers vs Tech? The case for an ed tech revolution, it is clear that technology has the potential to be a powerful educational tool providing it is used to inform teaching and support independent study. Of the many points made by Christodoulou, here are three main takeaways which resonated with me:
Well designed content and explanations can be supported by frequent end of unit quizzes and in-video questions to check understanding.
Students are not experts and therefore cannot independently identify the steps to take to improve. Adaptive technologies can assist in quizzing students in order to identify weaknesses, and subsequently generate targeted questions to personalise testing.
It is important to reduce students’ cognitive load by closely integrating text and images together. Removing irrelevant information gives students more space in the working memory.
I personally believe technology has a more balanced role to play in giving students innovative ways to demonstrate learning. Nevertheless, I certainly value Christodoulou’s argument that securing background knowledge is key before students can pursue more creative project based tasks.
So without further ado, here are my top five tools and apps that support this research:

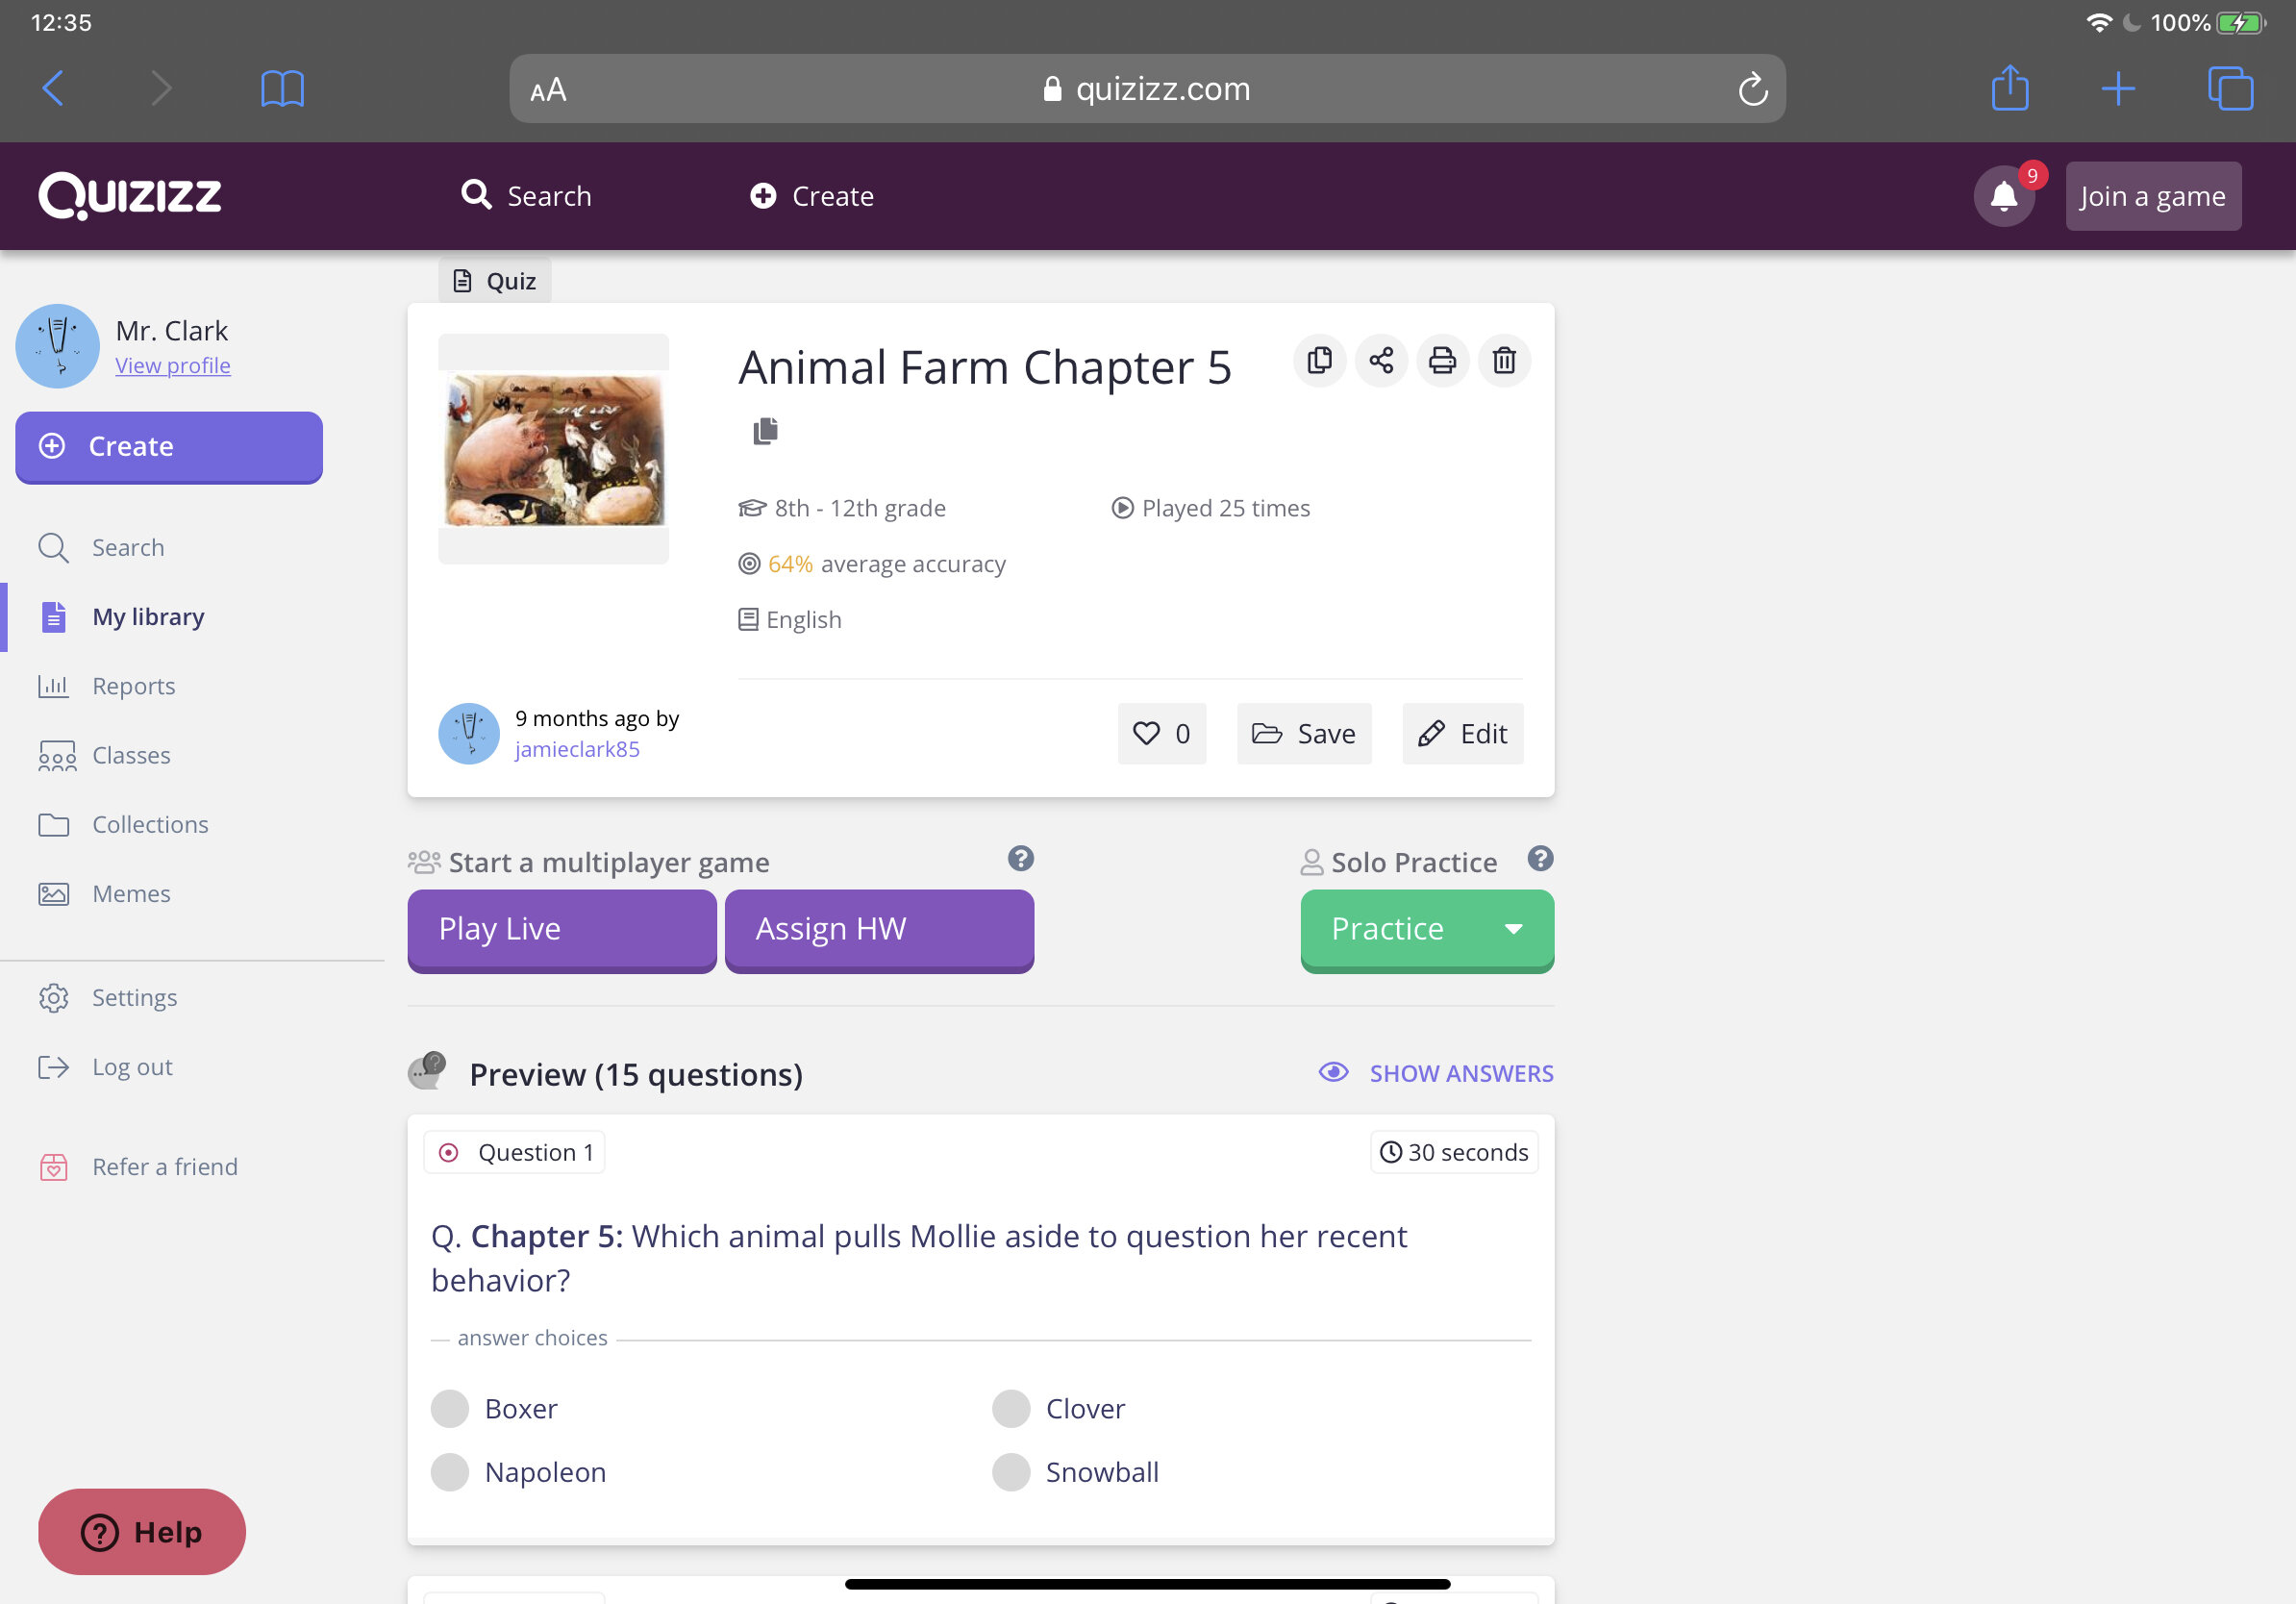
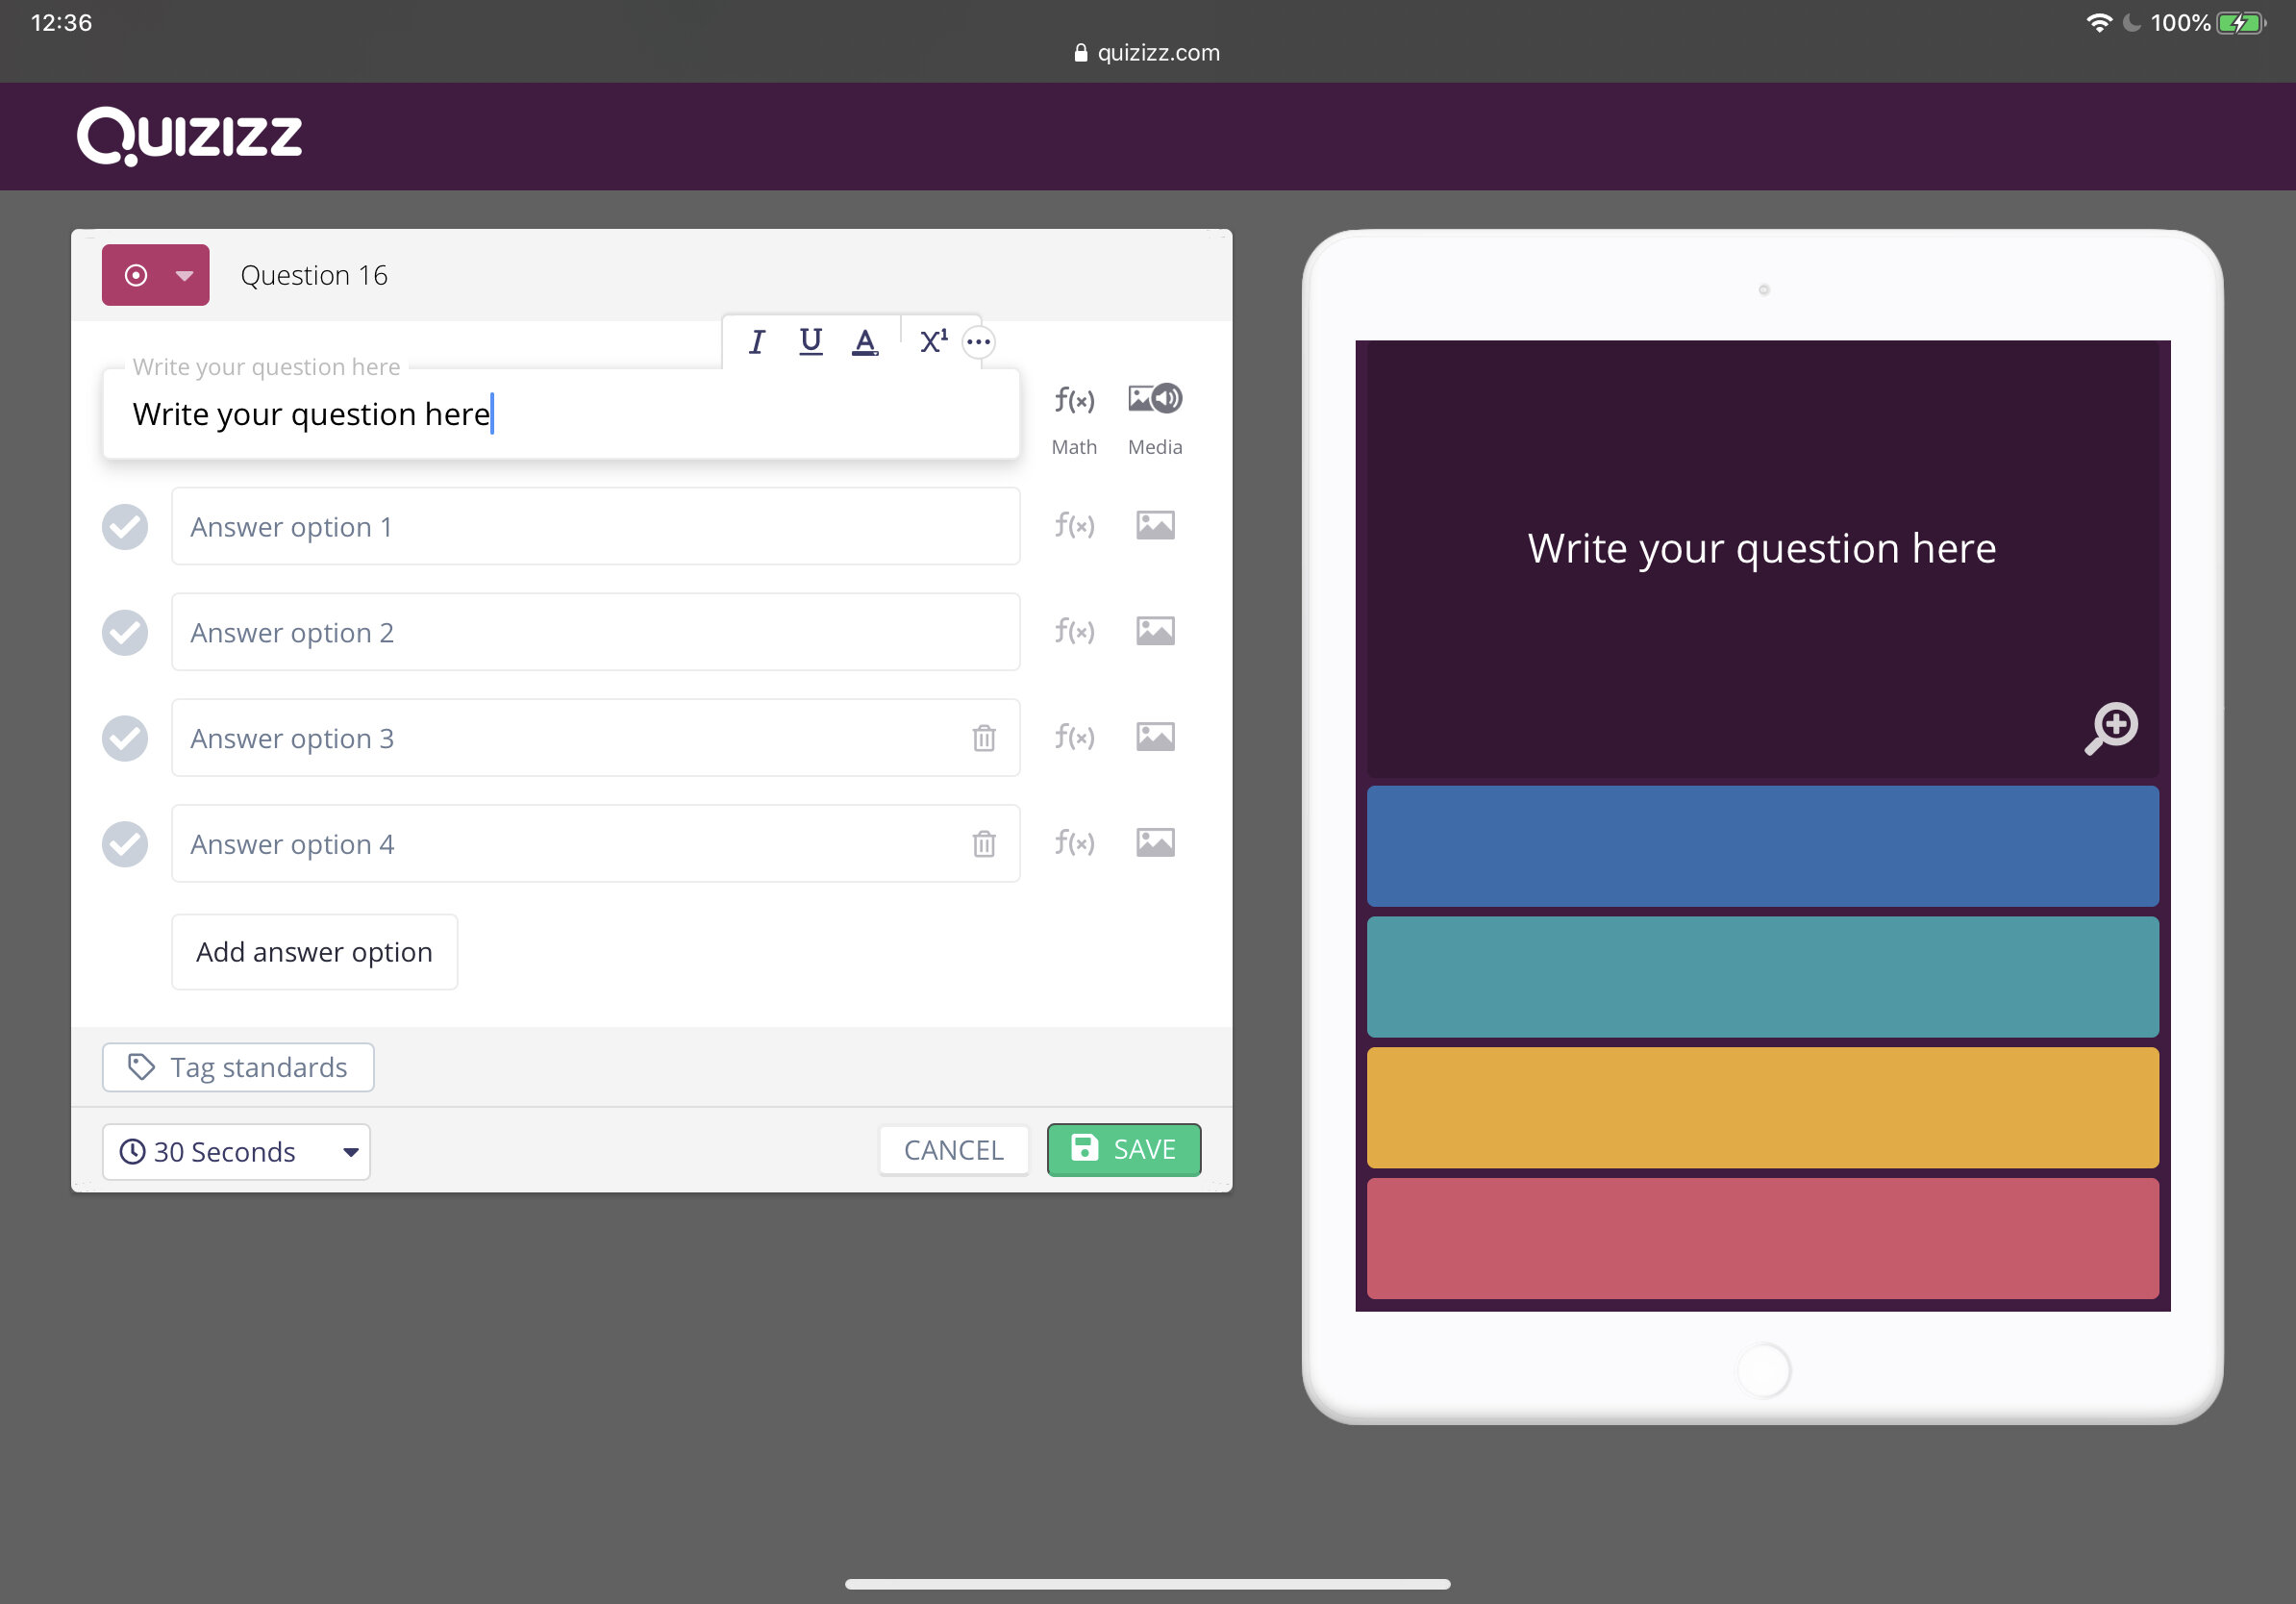
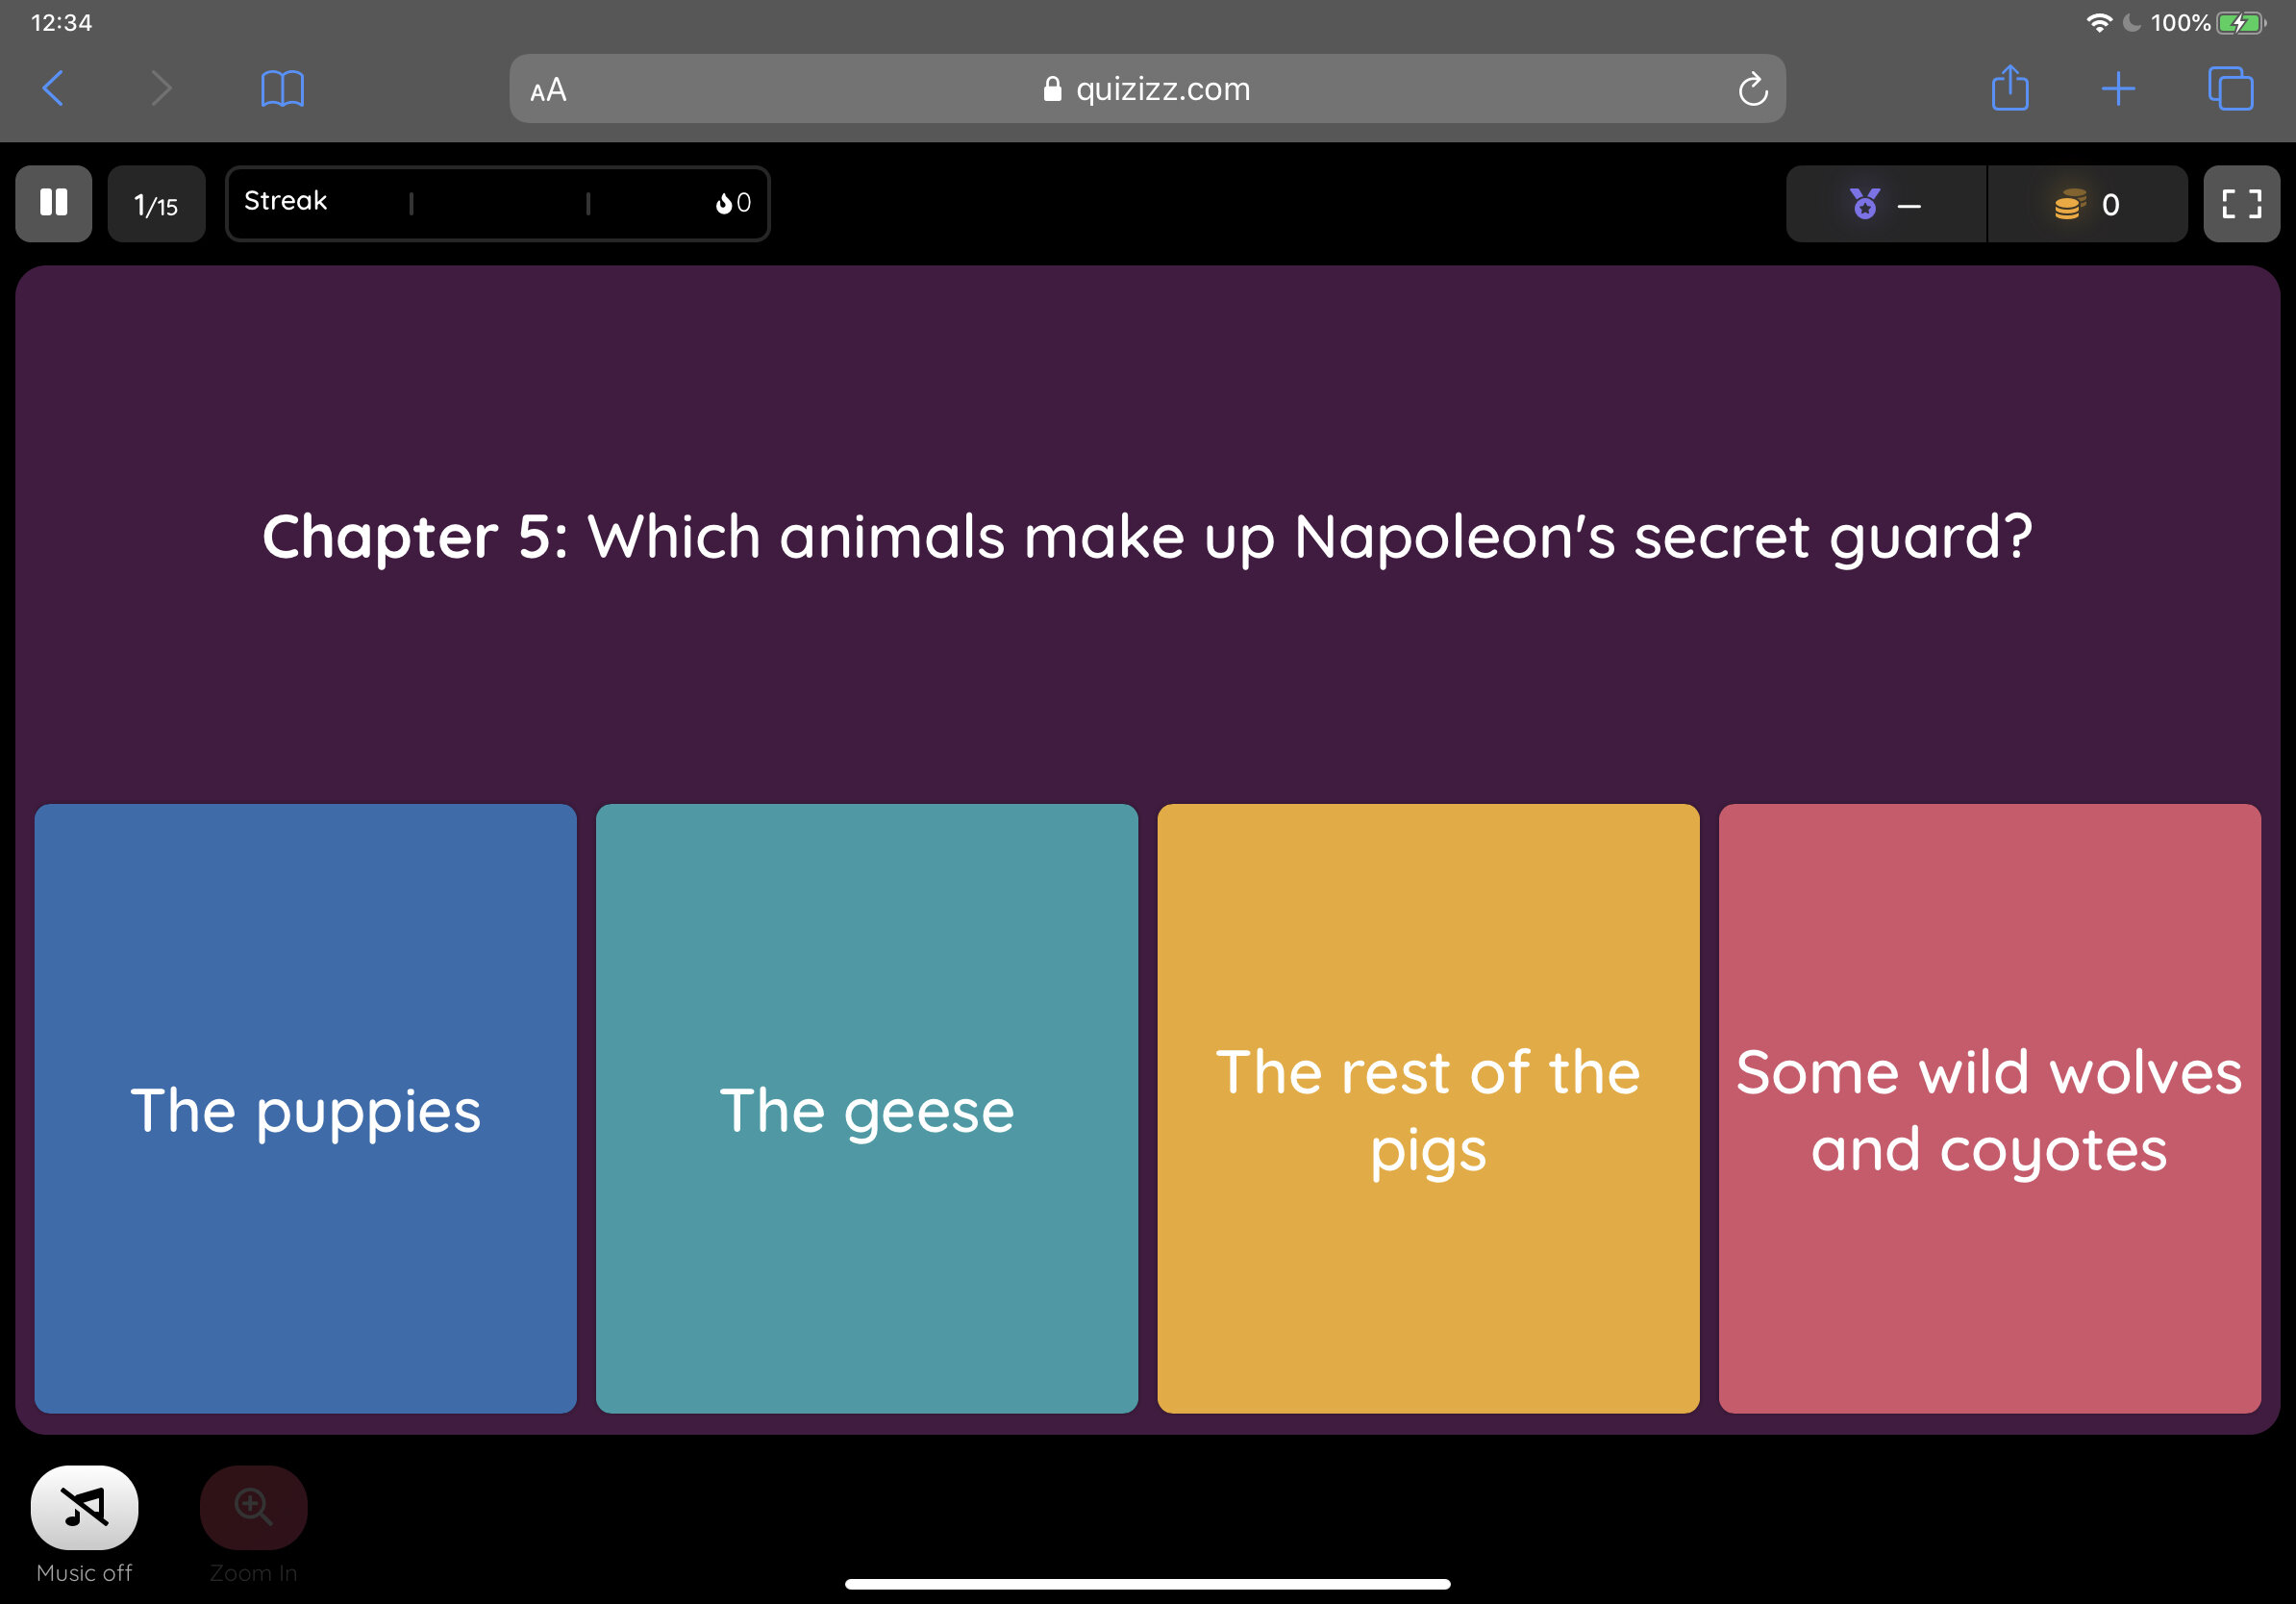
1. Quizizz
Quizizz is a low-stakes formative assessment tool that allows you to create (and find pre-made) quizzes. This app lets you check results to inform your teaching and provides options to download and save data. It is beneficial for students to make a revision timetable to help schedule quizzes on a range of topics on a regular basis. Quizizz also allows you to create or assign ‘Homework’ quizzes to students so that they do not have to do it live in class. The digital gamification of quizzing can make learning fun and add an element of competition.
Cost Free

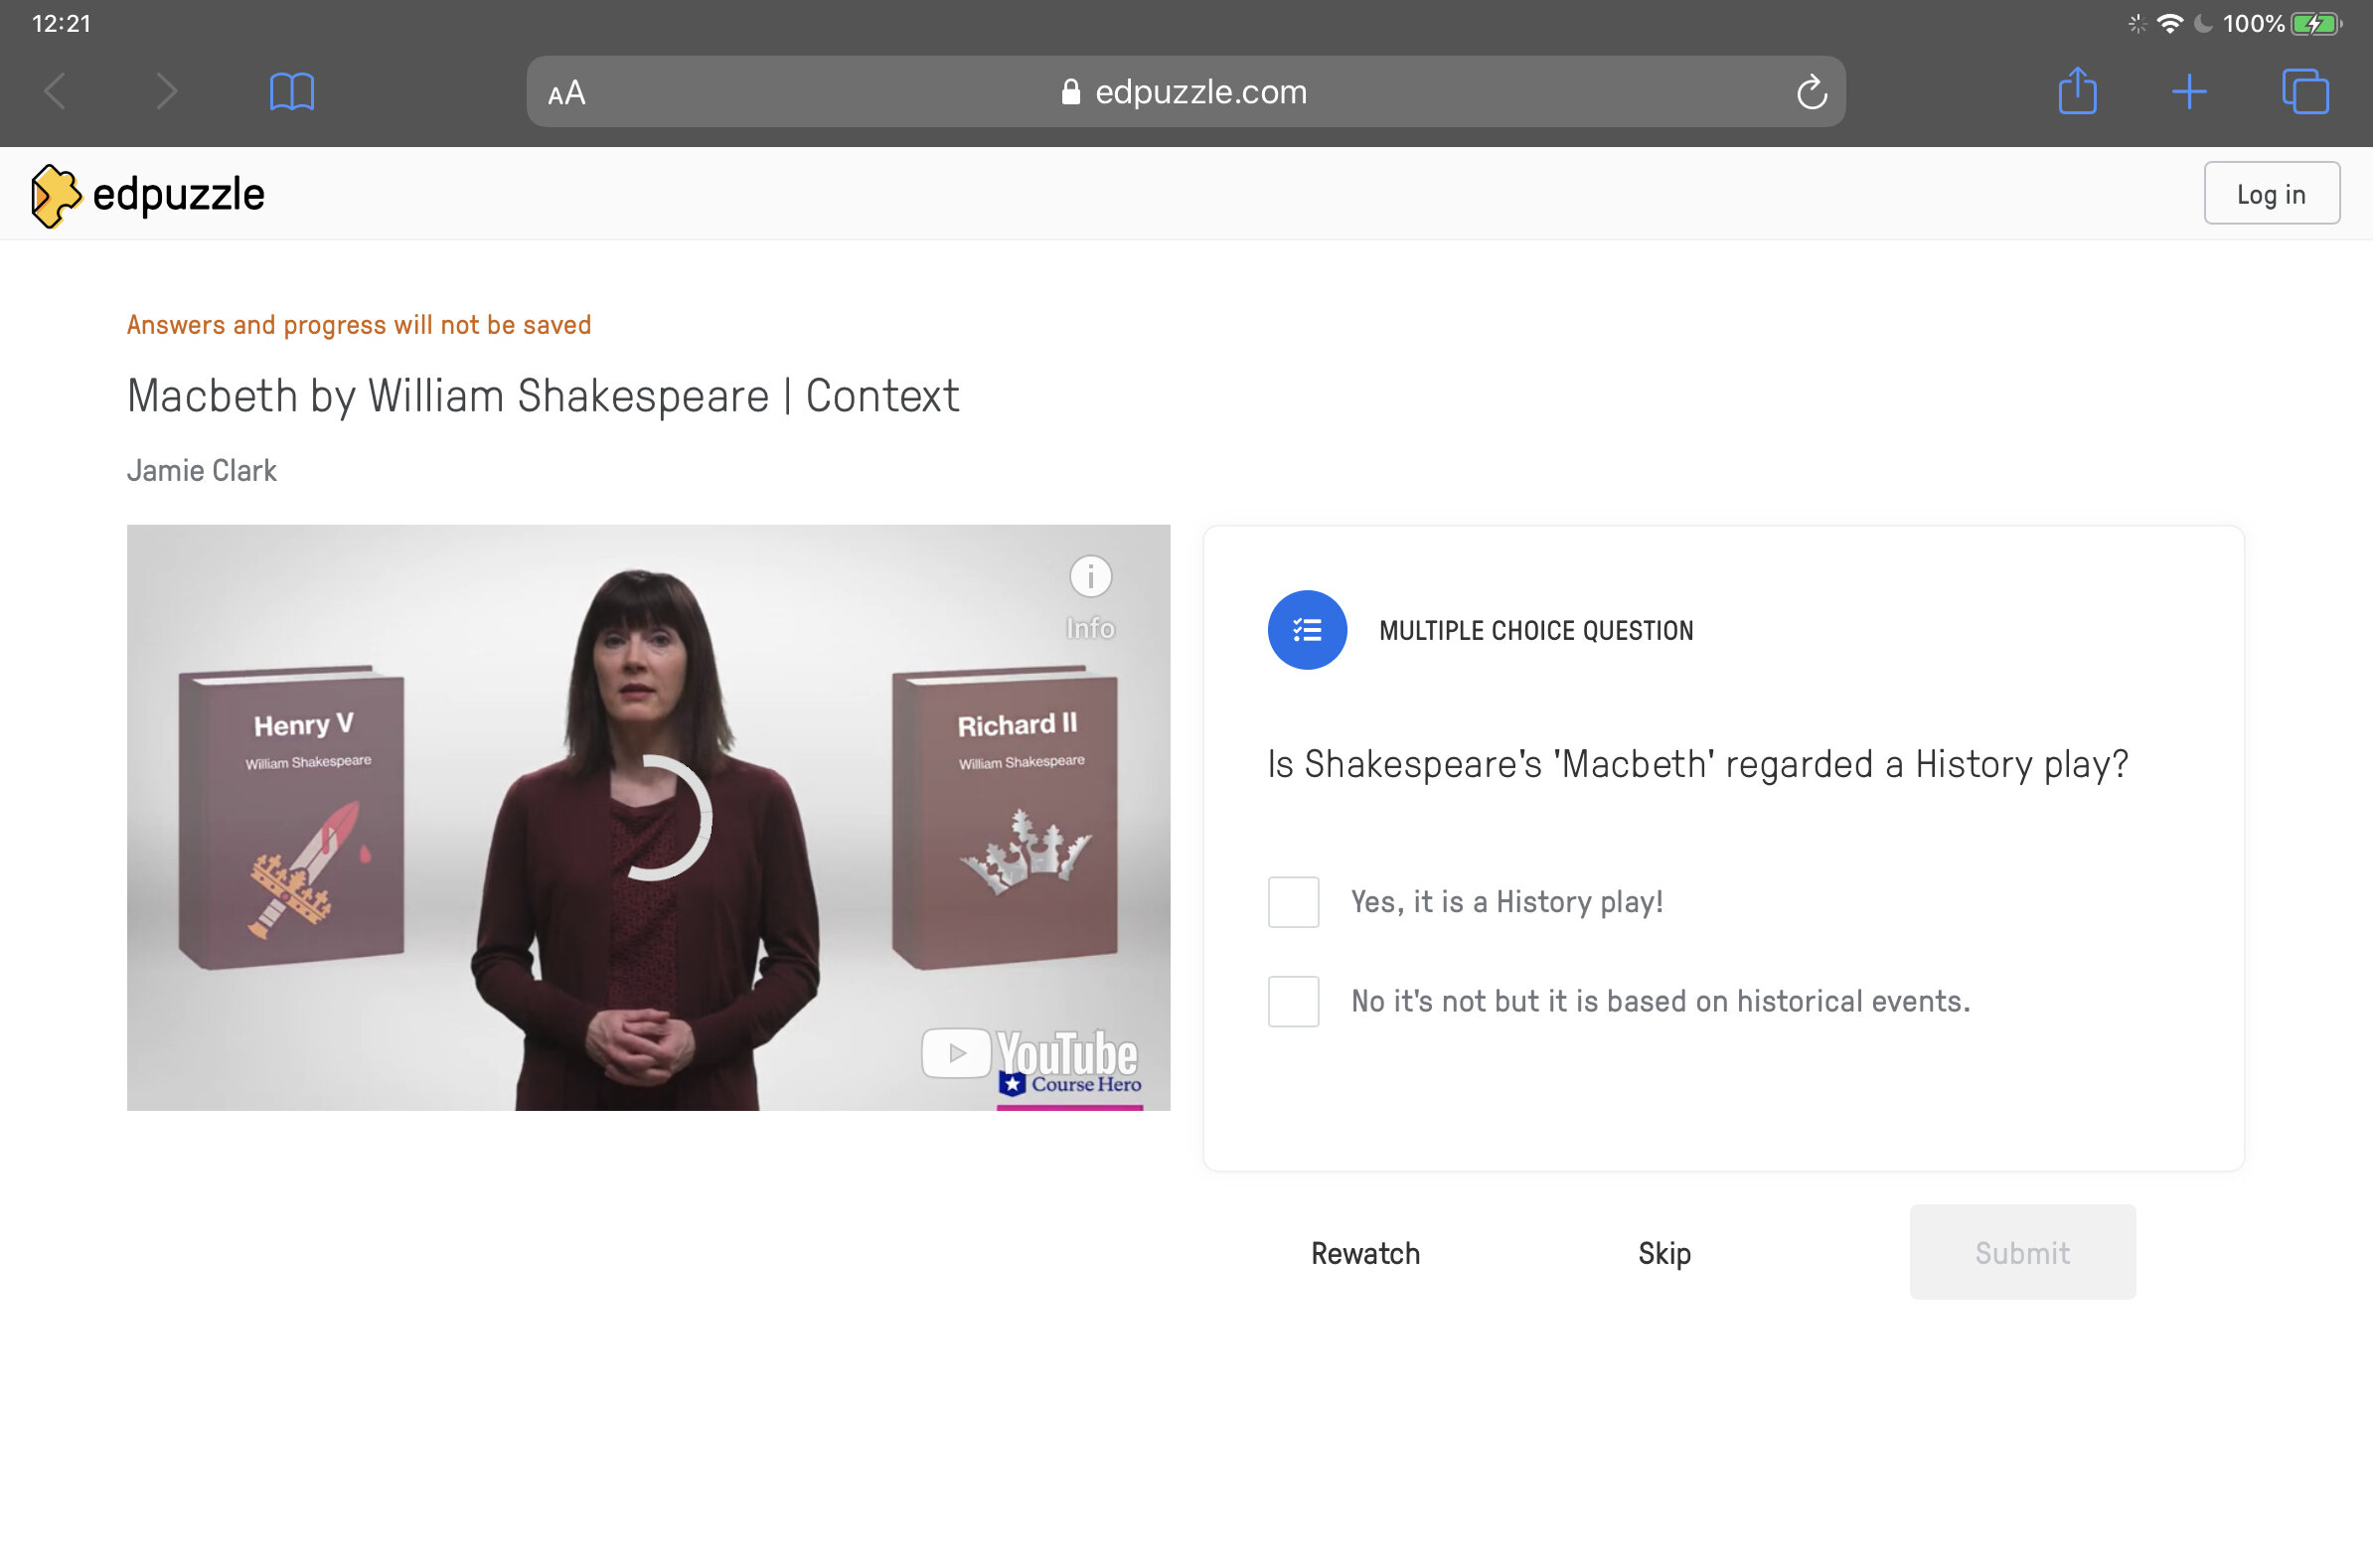
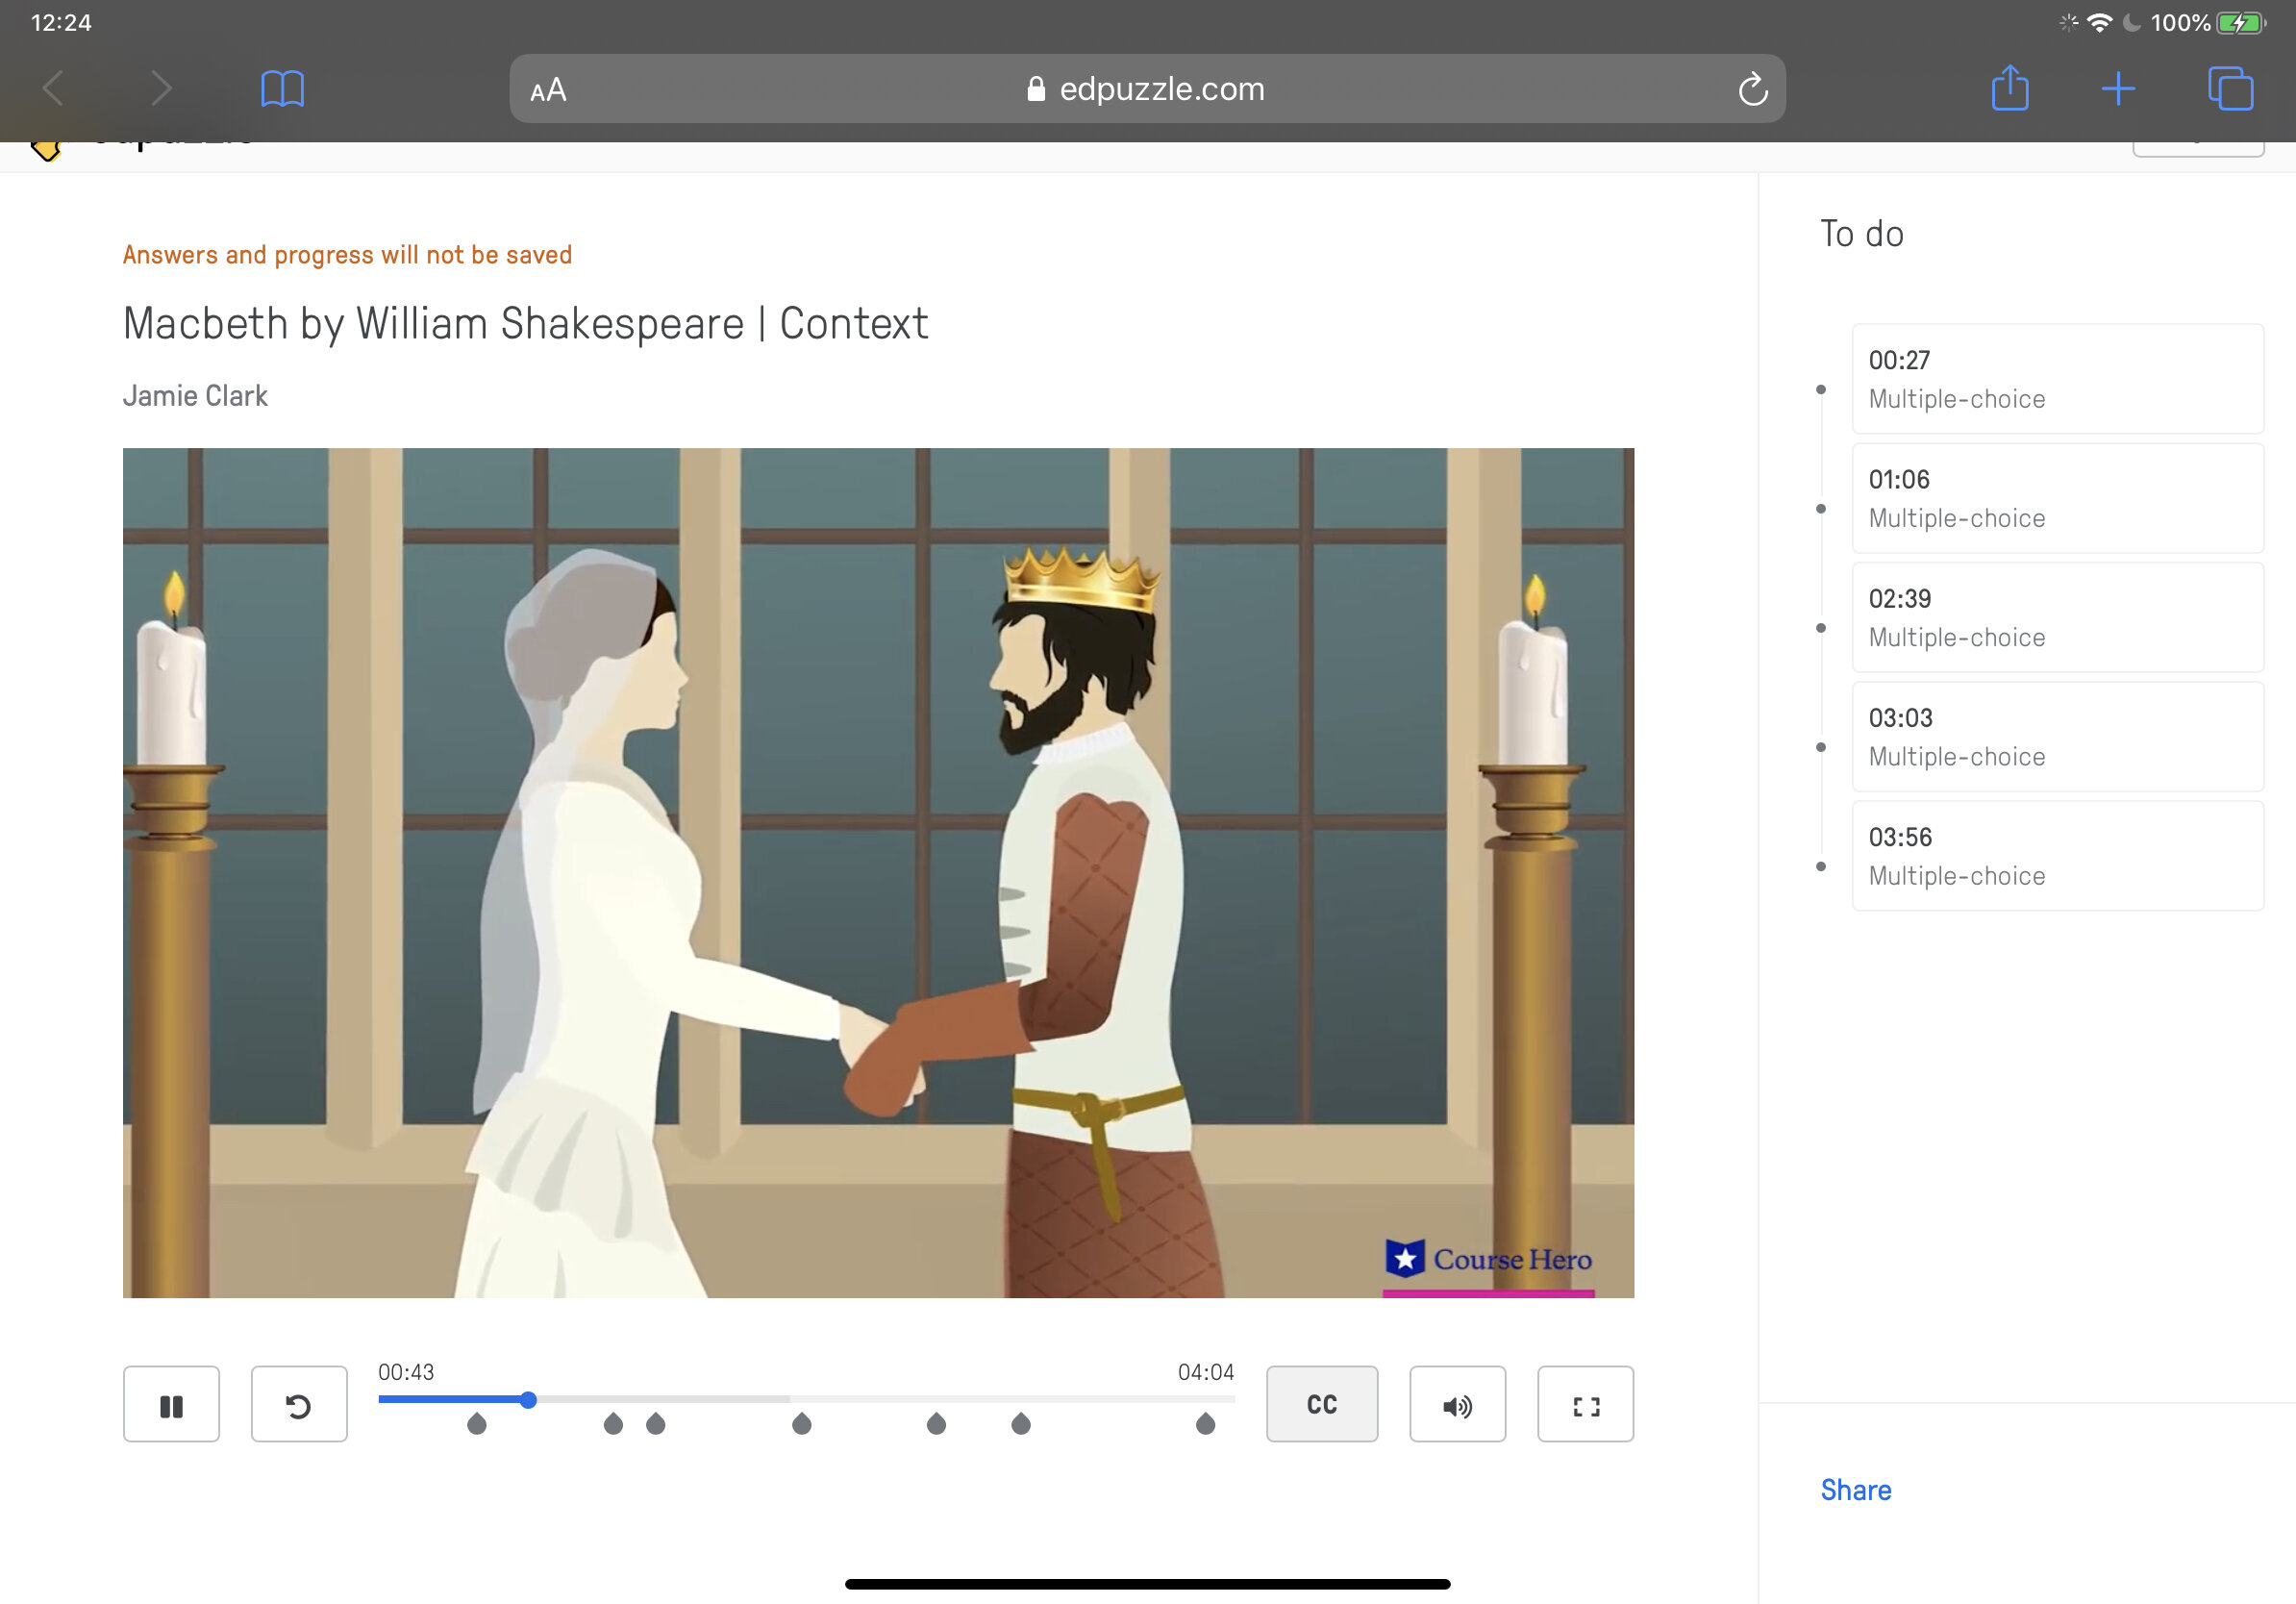
2. Edpuzzle
Edpuzzle is one of my favourite educational apps. It allows you to embed multiple choice questions, open-ended questions, notes and even your own voice into videos. You can use videos from YouTube, Khan Academy, Crash Course and more. If you'd rather record and upload your own video, you can do that too. I tend to add questions to selected short YouTube videos to test students’ knowledge like in the example below. It’s a fantastic and engaging way to check students’ understanding. Check out this example.
Cost Free (paid features are available)

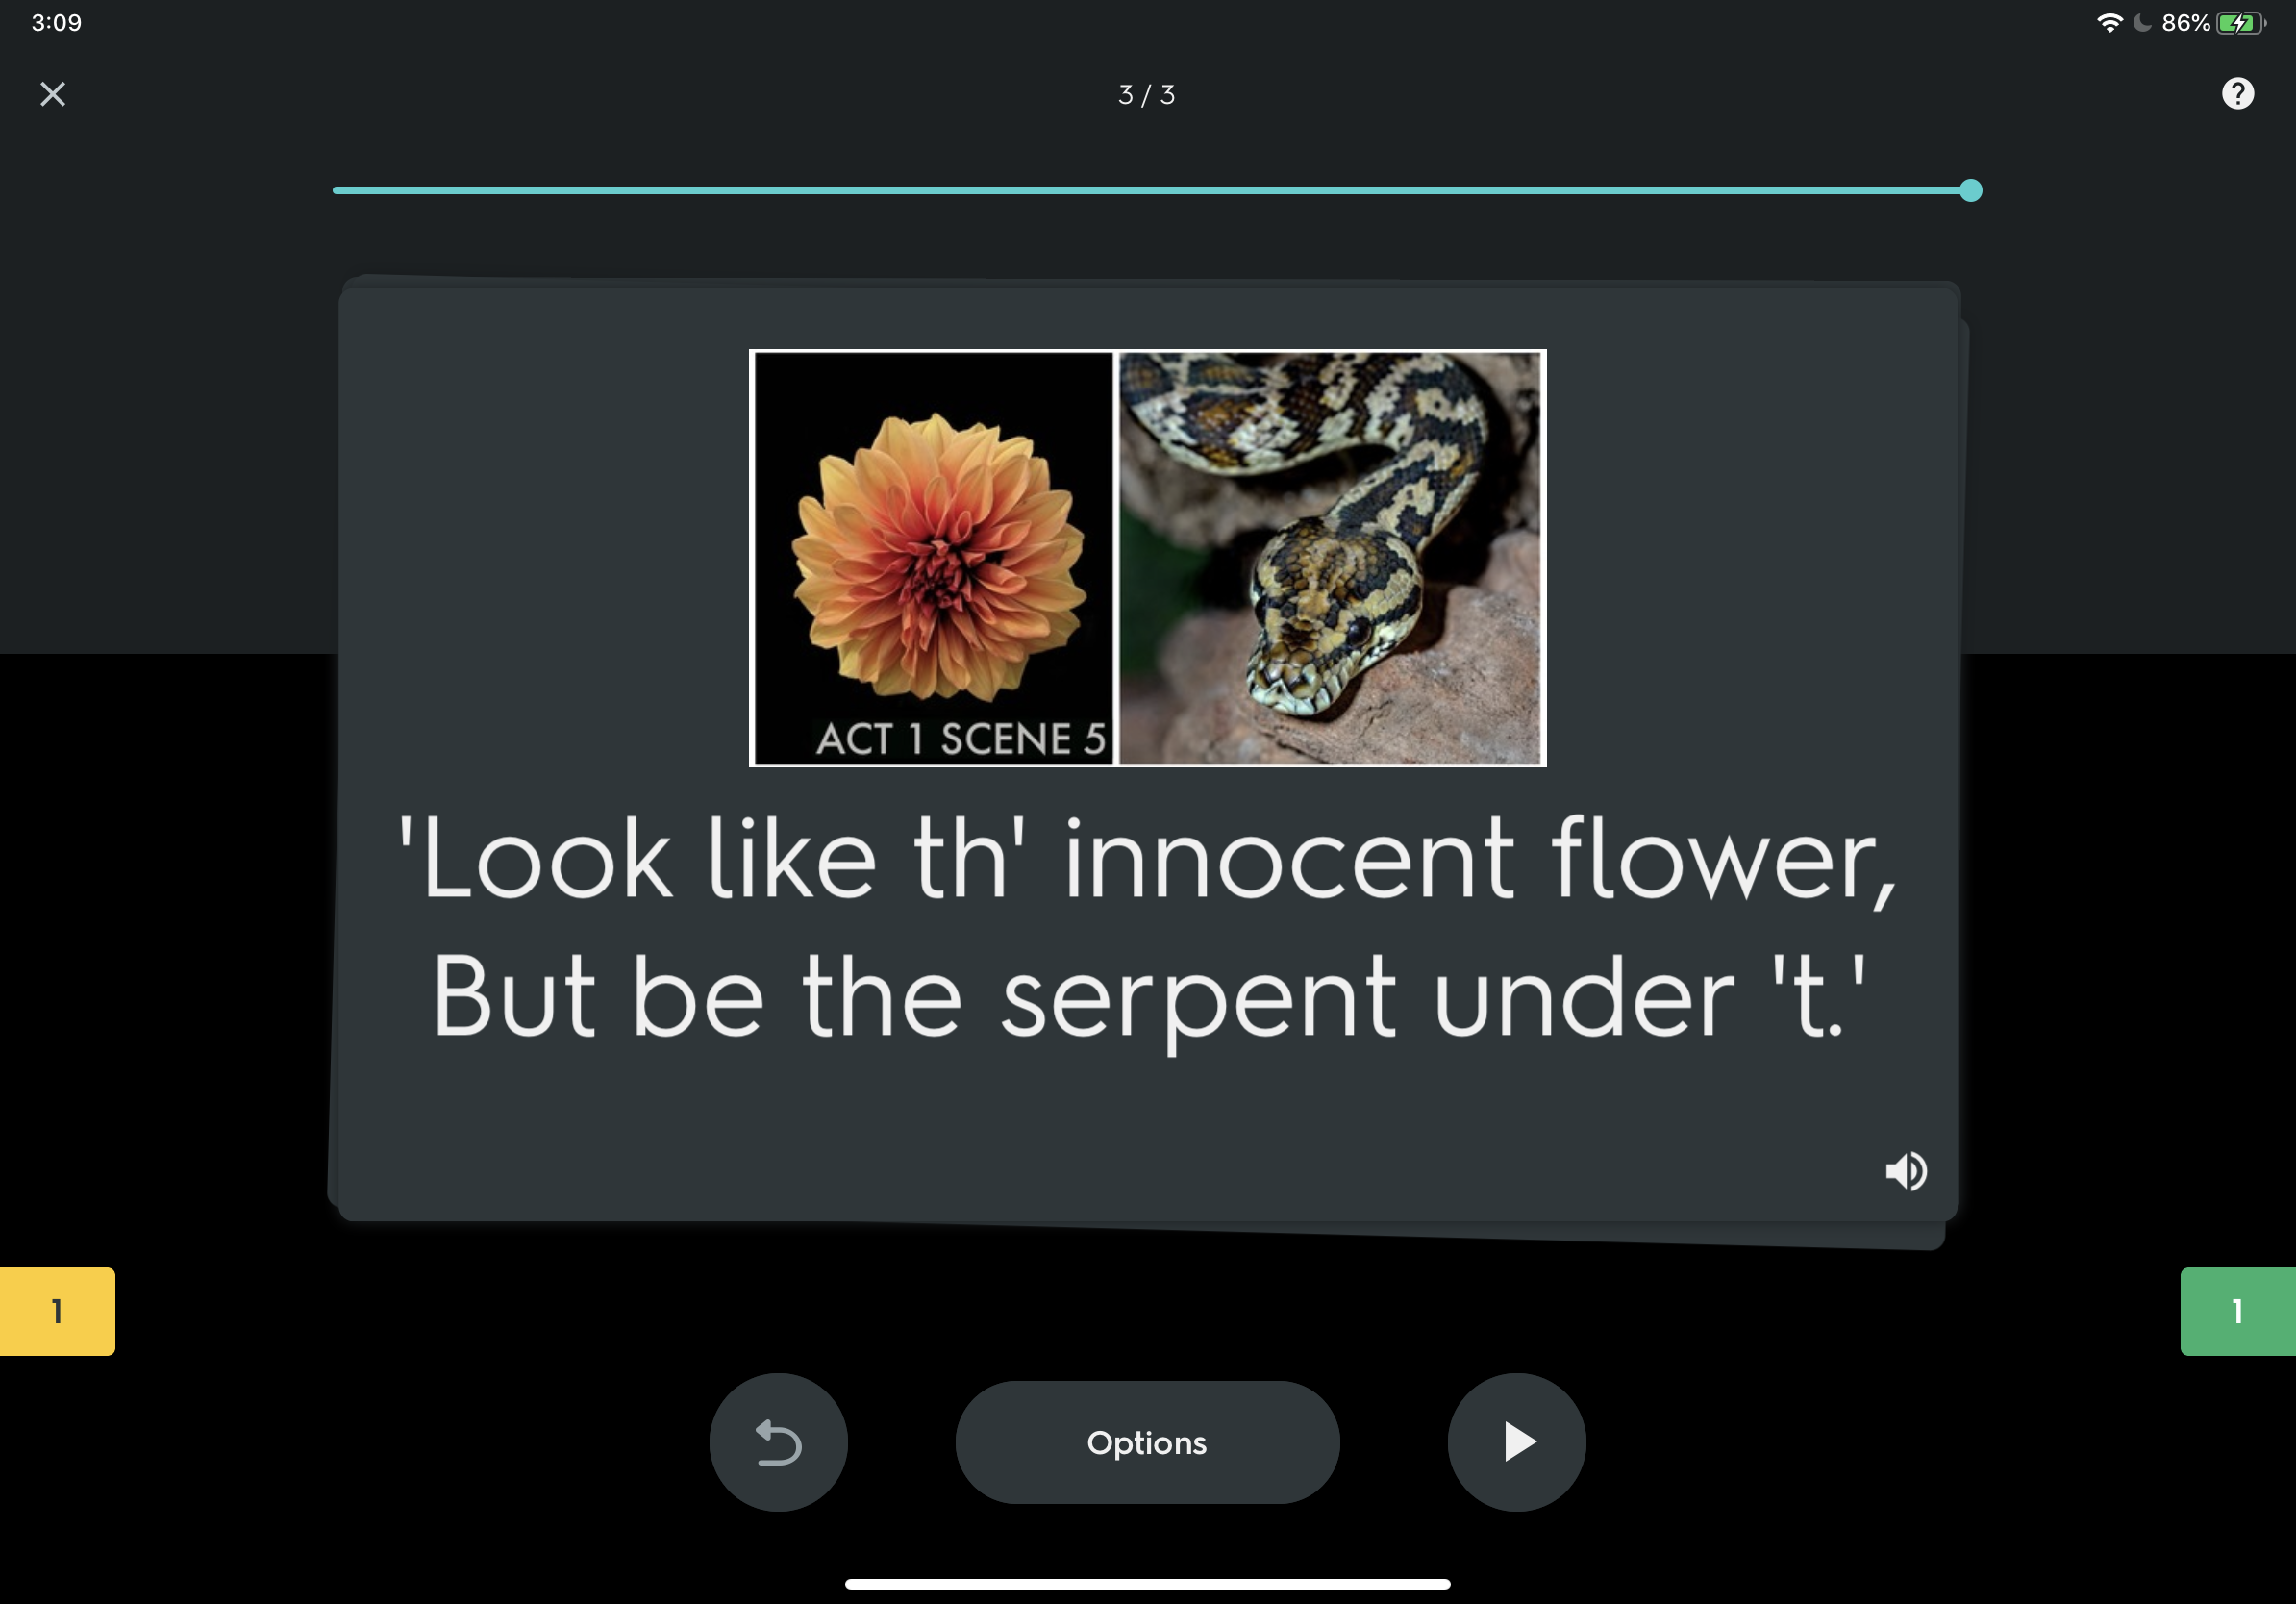
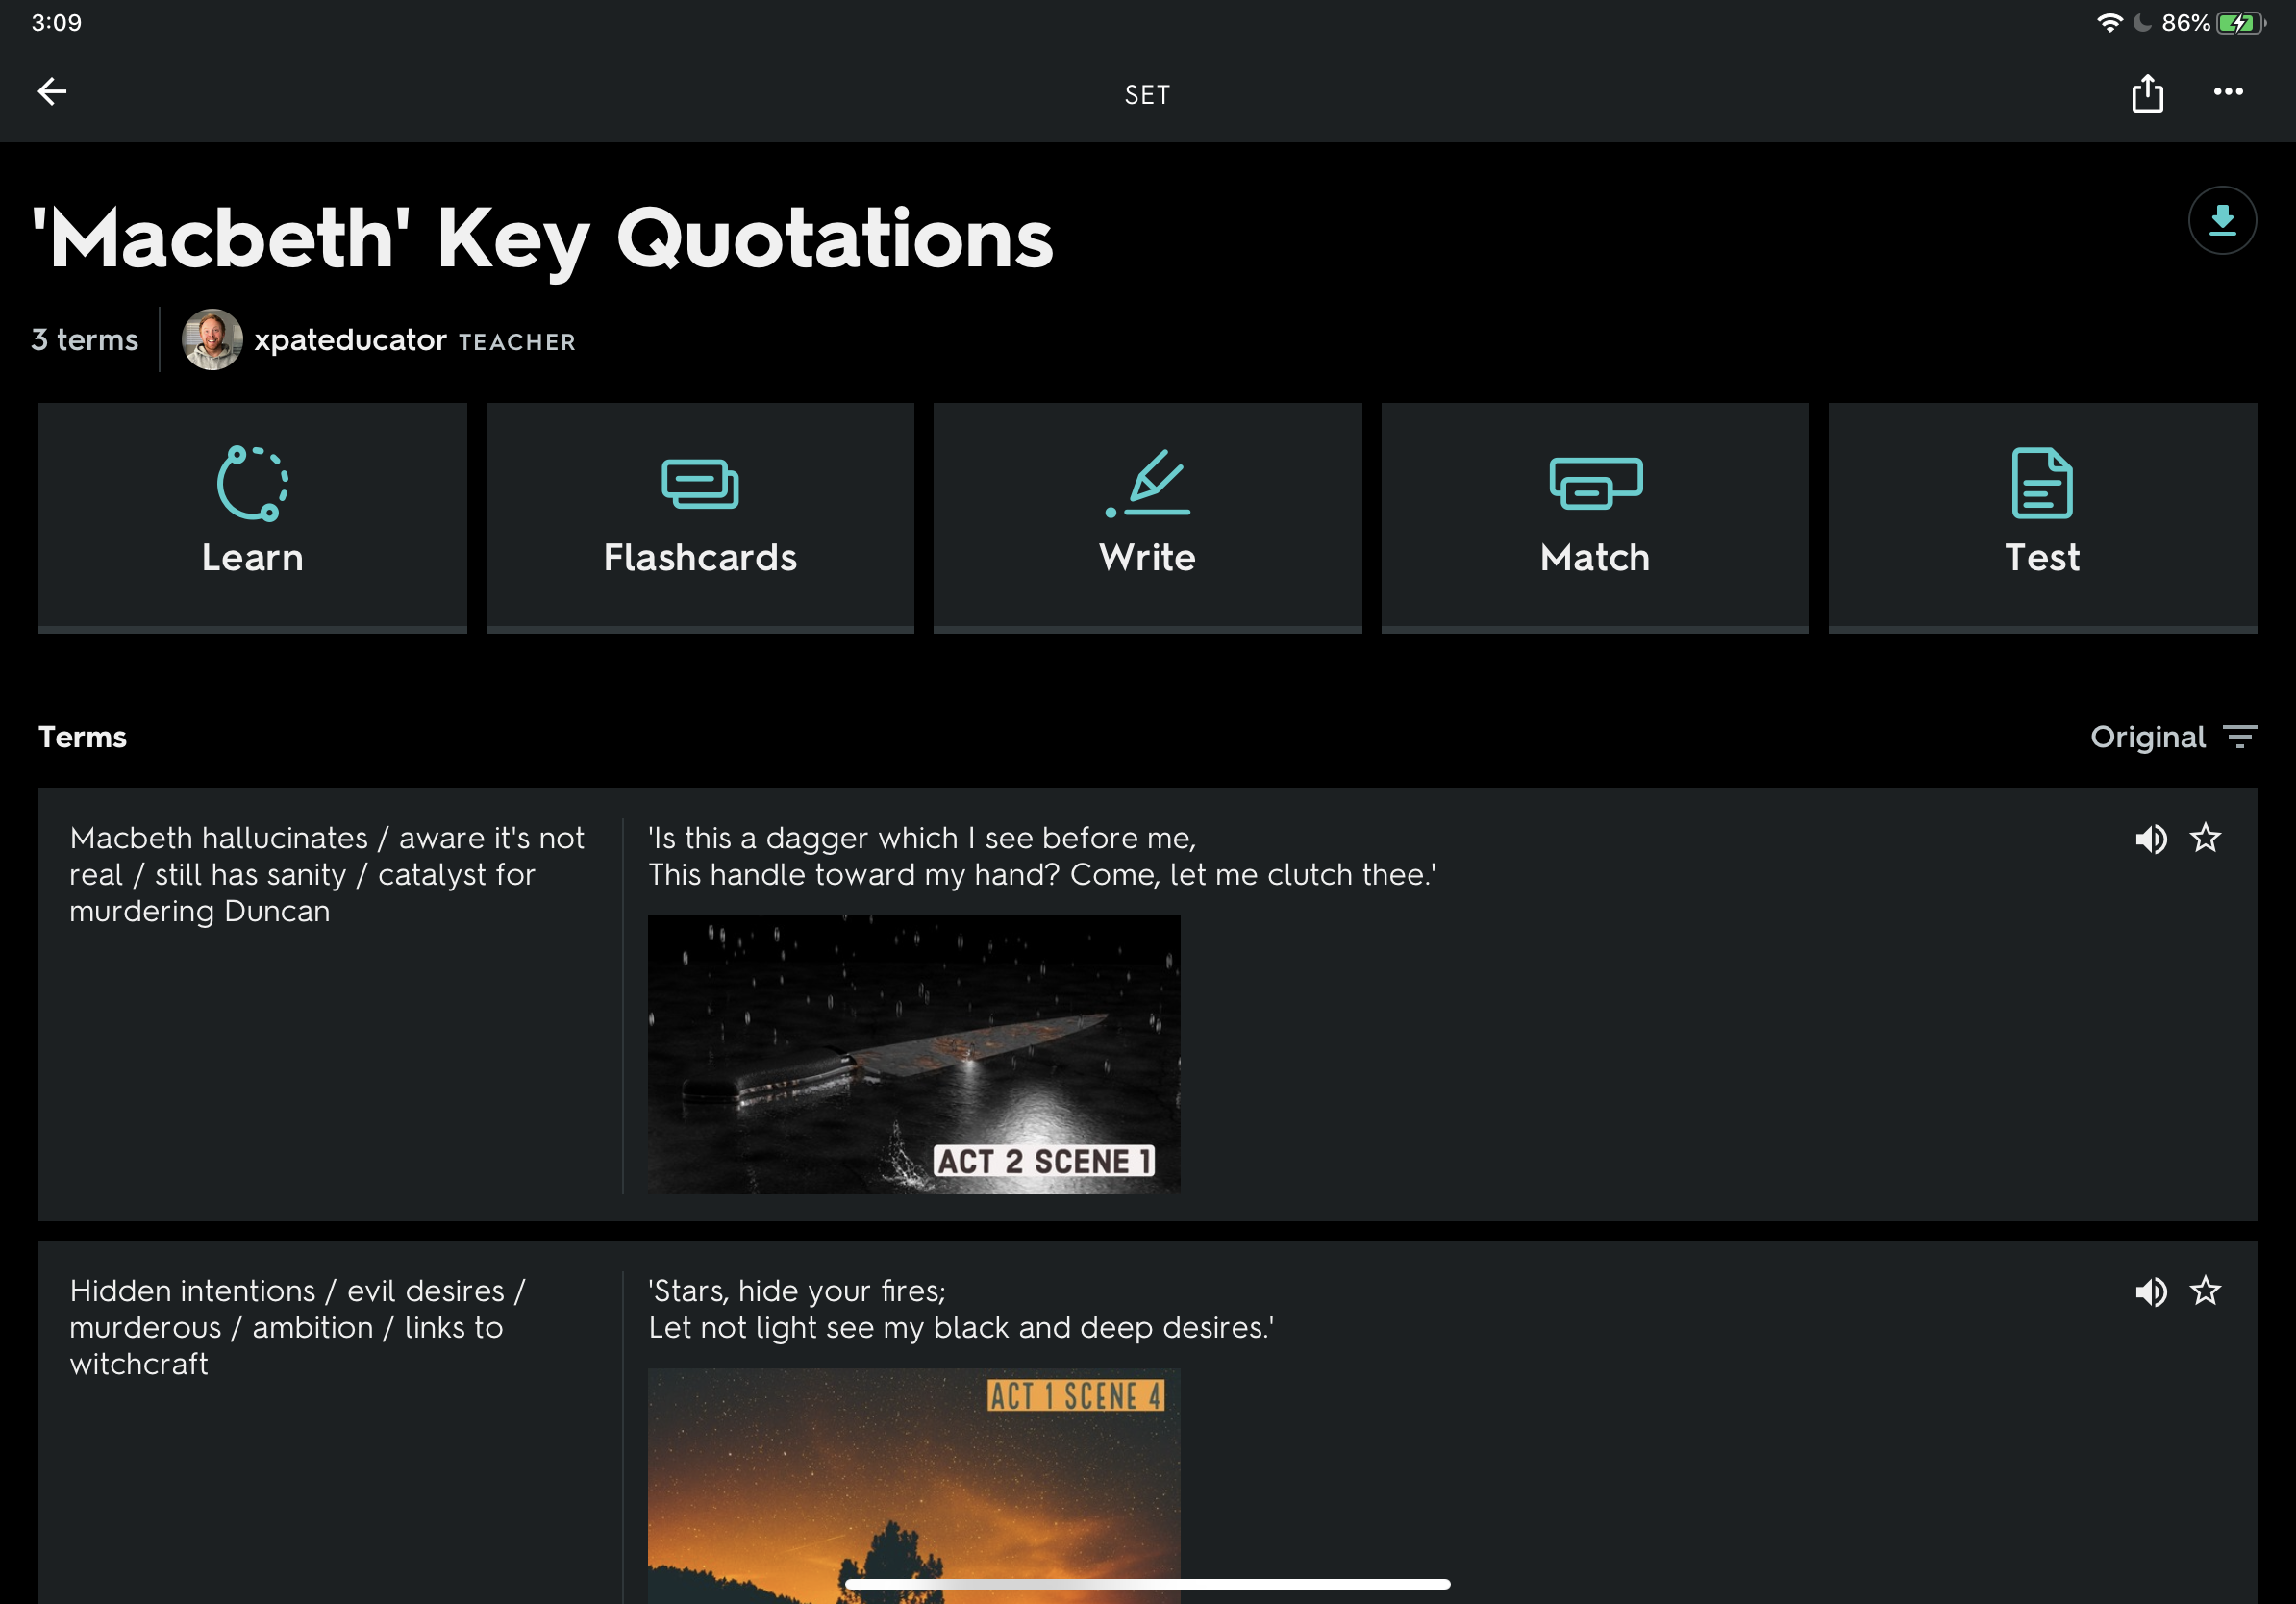
3. Quizlet
Quizlet is a digital flashcard app that allows users to create free study sets which assist in learning key ideas and concepts. Research in cognitive psychology has shown that using flashcards can help students memorise information more readily (as opposed to simply reading over notes). Quizlet includes other effective features such as ‘Match’ and ‘Learn’ comprehension features. Upgrade to the paid ‘Teacher’ account to allow the integration of images to your cards.
Cost Free (paid features available)

4. Green Screen (iMovie)
Providing you have the right equipment, you can create powerful videos using green screen to support learning. By cropping out irrelevant information, you reduce the load on the working memory. At my school, Year 8 Science students used pop-up green screens to explain how the heart works. Students used iMovie to layer the animation with the footage of themselves reading their explanations. This is also a powerful way for teachers to deliver content.
Cost Free (iPadOS and macOS only)

Student example of a green screen used to explain how the heart works.

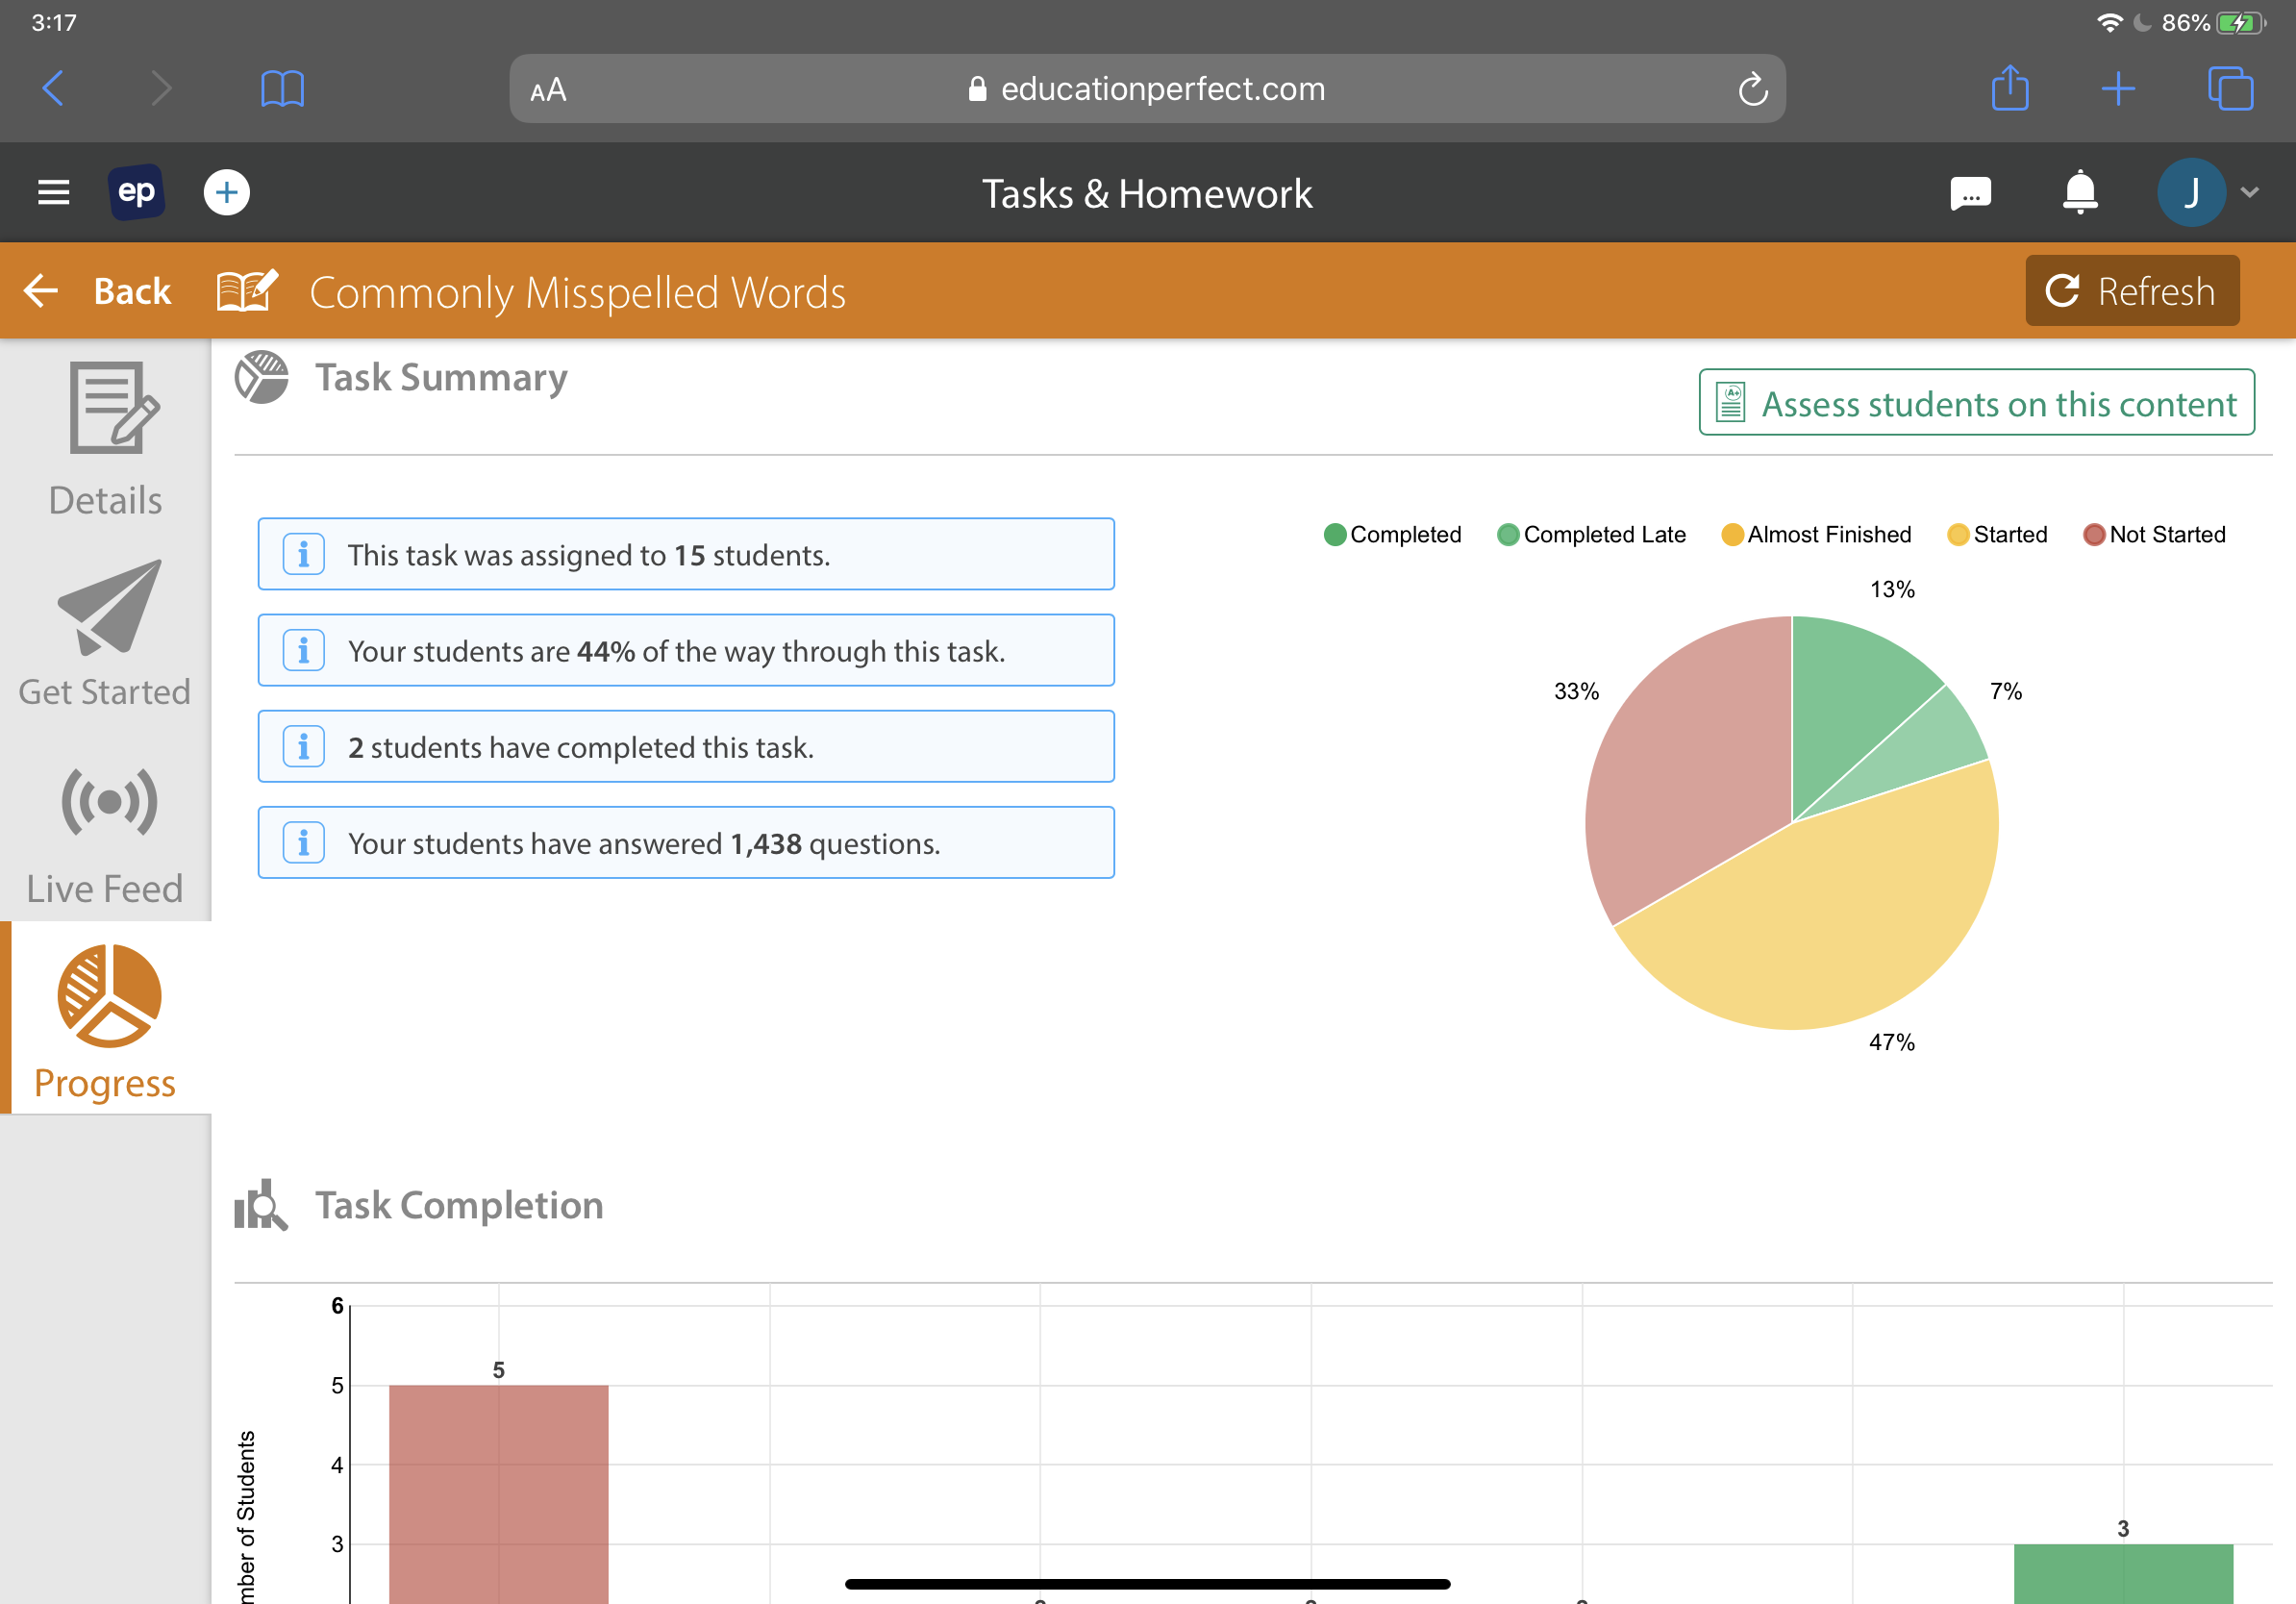
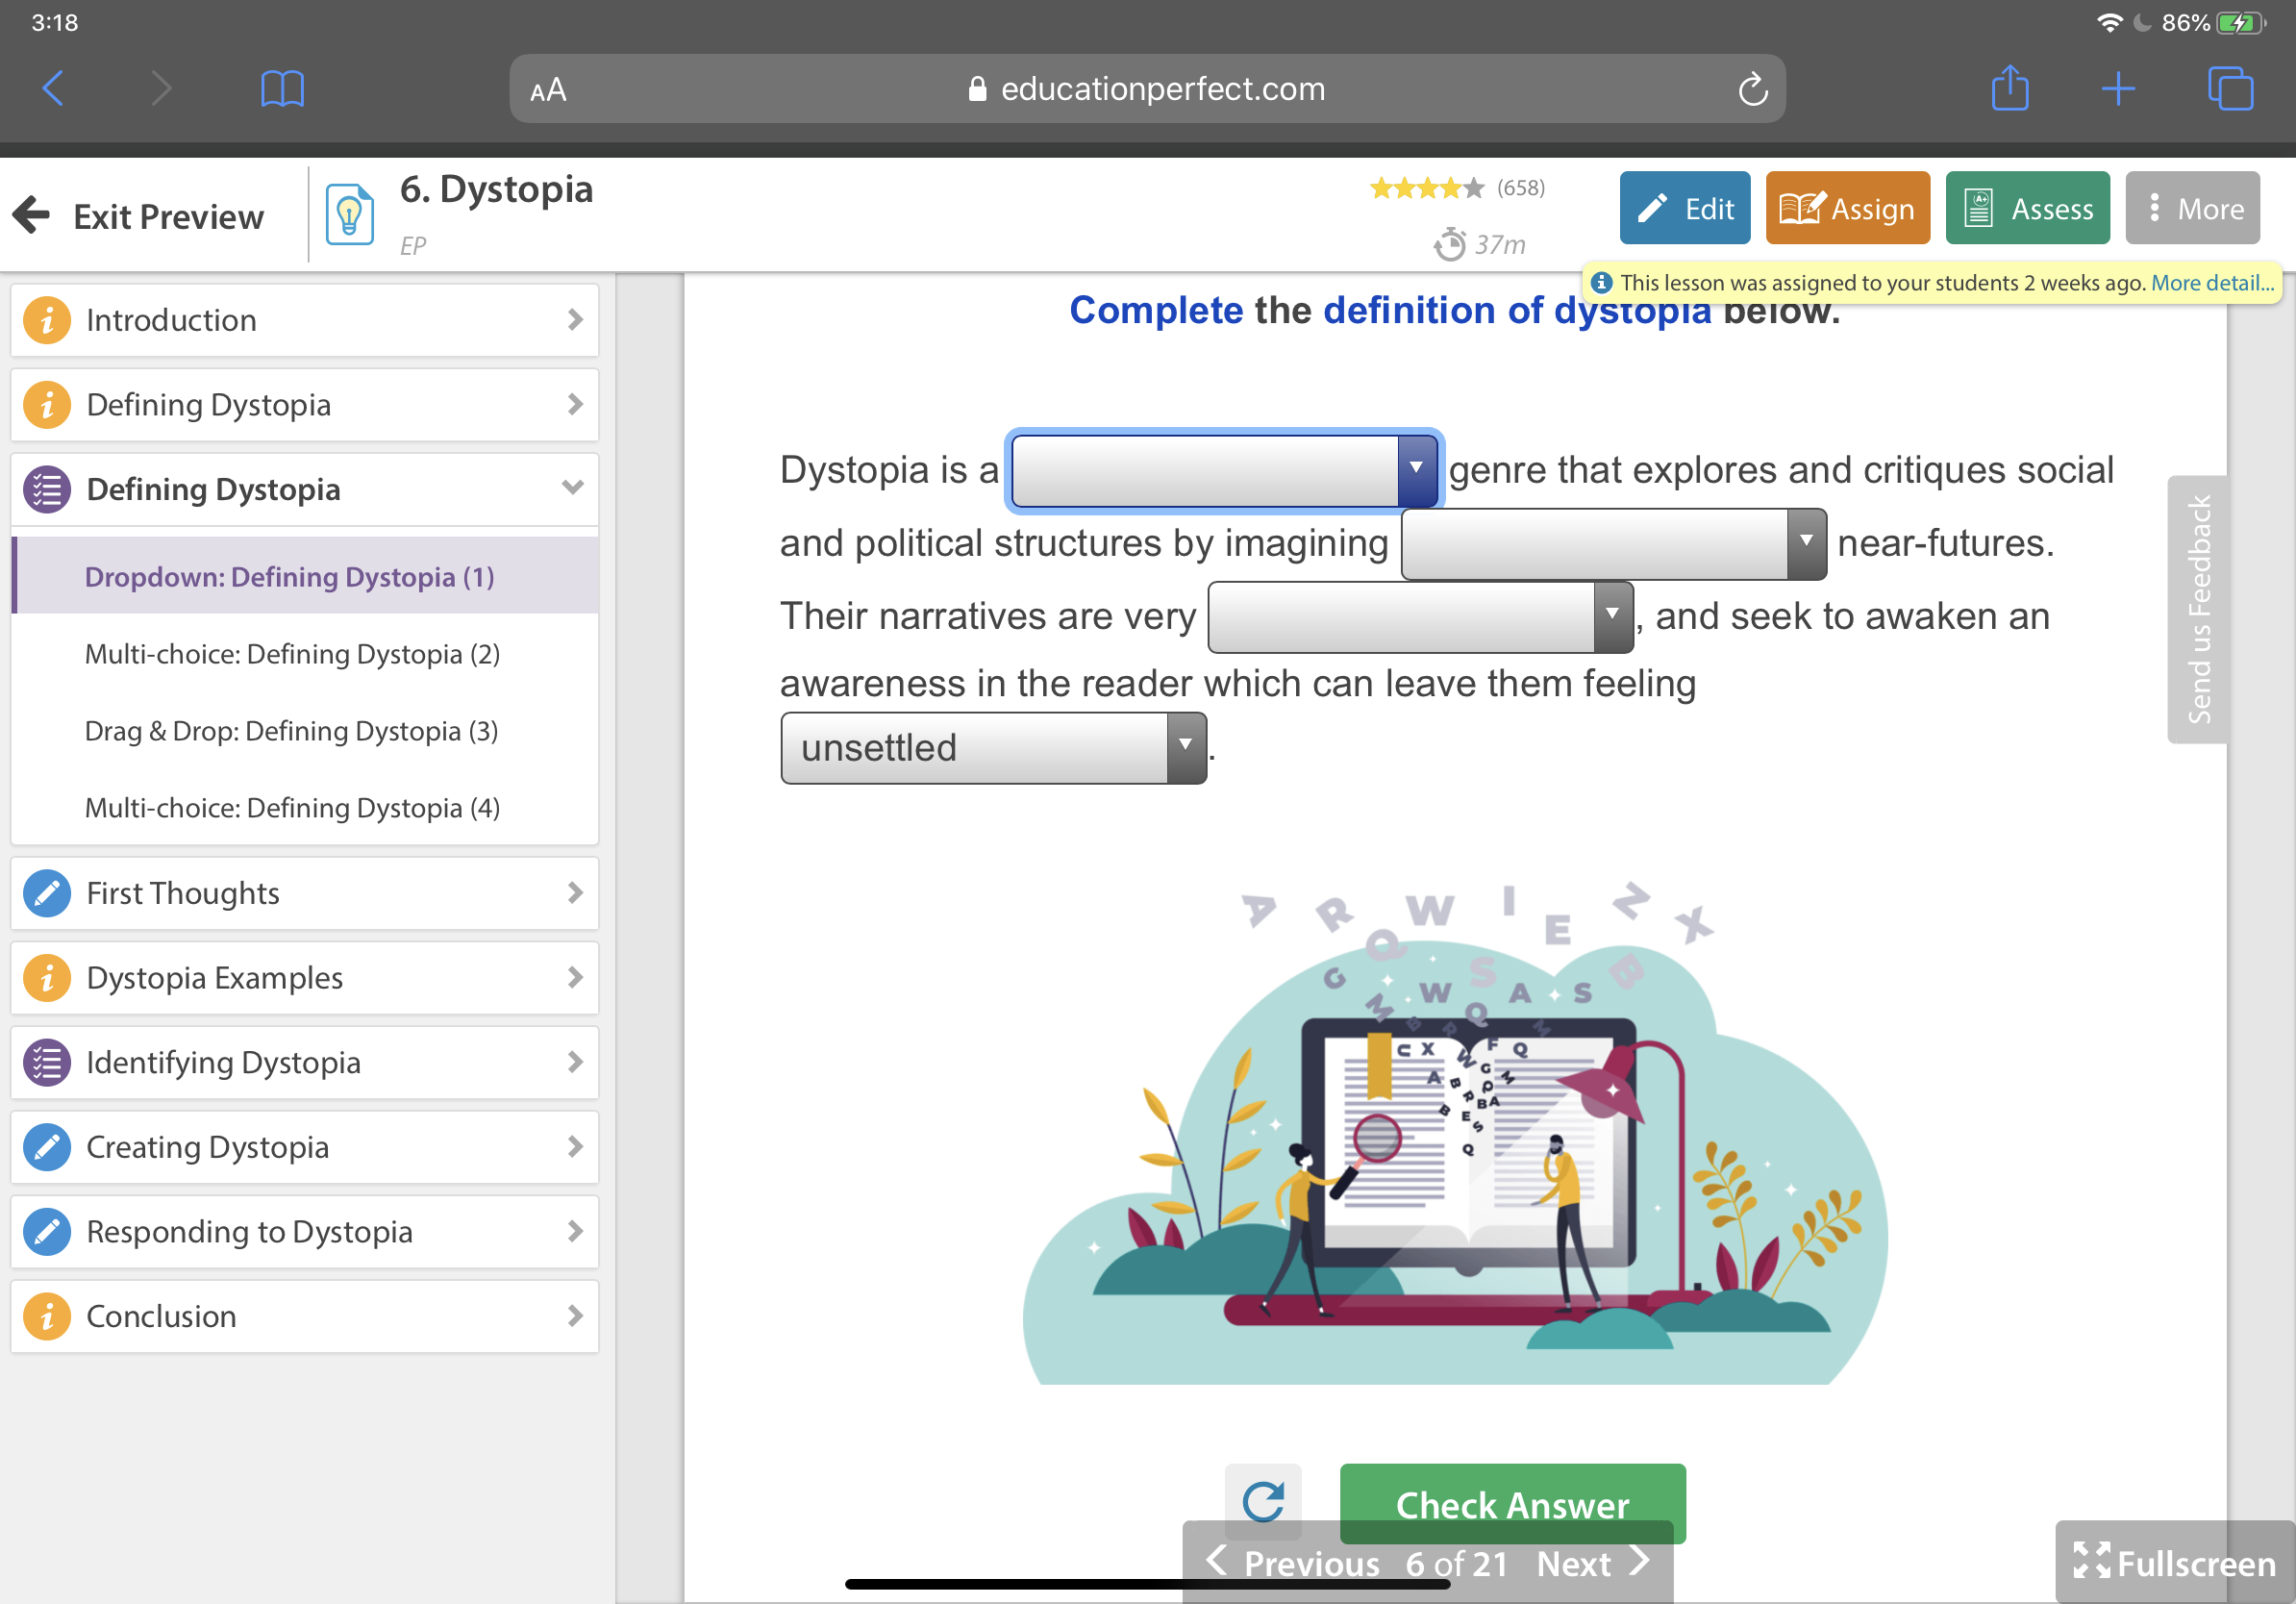
5. Education Perfect
If you school has the resources then Education Perfect is an effective and powerful adaptive learning tool. You can check students’ progress in real time and the software automatically generates extension or support activities based on student performance. Spaced repetition and gamification enhance knowledge acquisition and retention over time and the hundreds of Smart Lessons support learning with scaffolding, engaging images and videos. Fantastic for independent study.
Cost Subscription Model

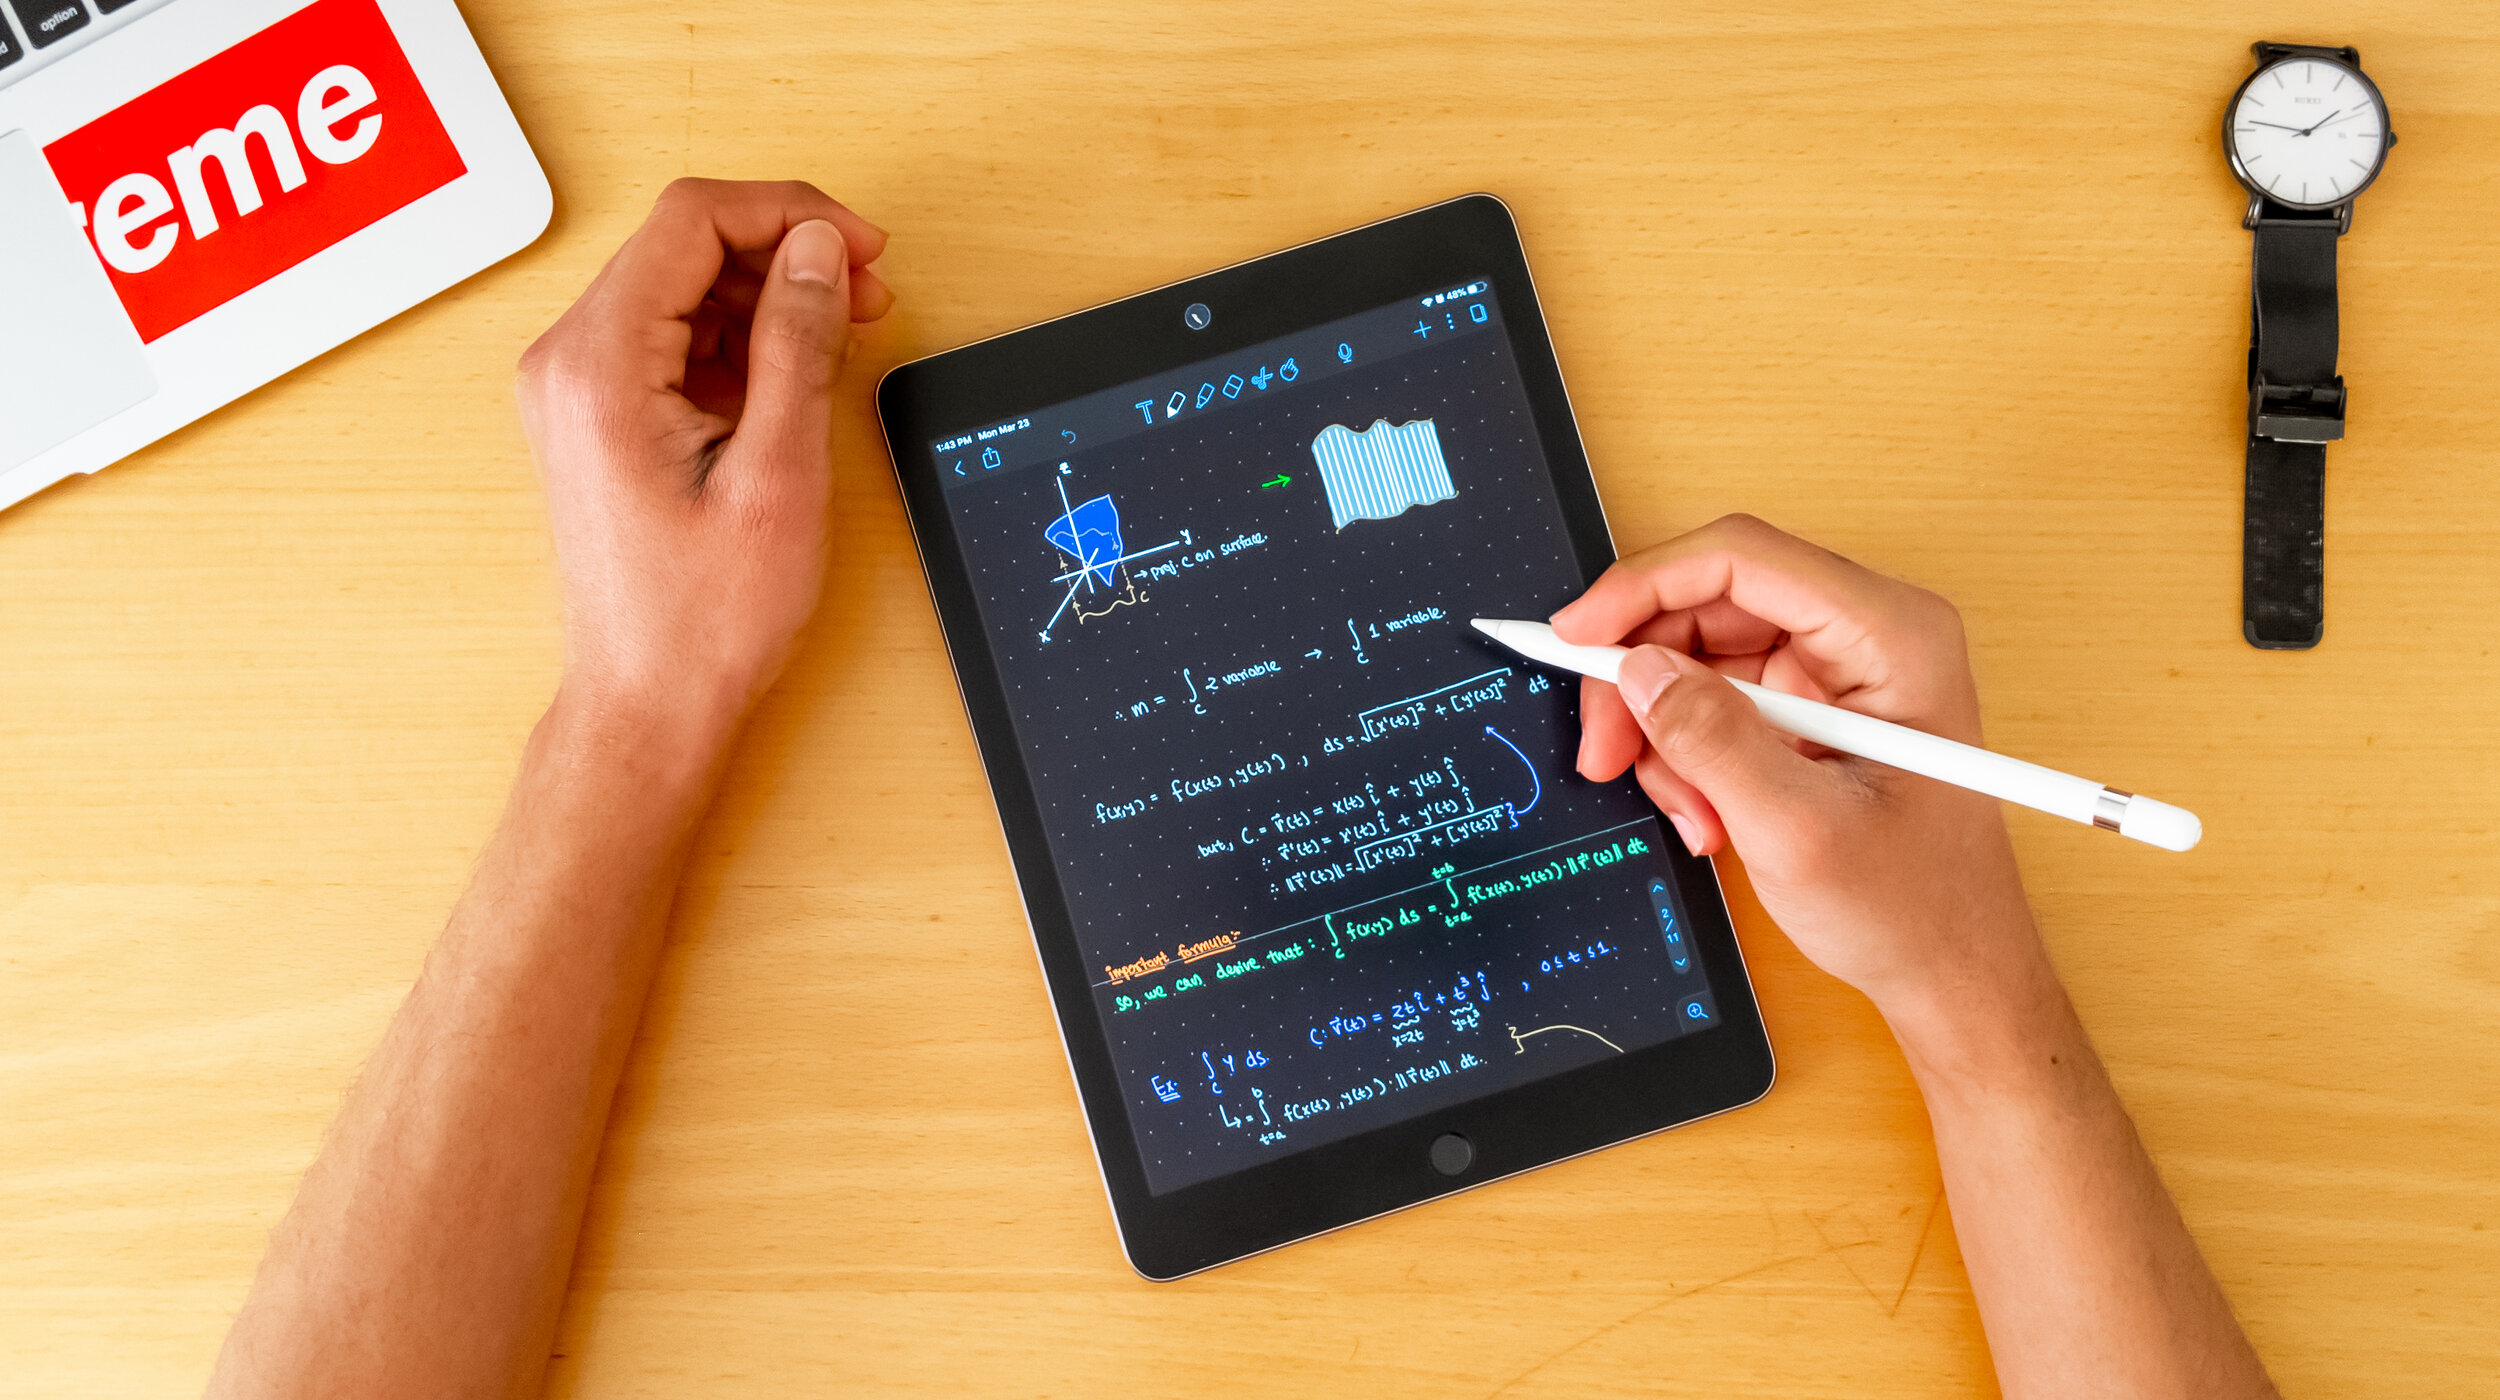
Top 10 iPad Apps for Revision
We all know revision is not easy! The good news is that students can make use technology to help organise, process and memorise learning effectively.
We all know revision is not easy! The good news is that students can make use of technology to help organise, process and memorise learning effectively.
Check out my top 10 iPad study apps to recommend to your students.
1. Quizlet
Quizlet is a digital flashcard app that allows students to create free study sets which assist in learning key ideas and concepts. Research in cognitive psychology has shown that using flashcards can help students memorise information more readily (as opposed to simply reading over notes). Quizlet includes other effective features such as ‘Match’ and ‘Learn’ comprehension features.
Cost Free with option to upgrade to premium features.

2. Adobe Spark Post
Make revision less tedious by creating professional graphics to represent key information. Adobe Spark Post allows students to transform their ideas into visual stories, which helps them remember key information. Whether they are learning quotations in English, or key terms in Science, this free app has hundreds of templates.
Cost Free with option to upgrade to premium features.

3. Loom
Loom is a free screencast tool which allows recording of a screen while adding annotations. Students can use the tool to display digital notes/presentations. They can then record themselves adding explanations. Questioning ‘how’ and ‘why’ and adding their own explanations helps students to think carefully and interrogate the information. This means it is more likely to be stored in the long term memory.
Cost Free
4. Quizizz
Quizizz has lots of searchable quizzes on hundreds of topics. It is proven by cognitive psychological research that regular quizzing improves the recollection of key ideas and concepts. With this in mind, it is beneficial for students to make a revision timetable to help schedule quizzes on a range of topics on a regular basis. Quizizz also allows teachers to create or assign ‘Homework’ quizzes to students. Check it out.
Cost Free

5. Popplet Lite
Students can use Popplet to create beautiful mind-maps to help visualise a topic or present key ideas. This app allows students to organise facts, thoughts, and images and develop relationships between them. In this free version, only one Popplet can be created. When students are finished, tell them to save a screenshot and start a fresh Popplet on a new topic!
Cost Free
6. Padlet
Padlet is a great practical tool to use when students are studying with friends or a larger group. Digital bulletin boards can be created and collaborated on in order to share or brainstorm ideas on a topic. This is often a great starting point before getting into the nitty-gritty of memorising ideas, facts and key content. Once students have finished collaborating, they can save their work as a glossy PDF to share with everyone.
Cost Five free Padlets with option to upgrade to premium features.

7. Numbers
By deleting the default table in Numbers on iOS, students can create a blank canvas to write, add images, and videos. This is a great (free) alternative to other note-taking apps which can be costly. Adding tabs to the Numbers document can help students separate and categorise their notes onto different sheets. This is perfect for brainstorming and sketching key ideas and concepts. Students can also screen-record their notes and view later using the screen-recording tool built in to iOS.
Cost Free

8. Canva
Canva allows you to create stunning professional visuals using a range of pre-made templates. Students can use this app to summarise topics, key ideas or concepts by creating infographics with dot-points, visuals and headings. Research has proven that combining visuals and key words gives students a greater chance of remembering key learning.
Cost Free with option to upgrade to premium features.

9. Clips
Clips is a free creative video app which allows students to make quick, professional-looking videos. Challenge students to create short and simple explanation videos to support their study of a topic or concept. A range of features such as images, key words, stickers, and Live Titles can be added to help them visualise and enhance their ideas.
Cost Free

10. Class Timetable
Class Timetable does exactly what it says on the tin. It helps students to organise their assignments, add deadlines to projects and record homework notes etc. For revision purposes, encourage students to create a revision timetable and colour code each topic so that they can space their learning and and return to old topics over their scheduled weeks. Simple and effective!
Cost Free with option to upgrade to premium features.

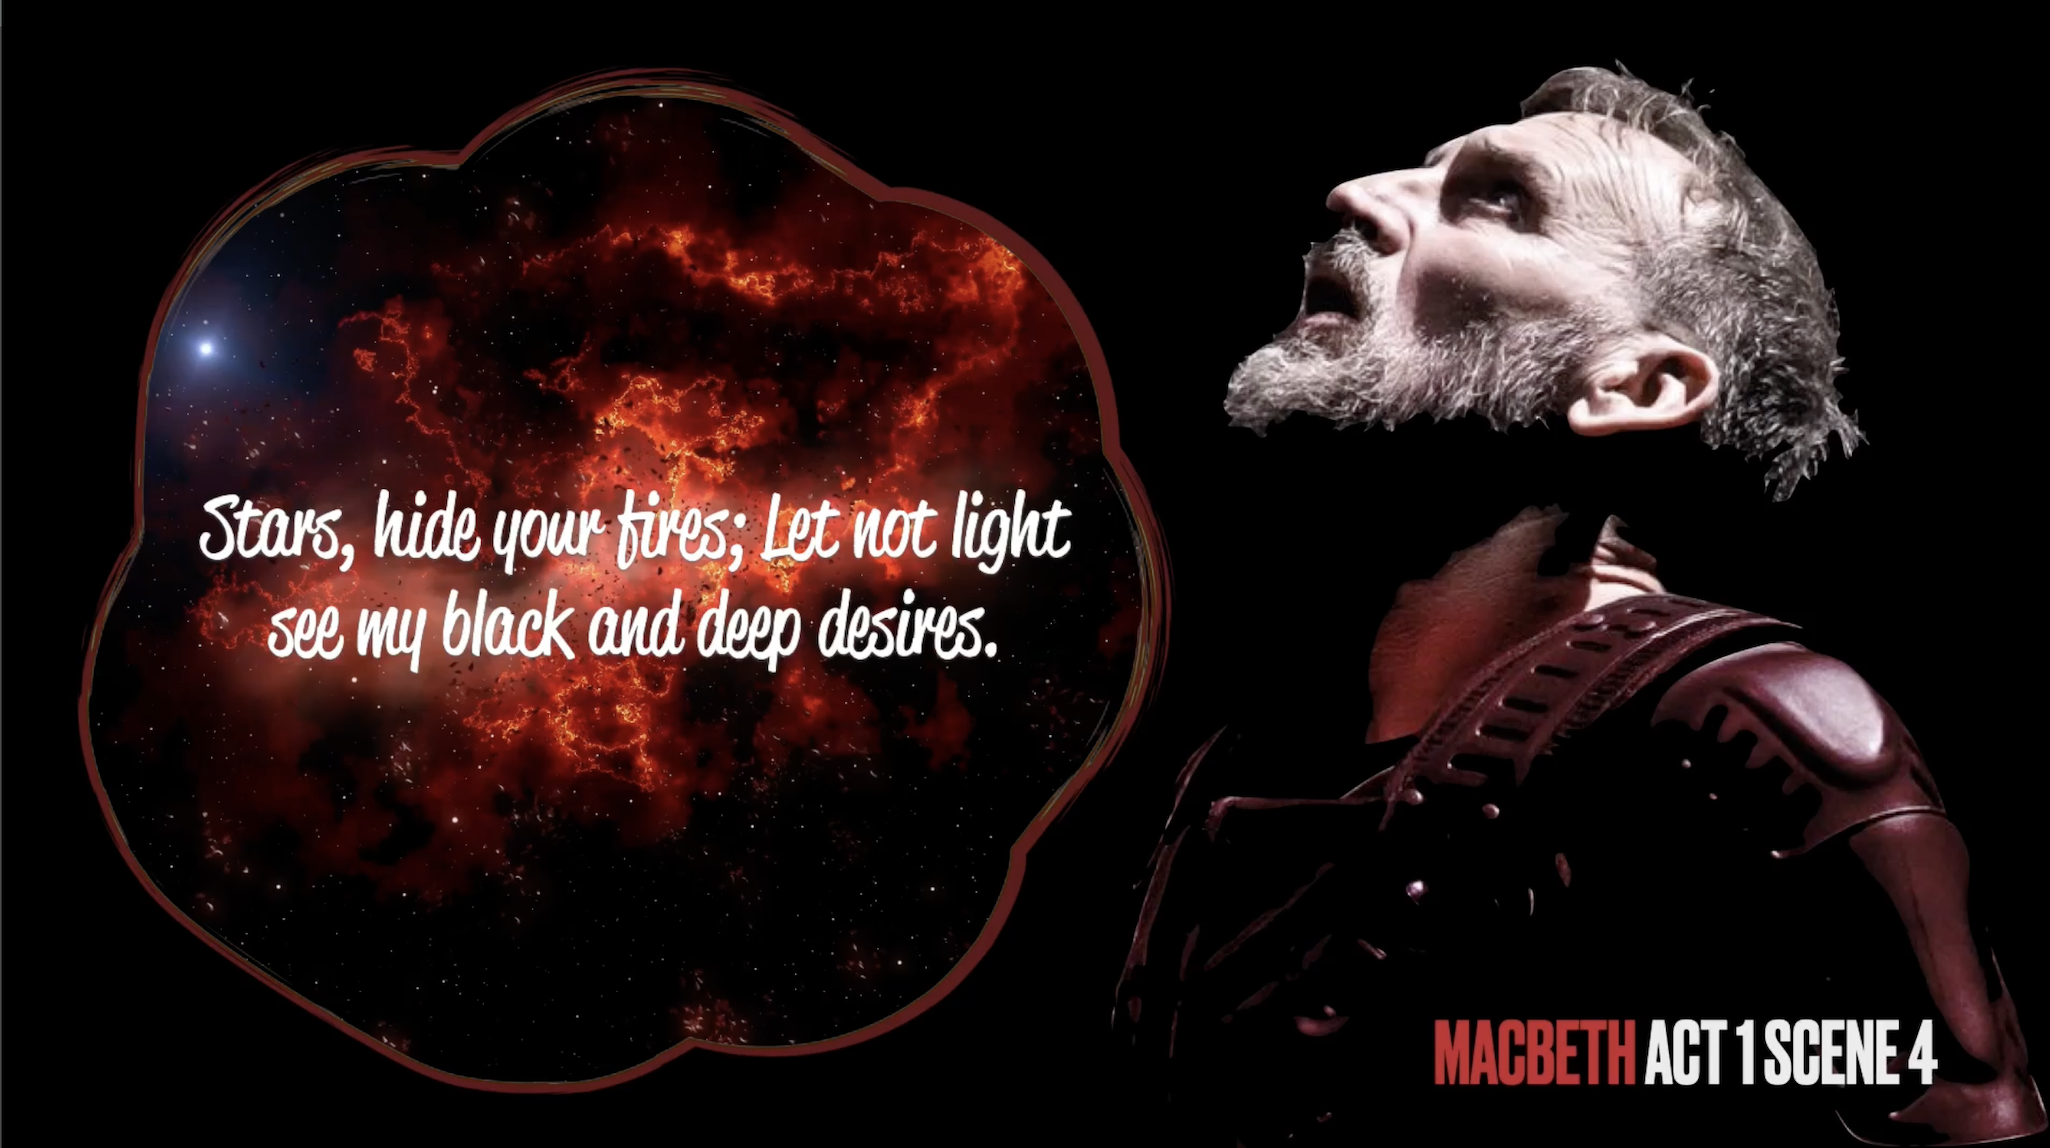
Learning with Digital Green Screen
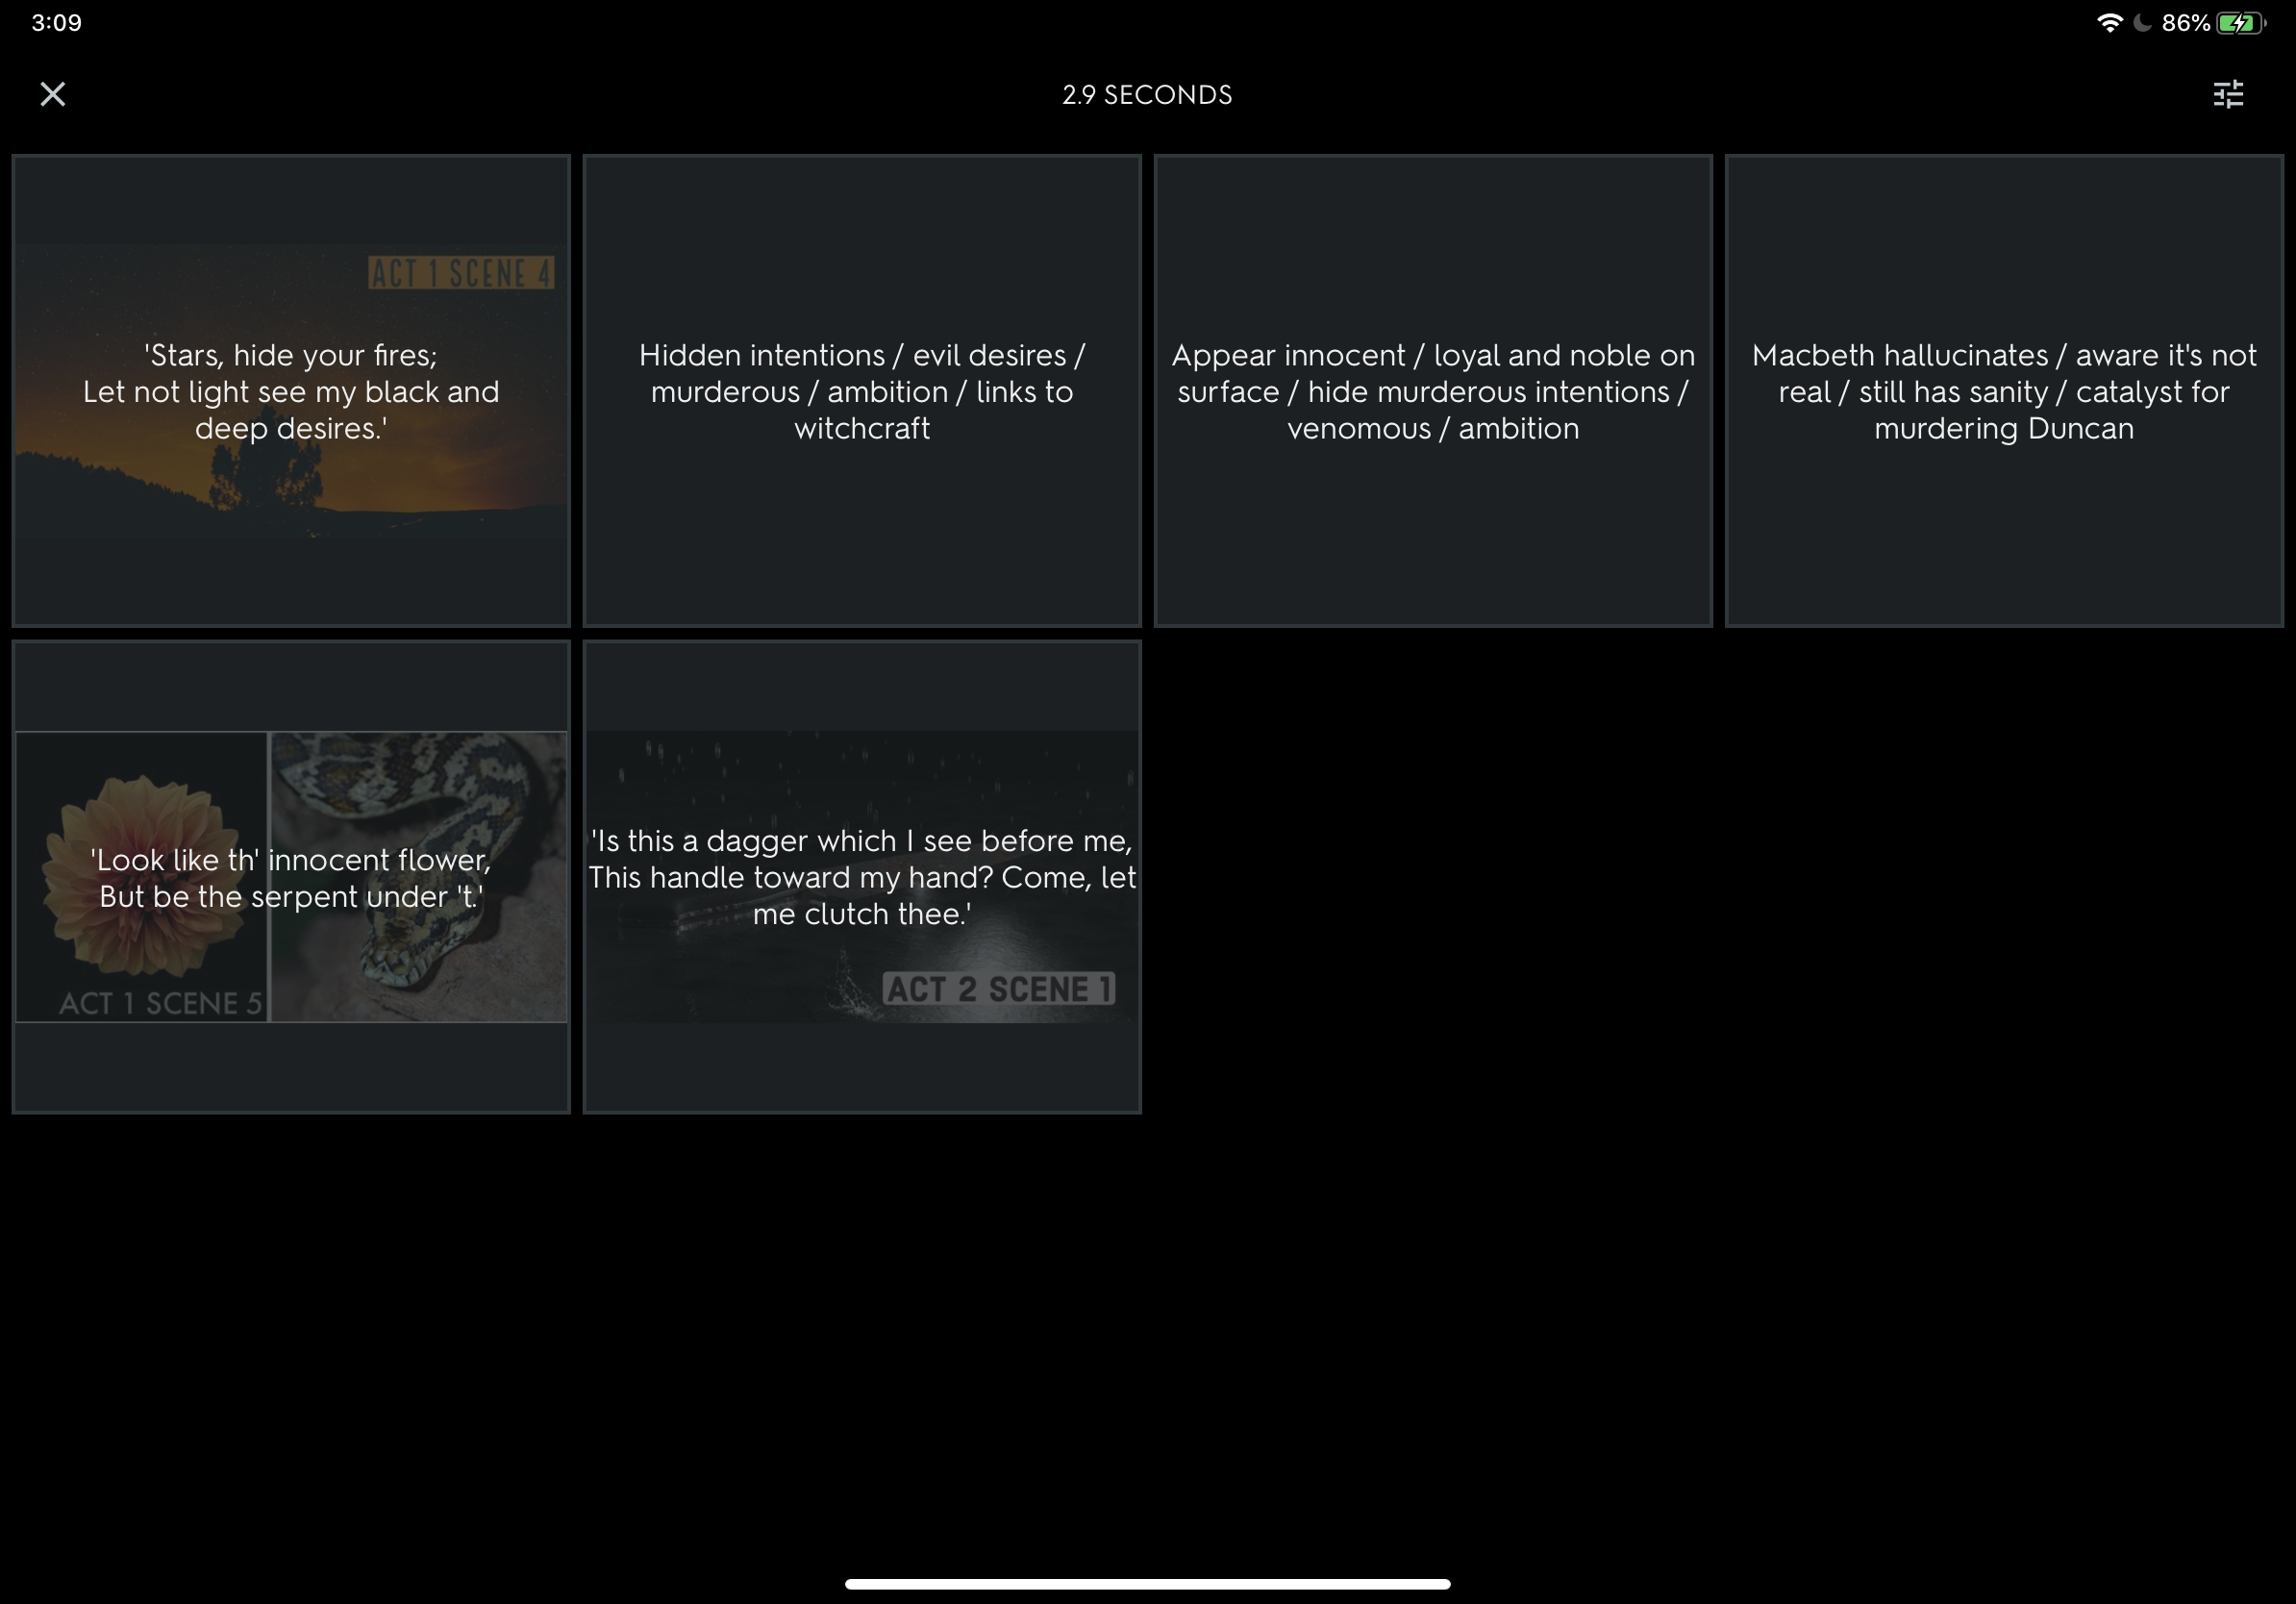
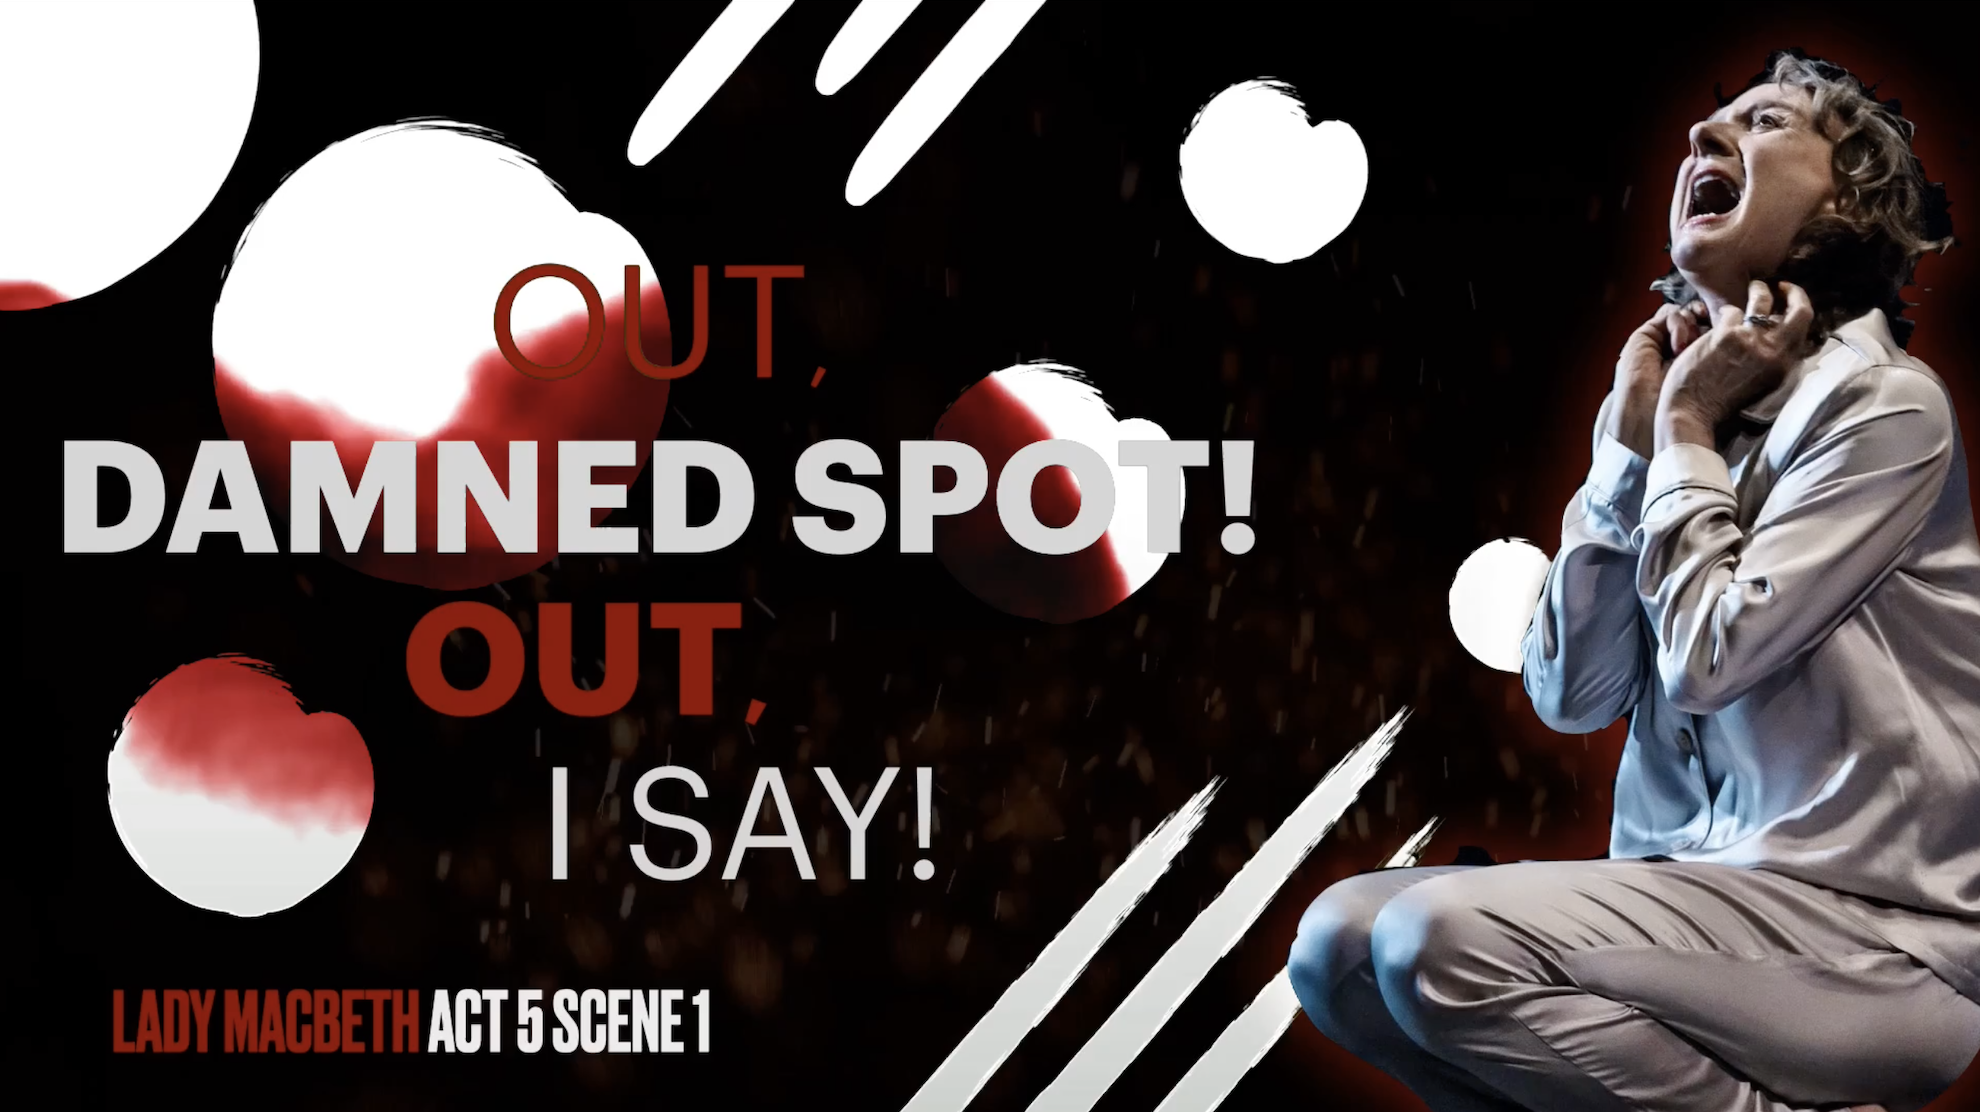
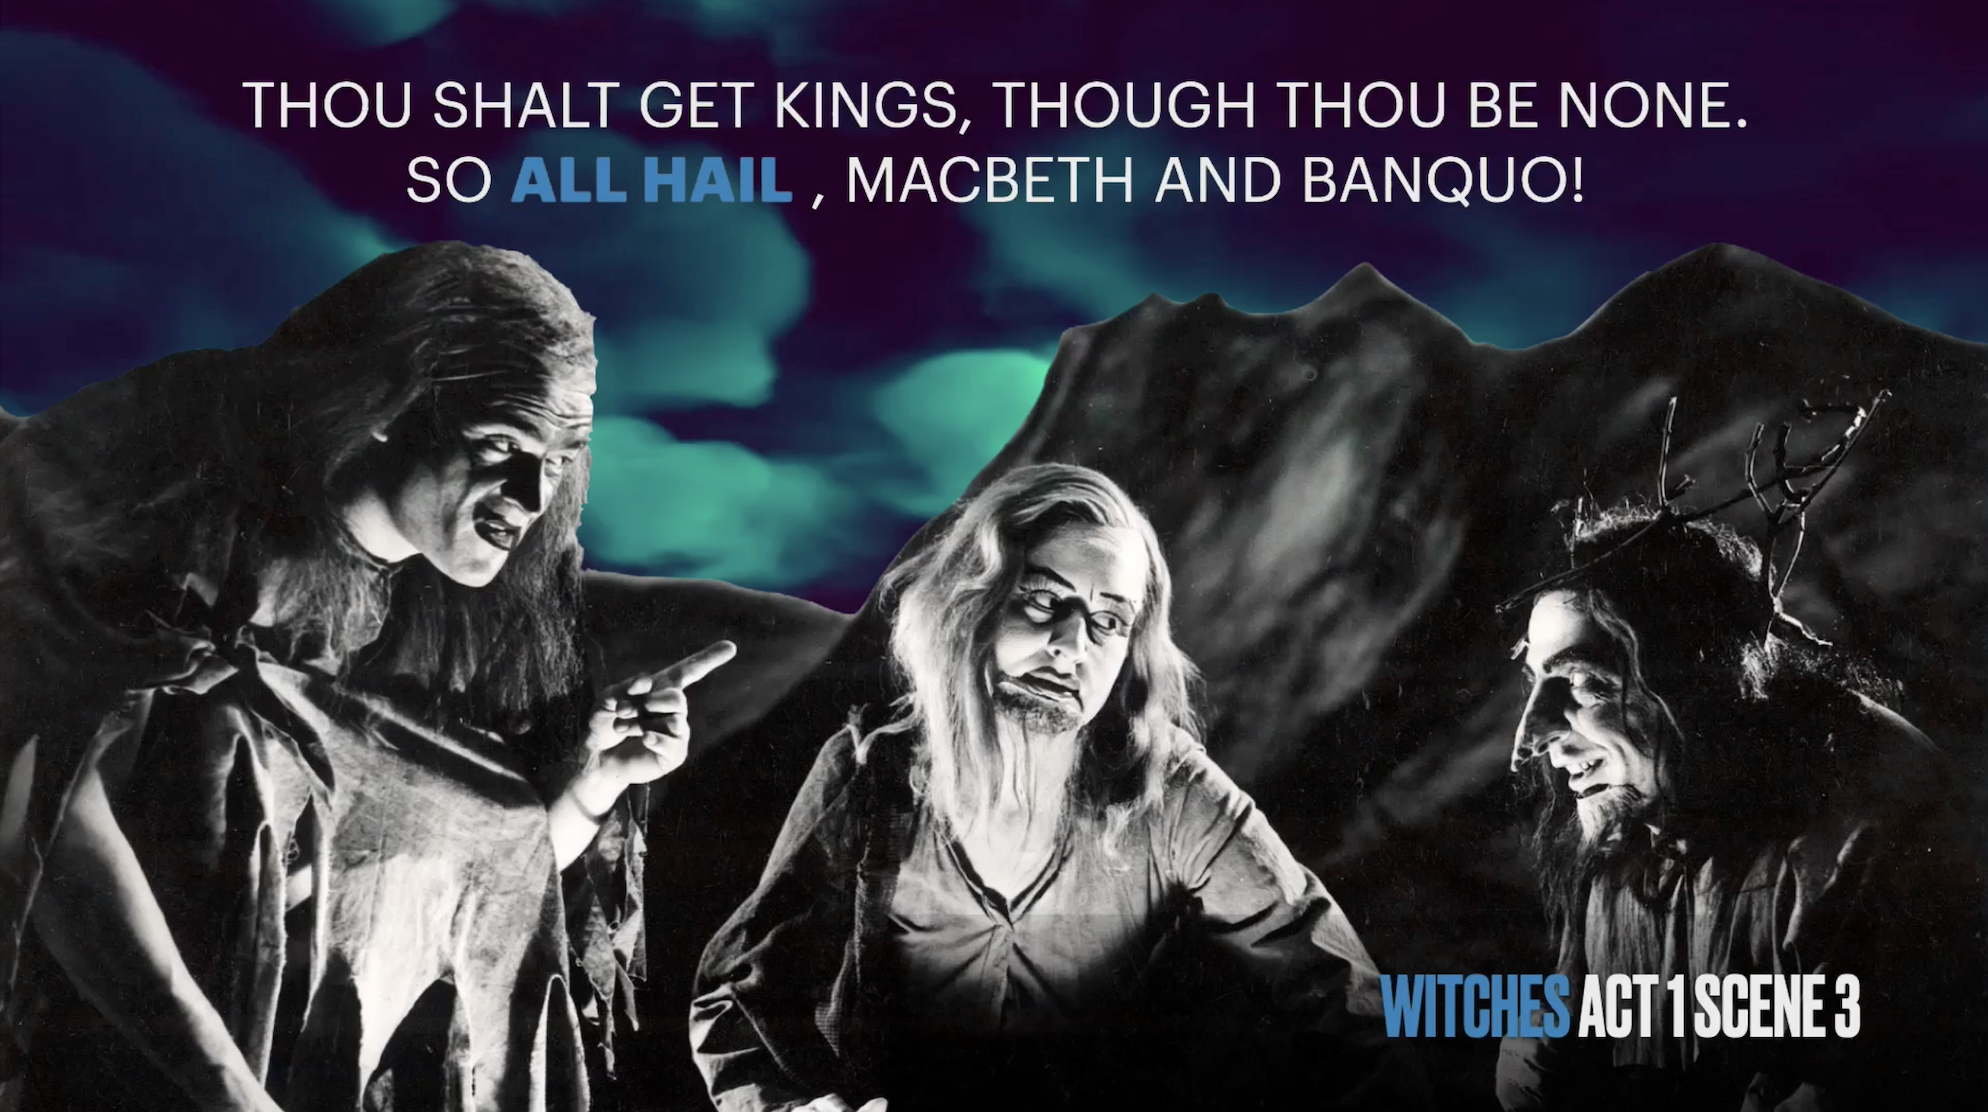
You might have seen recently on Twitter my example ‘Macbeth’ animated quotations made with digital green screen in Keynote and iMovie. I found the process of creating these can be a powerful method for students to explore the main quotations deeply whilst engage in deeper thinking.
I love teaching ‘Macbeth’. Like all of Shakespeare’s plays, it’s full of imagery and beautiful language that students can sink their teeth into. As I teach the play nearly every year, I'm always looking out for new and engaging ways to explore the text. While I love discussing, explaining and teaching key knowledge, I believe there is always scope for students to engage with ‘Macbeth’ creatively and meaningfully.
I first came across the digital green screen technique last year when Apple integrated the ‘Green/Bluescreen’ feature into iMovie. At the time, it ignited an explosion of tweets showcasing various ways it can be used with students - from wormholes to fun animations. Scrolling through Twitter, I appreciated the excitement and creativity on show - however, it brought me back to a question I tend to ask a lot: why? Two principles I stand by are:
Good pedagogy should always precede the use of technology.
Getting students to think should always precede getting students to do.
With this in mind, I was reluctant to introduce green screen at first. I always want my students to be excited about English and think deeply about layers of meaning but I was afraid that tinkering with green screen would just be a fun exercise. That’s when I saw a tweet by my good friend Lou Cimetta (@Blueprintlearn) who showed how green screen can be used to open a window to reveal deeper understanding. This got me thinking…
How could my students engage with deep thinking and subsequently present their understanding in a creative and visual way?
You might have seen recently on Twitter my example ‘Macbeth’ animated quotations made with digital green screen in Keynote and iMovie. I found the process of creating these can be a powerful method for students to explore the main quotations deeply whilst engage in deeper thinking.
1. Analyse & visualise first by dual coding
Before getting into the creative stuff, students really need to know the ins-and-outs of the quotations they will present. This will enable them to visualise them properly when it comes to creating their green screen animation. I often ask students to ‘explode a quotation’ and break it down into individual ideas, words and images. This is followed by a sequence of simple sketches supported by words from the quotation to help them form visualisations. Dual coding is a powerful way of helping students develop a deep connection and consolidate their understanding of key concepts - this is an important step before beginning a digital green screen project.
2. Have a go yourself and live model examples
When students are ready, walk them through the process of creating a digital green screen (I’d advise you to have a go yourself so that you know how it works). Live modelling the main steps and providing a simple instructional slide can also help to direct students through the activity. What’s more, tutorial videos are always helpful because students can rewatch them as many times as they like. Luckily, I have created two tutorial videos for both beginners and experts - you can find the YouTube playlist below!

3. Ask process questions & encourage metacognitive talk
Once completed, challenge students to explain their animations and narrate their thinking processes throughout. Prompt them to respond to process questions like - why did they choose a specific image? What insight does it give into the mindset of the character? What words have you captured in your image and why? Why did you choose that particular sound track? You can also take this further by asking students to write an analytical response to the work they have animated. If you have structured the activity effectively, you might be surprised at the quality of responses you receive.
Feel free to reach out on Twitter if you have any questions - I’d love to see some examples of what your students come up with!

Unleashing Digital Creativity
Term One of our Digital Creativity course has come to a close. Read all about the way our Year 7 and 8 students are implementing iPad skills inspired by Apple’s Everyone Can Create curriculum.
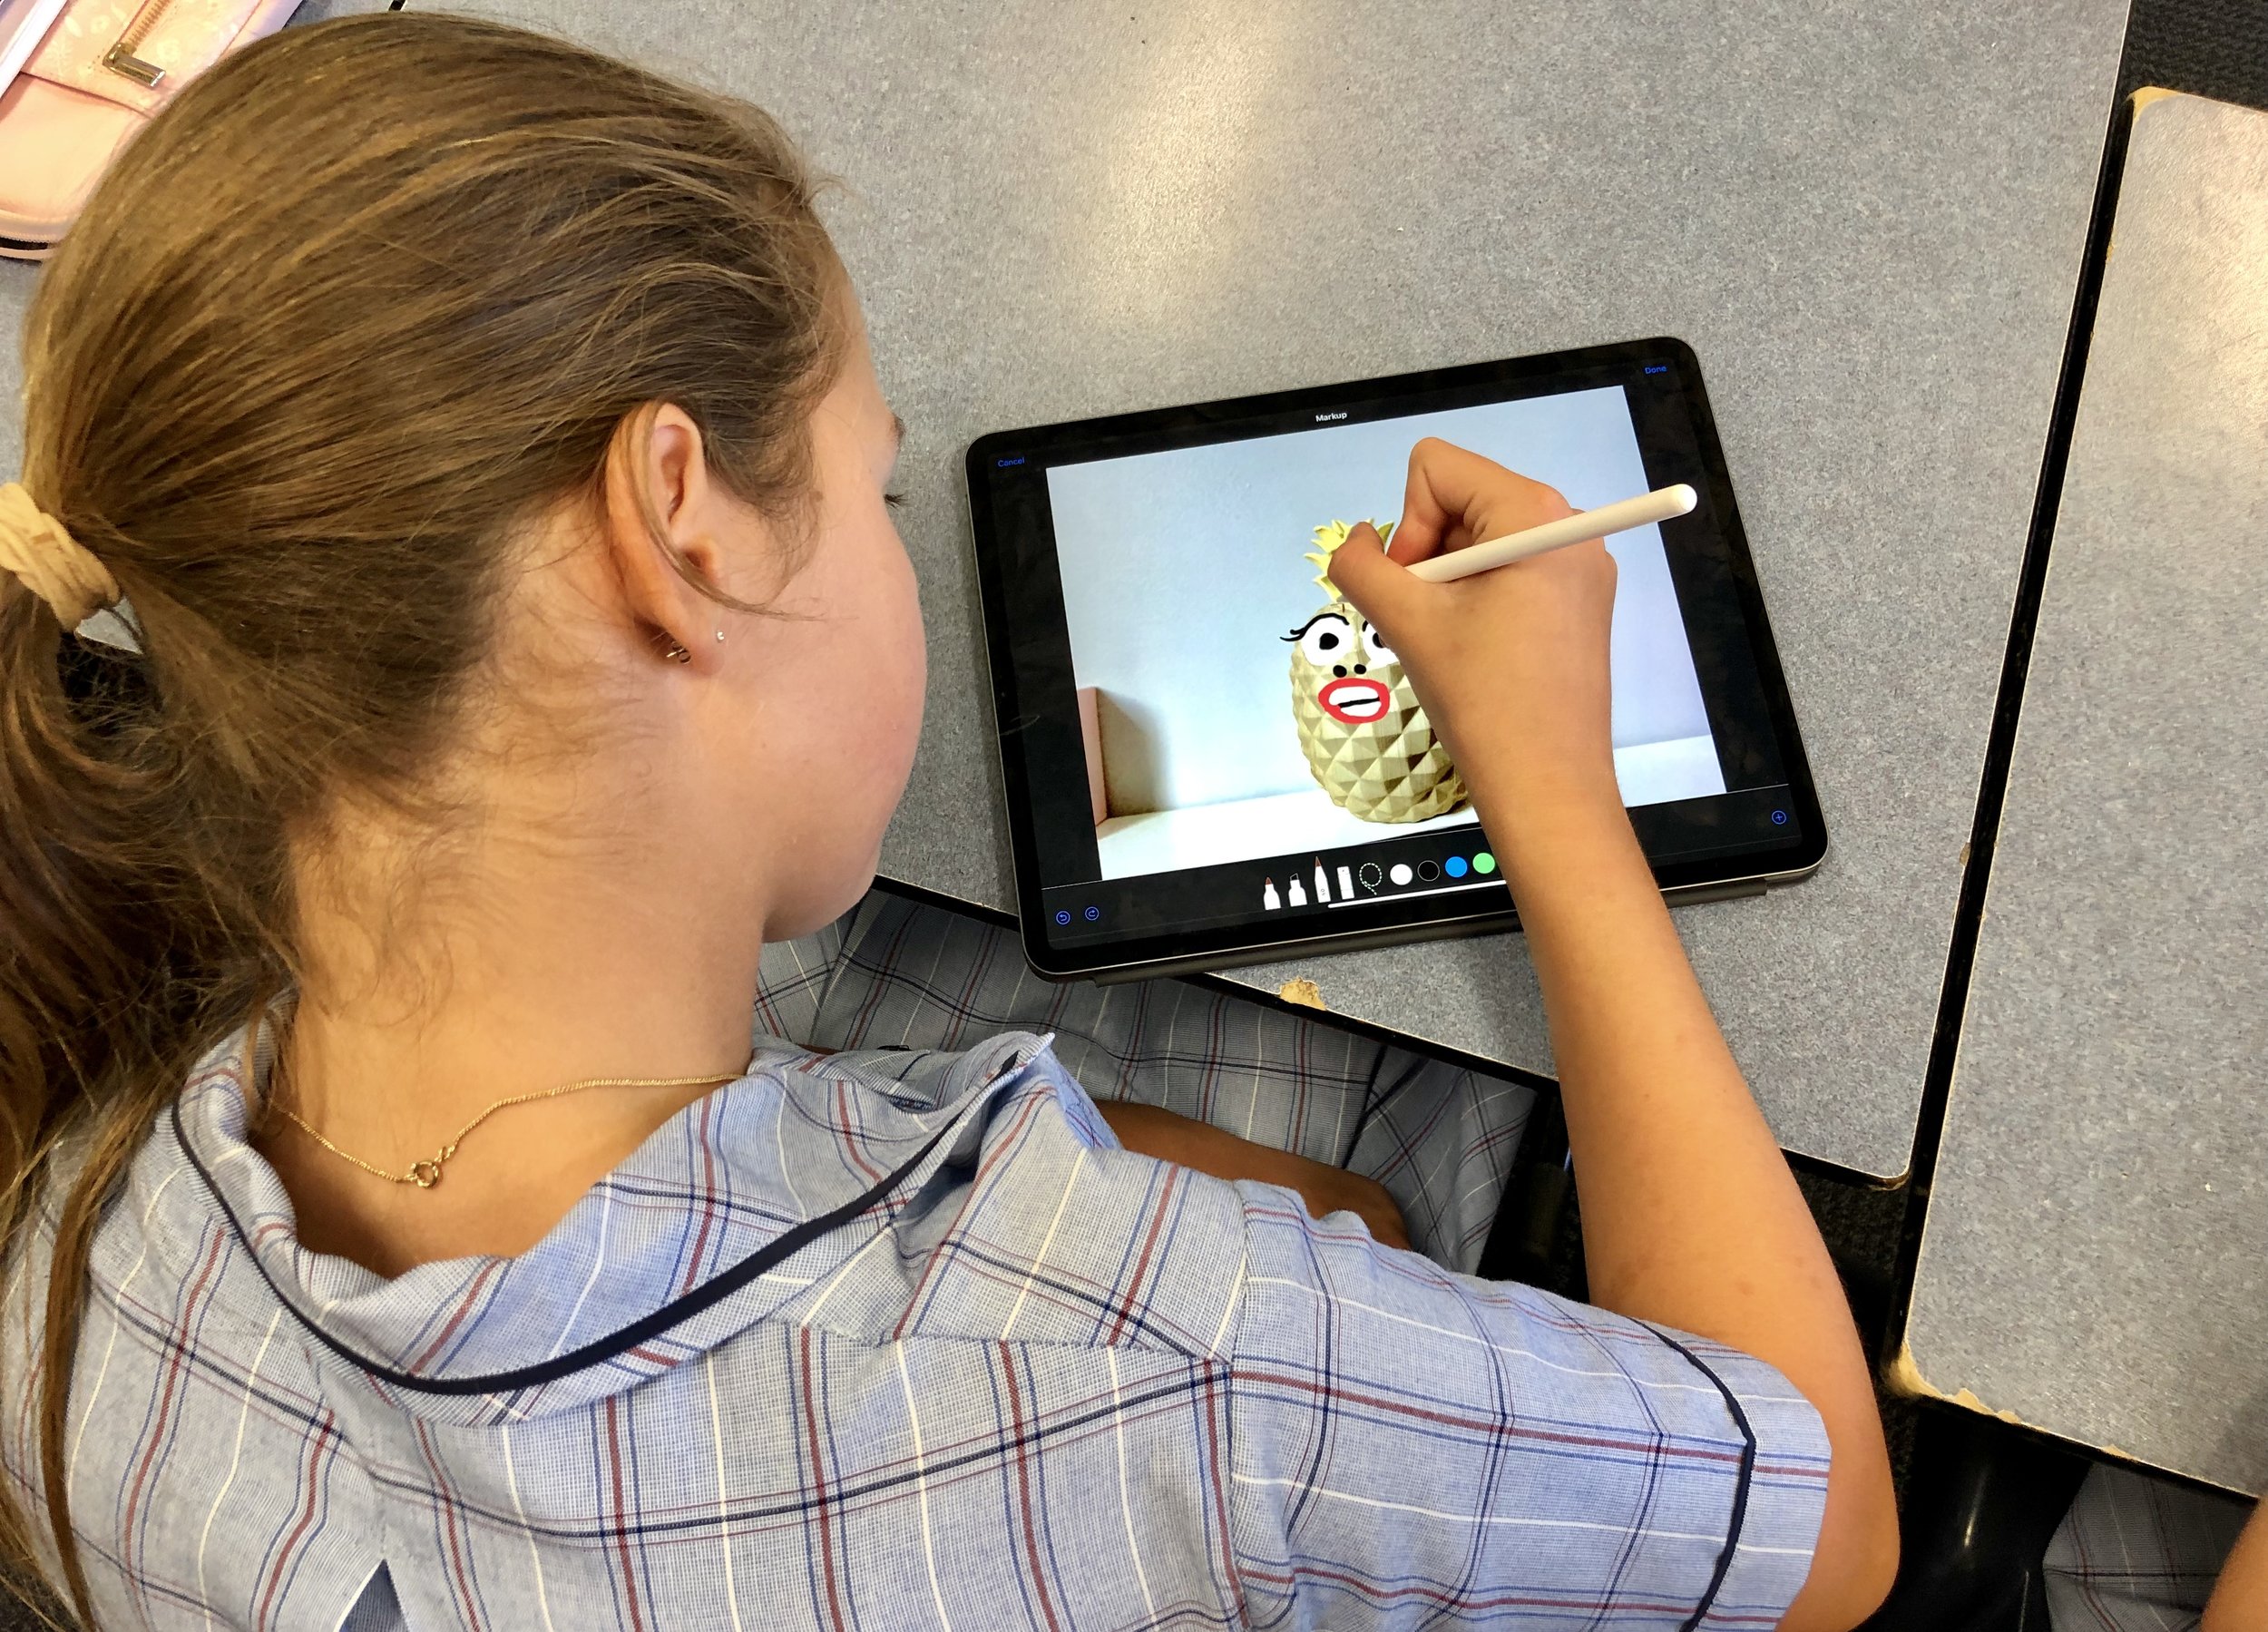
Term One of our Digital Creativity course has come to a close and students at Corpus Christi College have loved it. Over the past ten weeks Year 7 and 8 students have ignited their creative spirits by freely expressing imaginative ideas in innovative ways. Based on Apple’s Everyone Can Create curriculum, the course has empowered students by teaching them core iPad skills which encourage learning through photography, drawing, audio and video.


![Sketches 4[1].jpg](https://images.squarespace-cdn.com/content/v1/5c47c0b3e17ba324ad0c9d7f/1555038955722-7EC72RM69XP0PU46HEHD/Sketches+4%5B1%5D.jpg)
Each week, students have learned new techniques such as how to take and edit stunning photos making proper use of angles, lighting, contrast and composition. With Apple Pencil, students have used the Mark-up tool to add drawings to photographs to tell stories. Sketch-noting has enabled students to draw concrete examples of abstract ideas and Apple Clips has allowed students to record videos that include words, effects and graphics.

“The Digital Creativity Classroom is one of fun, excitement and engagement where the class time is always too short and students don’t want to turn off their devices and end the lesson even after the bell has gone.” Rhonda Armenti (Digital Creativity Teacher)
Digital Creativity supports the College’s Vision for Learning, ‘Ignite the Spirit’ which has connection, curiosity,challengeand creativityas its pedagogical foundation. By building a culture of creativity with iPad, Year 7 and 8 students have discovered new talents and developed innovative ways to show their learning. As a knock-on effect, we have also seen drawing, photography, video and audio being integrated into curriculum classes.
“I like learning these skills because they will help me use them in other subjects – for example, I used Clips in a Science project to make it more interesting.”Xavier(Year 7 student)
If you’d like to see more Digital Creativity, check out the hashtag, #CorpusCreateson Twitter for snap-shots of the course in action. You can download Apple’s Everyone Can Create project guides free from Apple Books.
Until next time.

Digital Creativity for ALL Learners
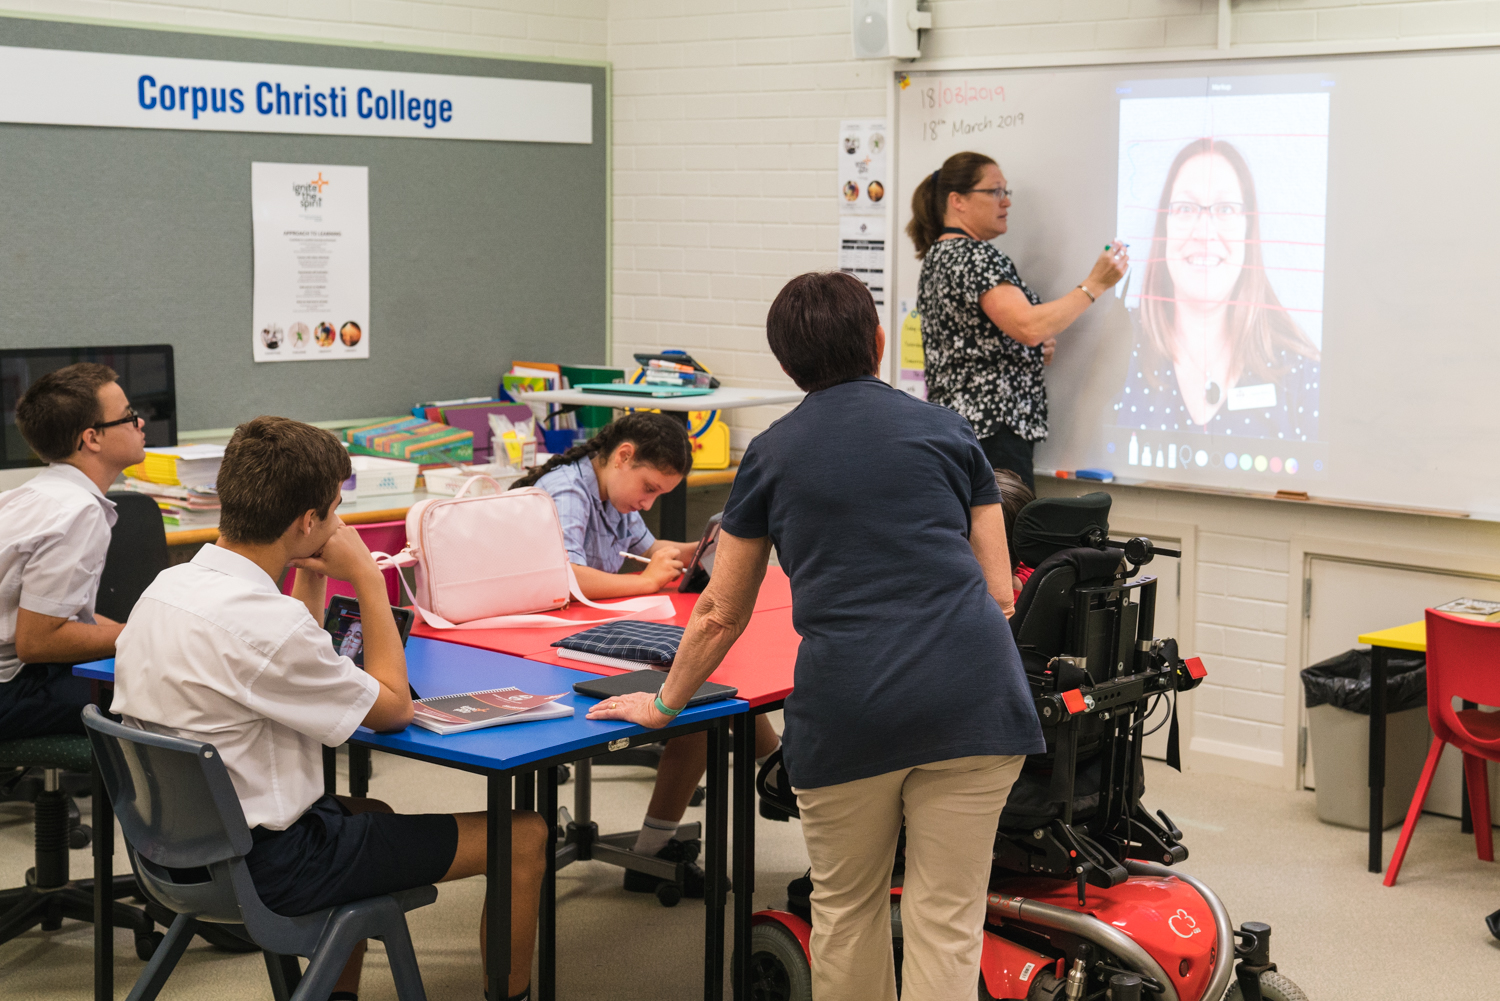
Our new Digital Creativity course for Year 7 and 8 has made a massive impact on our students with disabilities at Corpus Christi College. The course is based on Apple’s Everyone Can Create curriculum and is designed to provide students with core digital skills in photography, video, audio and drawing.
Our new Digital Creativity course for Year 7 and 8 has made a massive impact on our students with disabilities at Corpus Christi College. The course is based on Apple’s Everyone Can Create curriculum and is designed to provide students with core digital skills in photography, video, audio and drawing.

Every week, students participate in two Digital Creativity lessons to help consolidate their learning. Students have loved showing off their newfound creative talents by teaching staff and older students with disabilities how to execute the perfect photo, draw a realistic self-portrait and map-out a detailed sketch-note of their favourite holiday destination.
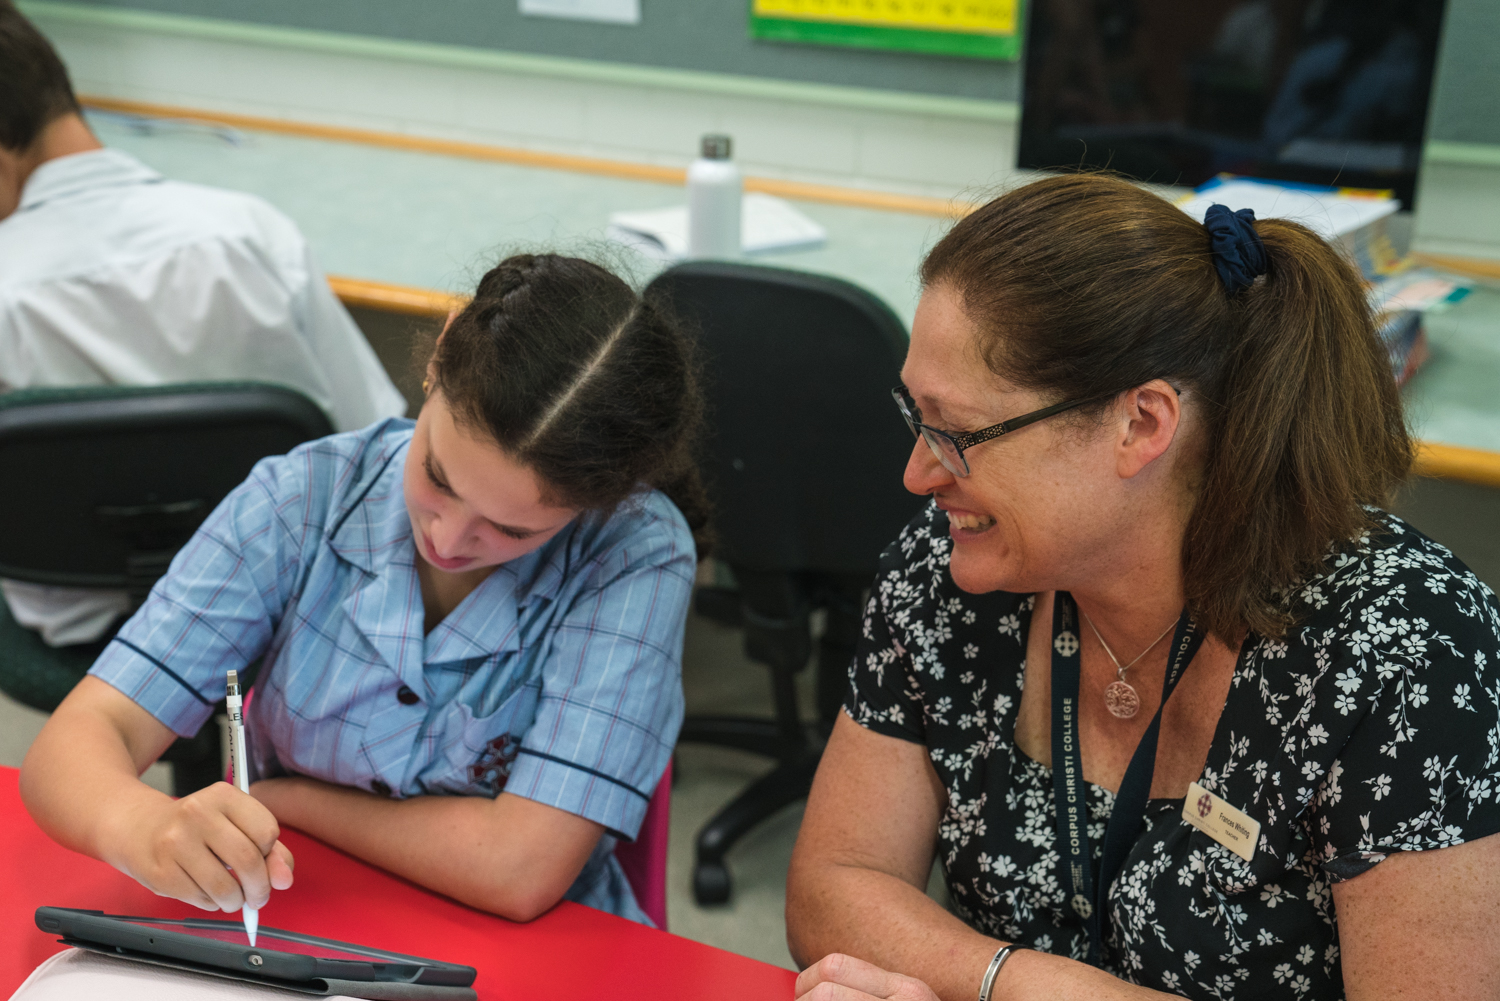
“As Digital Creativity has given the students the opportunity to showcase their learning in different formats, we have seen their confidence and self-esteem sky-rocket. Students are able to engage and communicate in different ways which simply weren’t possible before.”- Frances Whiting (Educational Support Teacher)
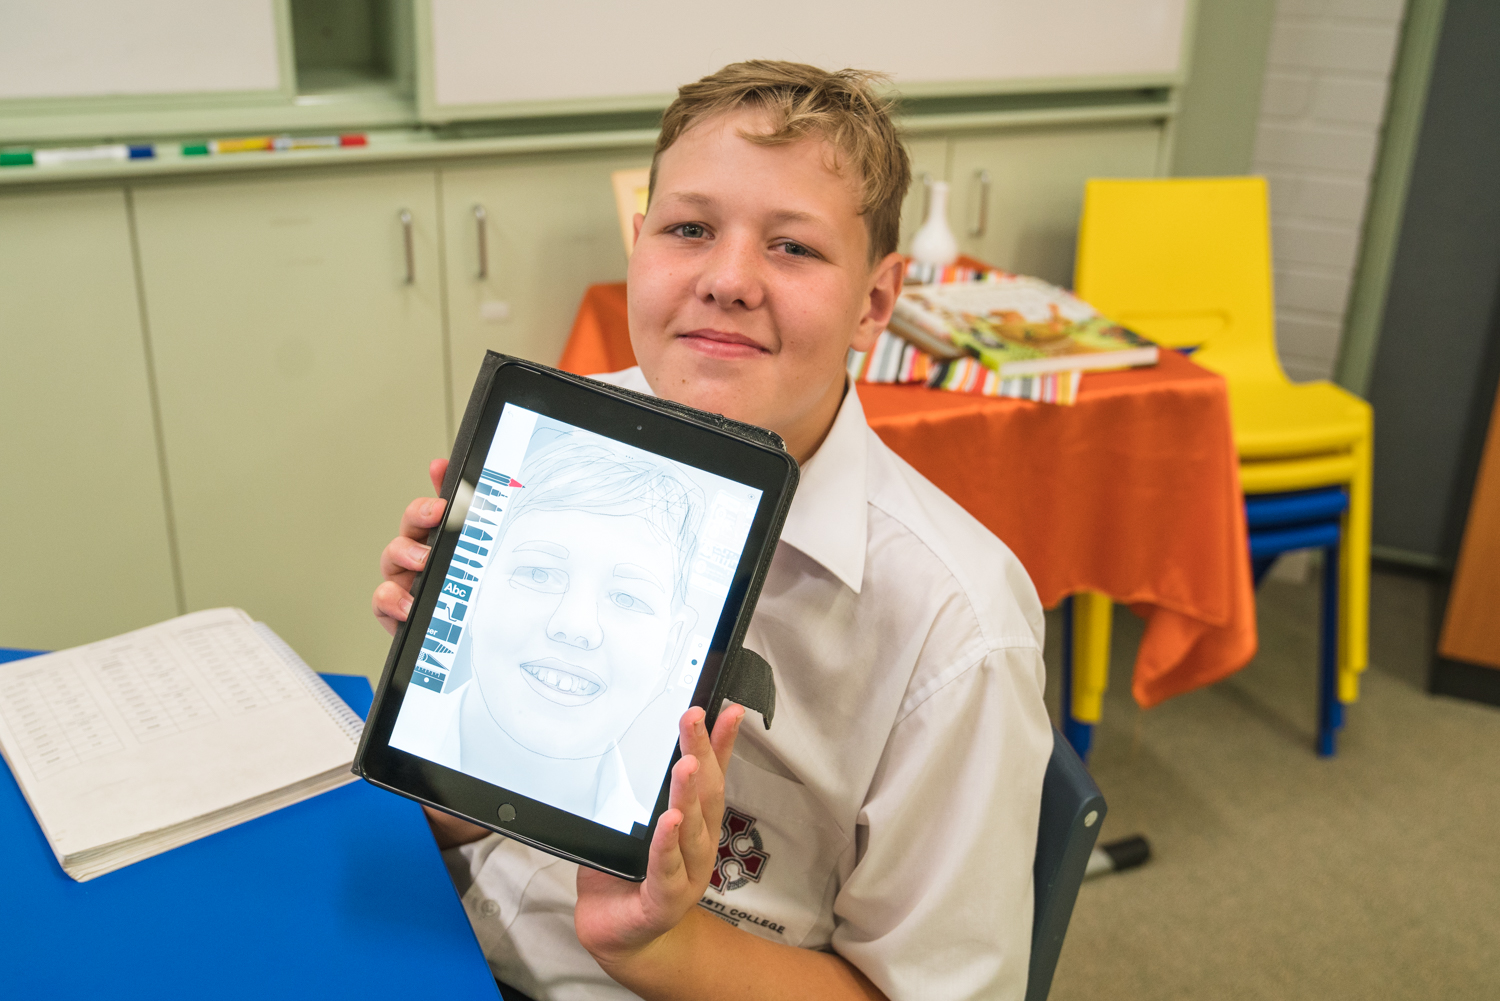
As well as developing their fine-motor skills, creativity with iPad has also empowered the students in showing their understanding of a topic. For example, in Science they use Mark-up to annotate and draw on a photo to show how electricity works. In Life Skills class, they draw on photos in Keynote and insert audio to explain how to tell the time.
If you’d like to see more Digital Creativity, check out the hashtag, #CorpusCreates on Twitter for snap-shots of the course in action. You can download Apple’s Everyone Can Create project guides free from Apple Books.
Until next time.
'Teaching with iPad: Keynote Practical Pedagogy' on Apple Books
I’m really excited to share my latest collaboration with the talented Lou Cimetta. 'Teaching with iPad: Keynote Practical Pedagogy' is the first book in a series exploring how Apple’s core apps can enhance teaching and learning.
New on Apple Books!
I’m really excited to share my latest collaboration with the talented Lou Cimetta. 'Teaching with iPad: Keynote Practical Pedagogy' is the first book in a series exploring how Apple’s core apps can enhance teaching and learning.
In the book, we reveal our top ten strategies for using Keynote effectively and meaningfully. Regardless of ability, our practical examples are supported by clear visuals and step-by-step instructions so that teachers can easily integrate technology into their classroom.

The book is free to download from the Apple Books store and is a wonderful addition to the Corpus Christi College library.
Teaching with Keynote: #3 Scaffold Screen-recorded Tutorials
Students can combine Keynote slides and screen recordings to create tutorial videos. To do this, provide a simple structure for students to follow by making a clear scaffold in Keynote. Screen-recordings are a simple and effective way for teachers to see and hear what students know about a topic. Provide blank slides for students to drop in their recordings.
What is it?
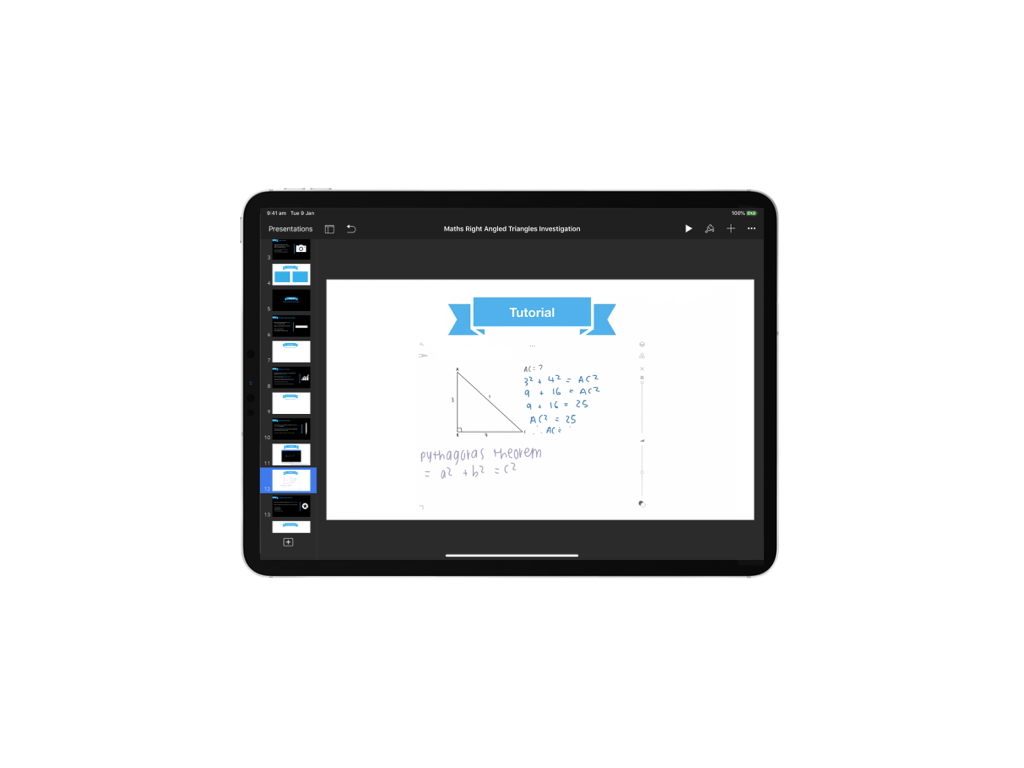
Students can combine Keynote slides and screen recordings to create tutorial videos. To do this, provide a simple structure for students to follow by making a clear scaffold in Keynote. Screen-recordings are a simple and effective way for teachers to see and hear what students know about a topic. Provide blank slides for students to drop in their recordings. Check out the example below!
Press play on the video below to watch the student example from Year 9 Mathematics!
Why is it effective?
Screen-recordings are particularly powerful as they capture a student’s thought process. What’s more, students are forced to plan and narrow-down their ideas into concise and meaningful explanations. Once again, this creative Keynote strategy provides an effective structure for students to follow and allows them to demonstrate learning orally, through written annotations and effective visuals.

How can I do it with my class?
Watch my step-by-step tutorial on how to insert screen-recordings and create effective scaffolds in Keynote. For more on Keynote and its wonderful capabilities in the classroom, check out my ‘Teaching with Keynote’ playlist.

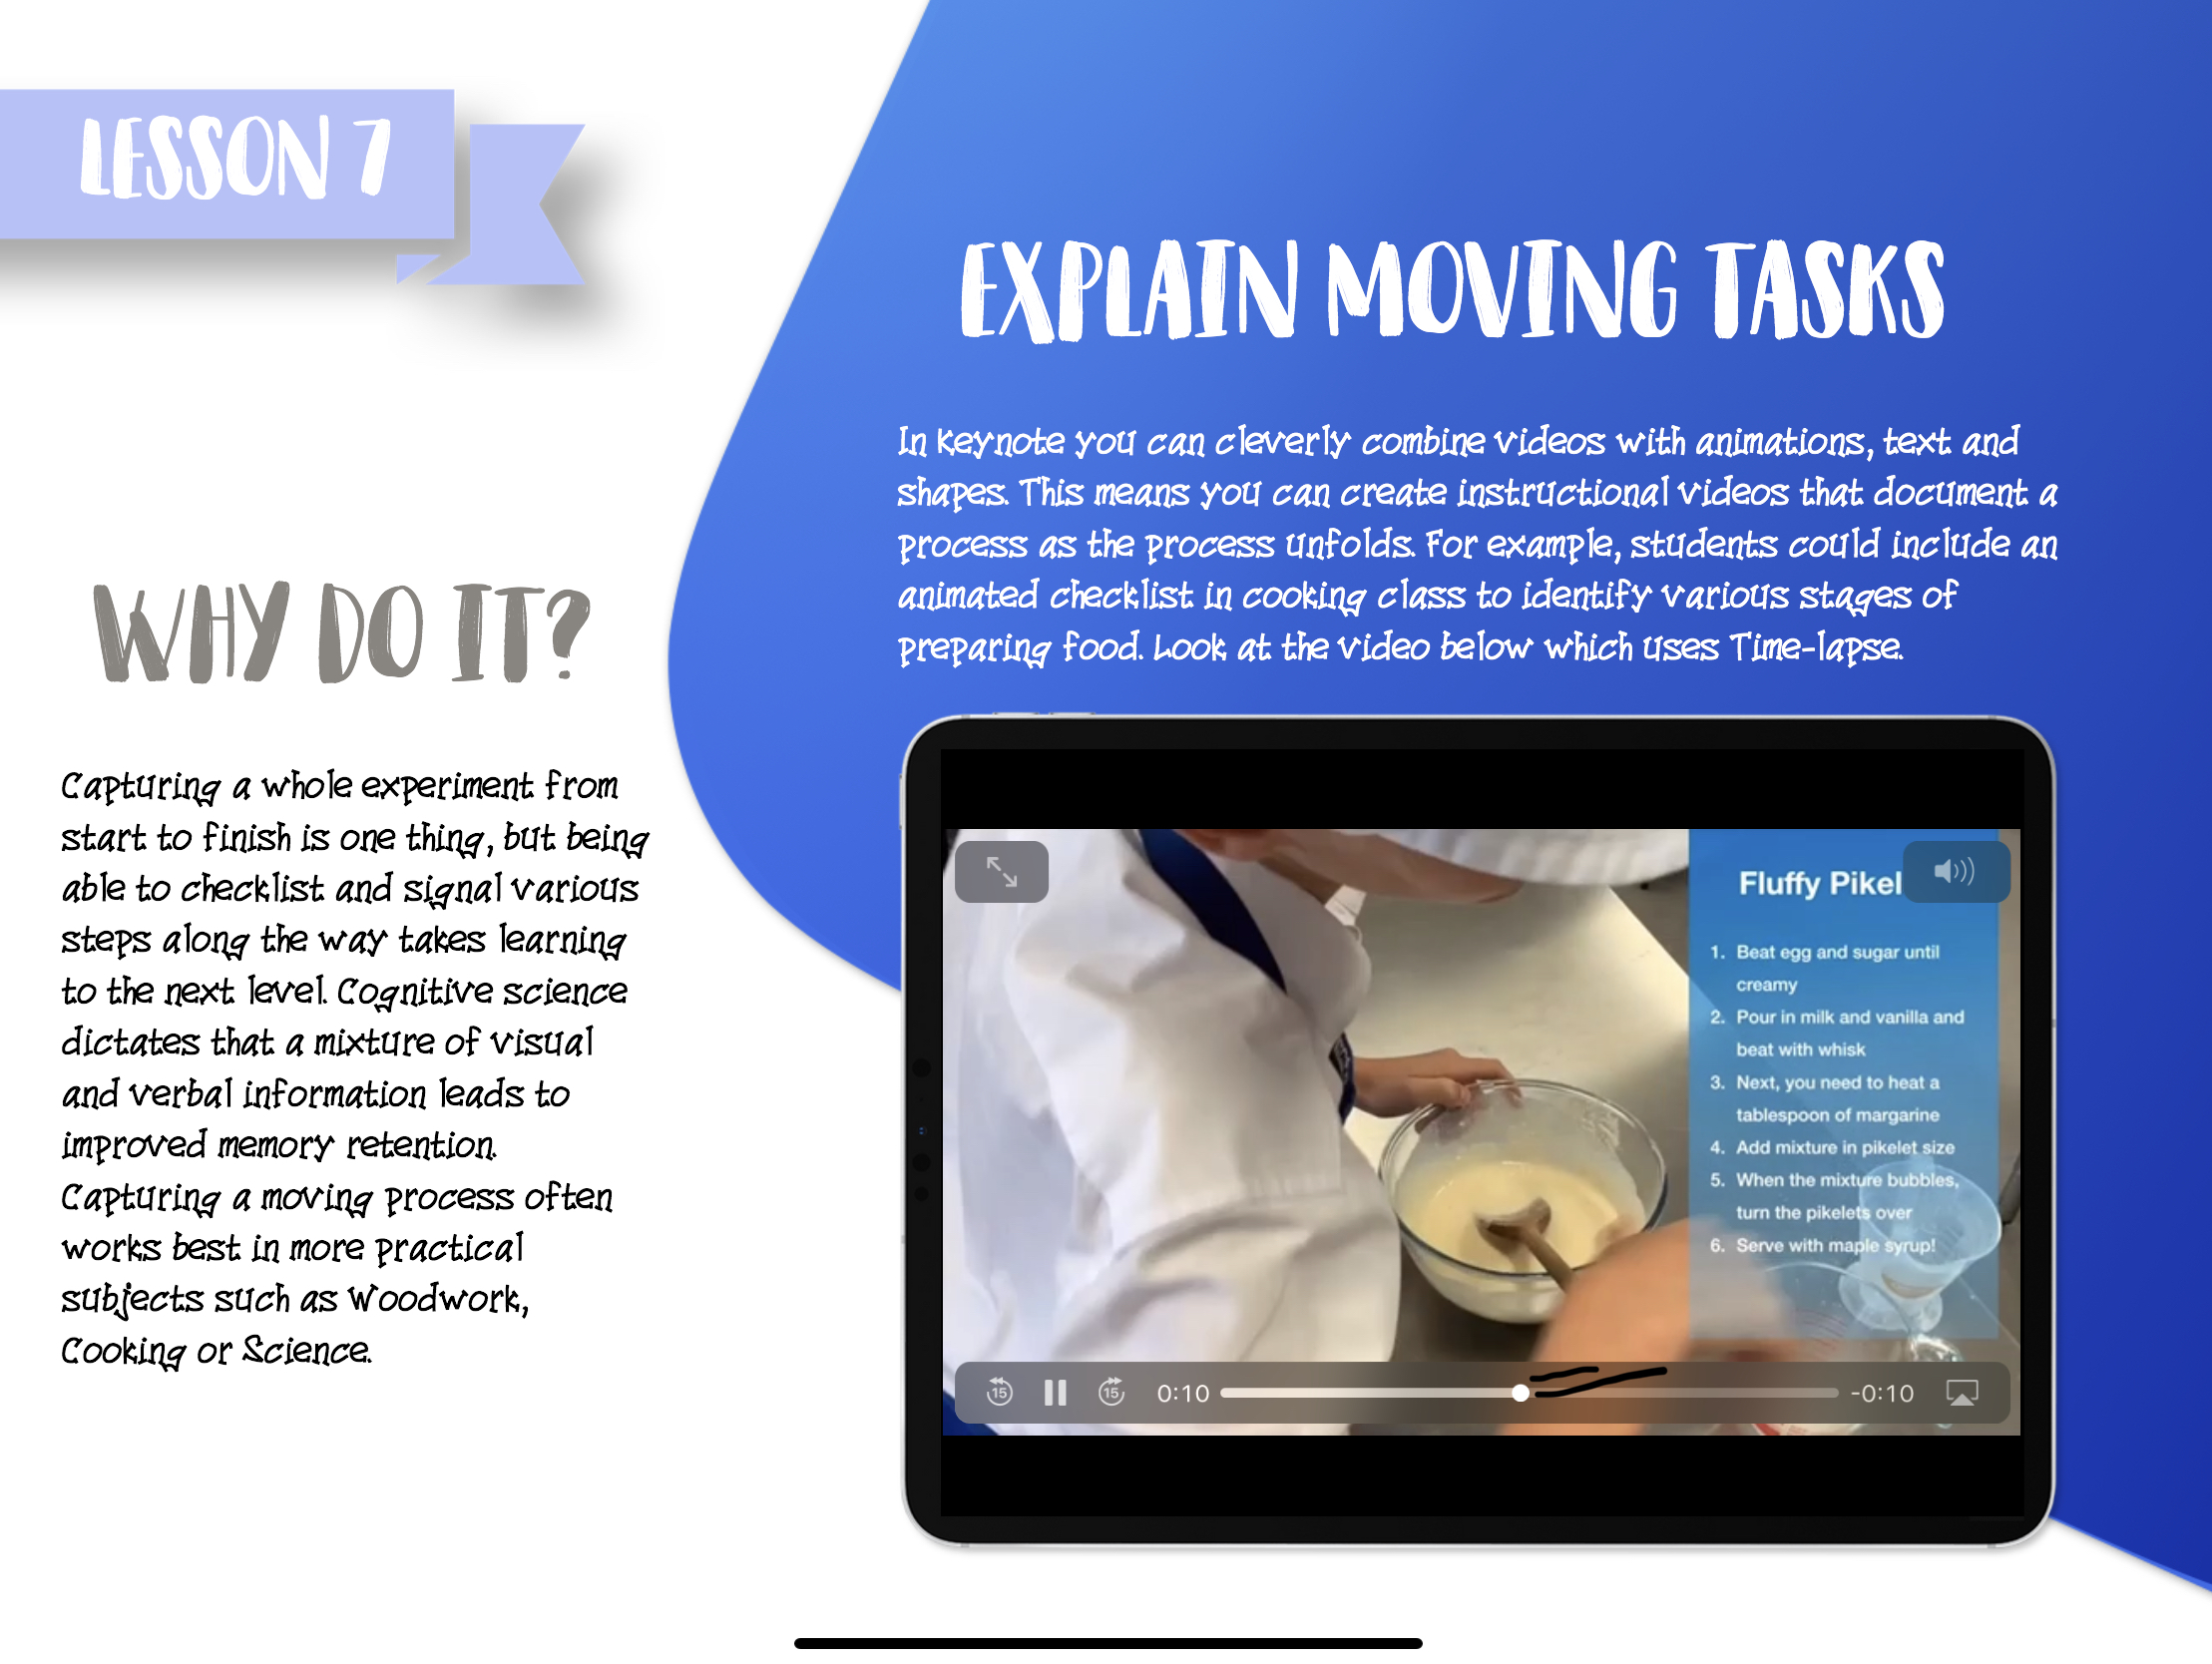
Teaching with Keynote: #2 Document a Process
Students can use Keynote to document a process with photographs. For example, students could show the process of photosynthesis, the process of building a bed-side table or the process of throwing a cricket ball. An image (or short video) on each slide supported with audio narration and text help children consolidate their understanding.
What is it?
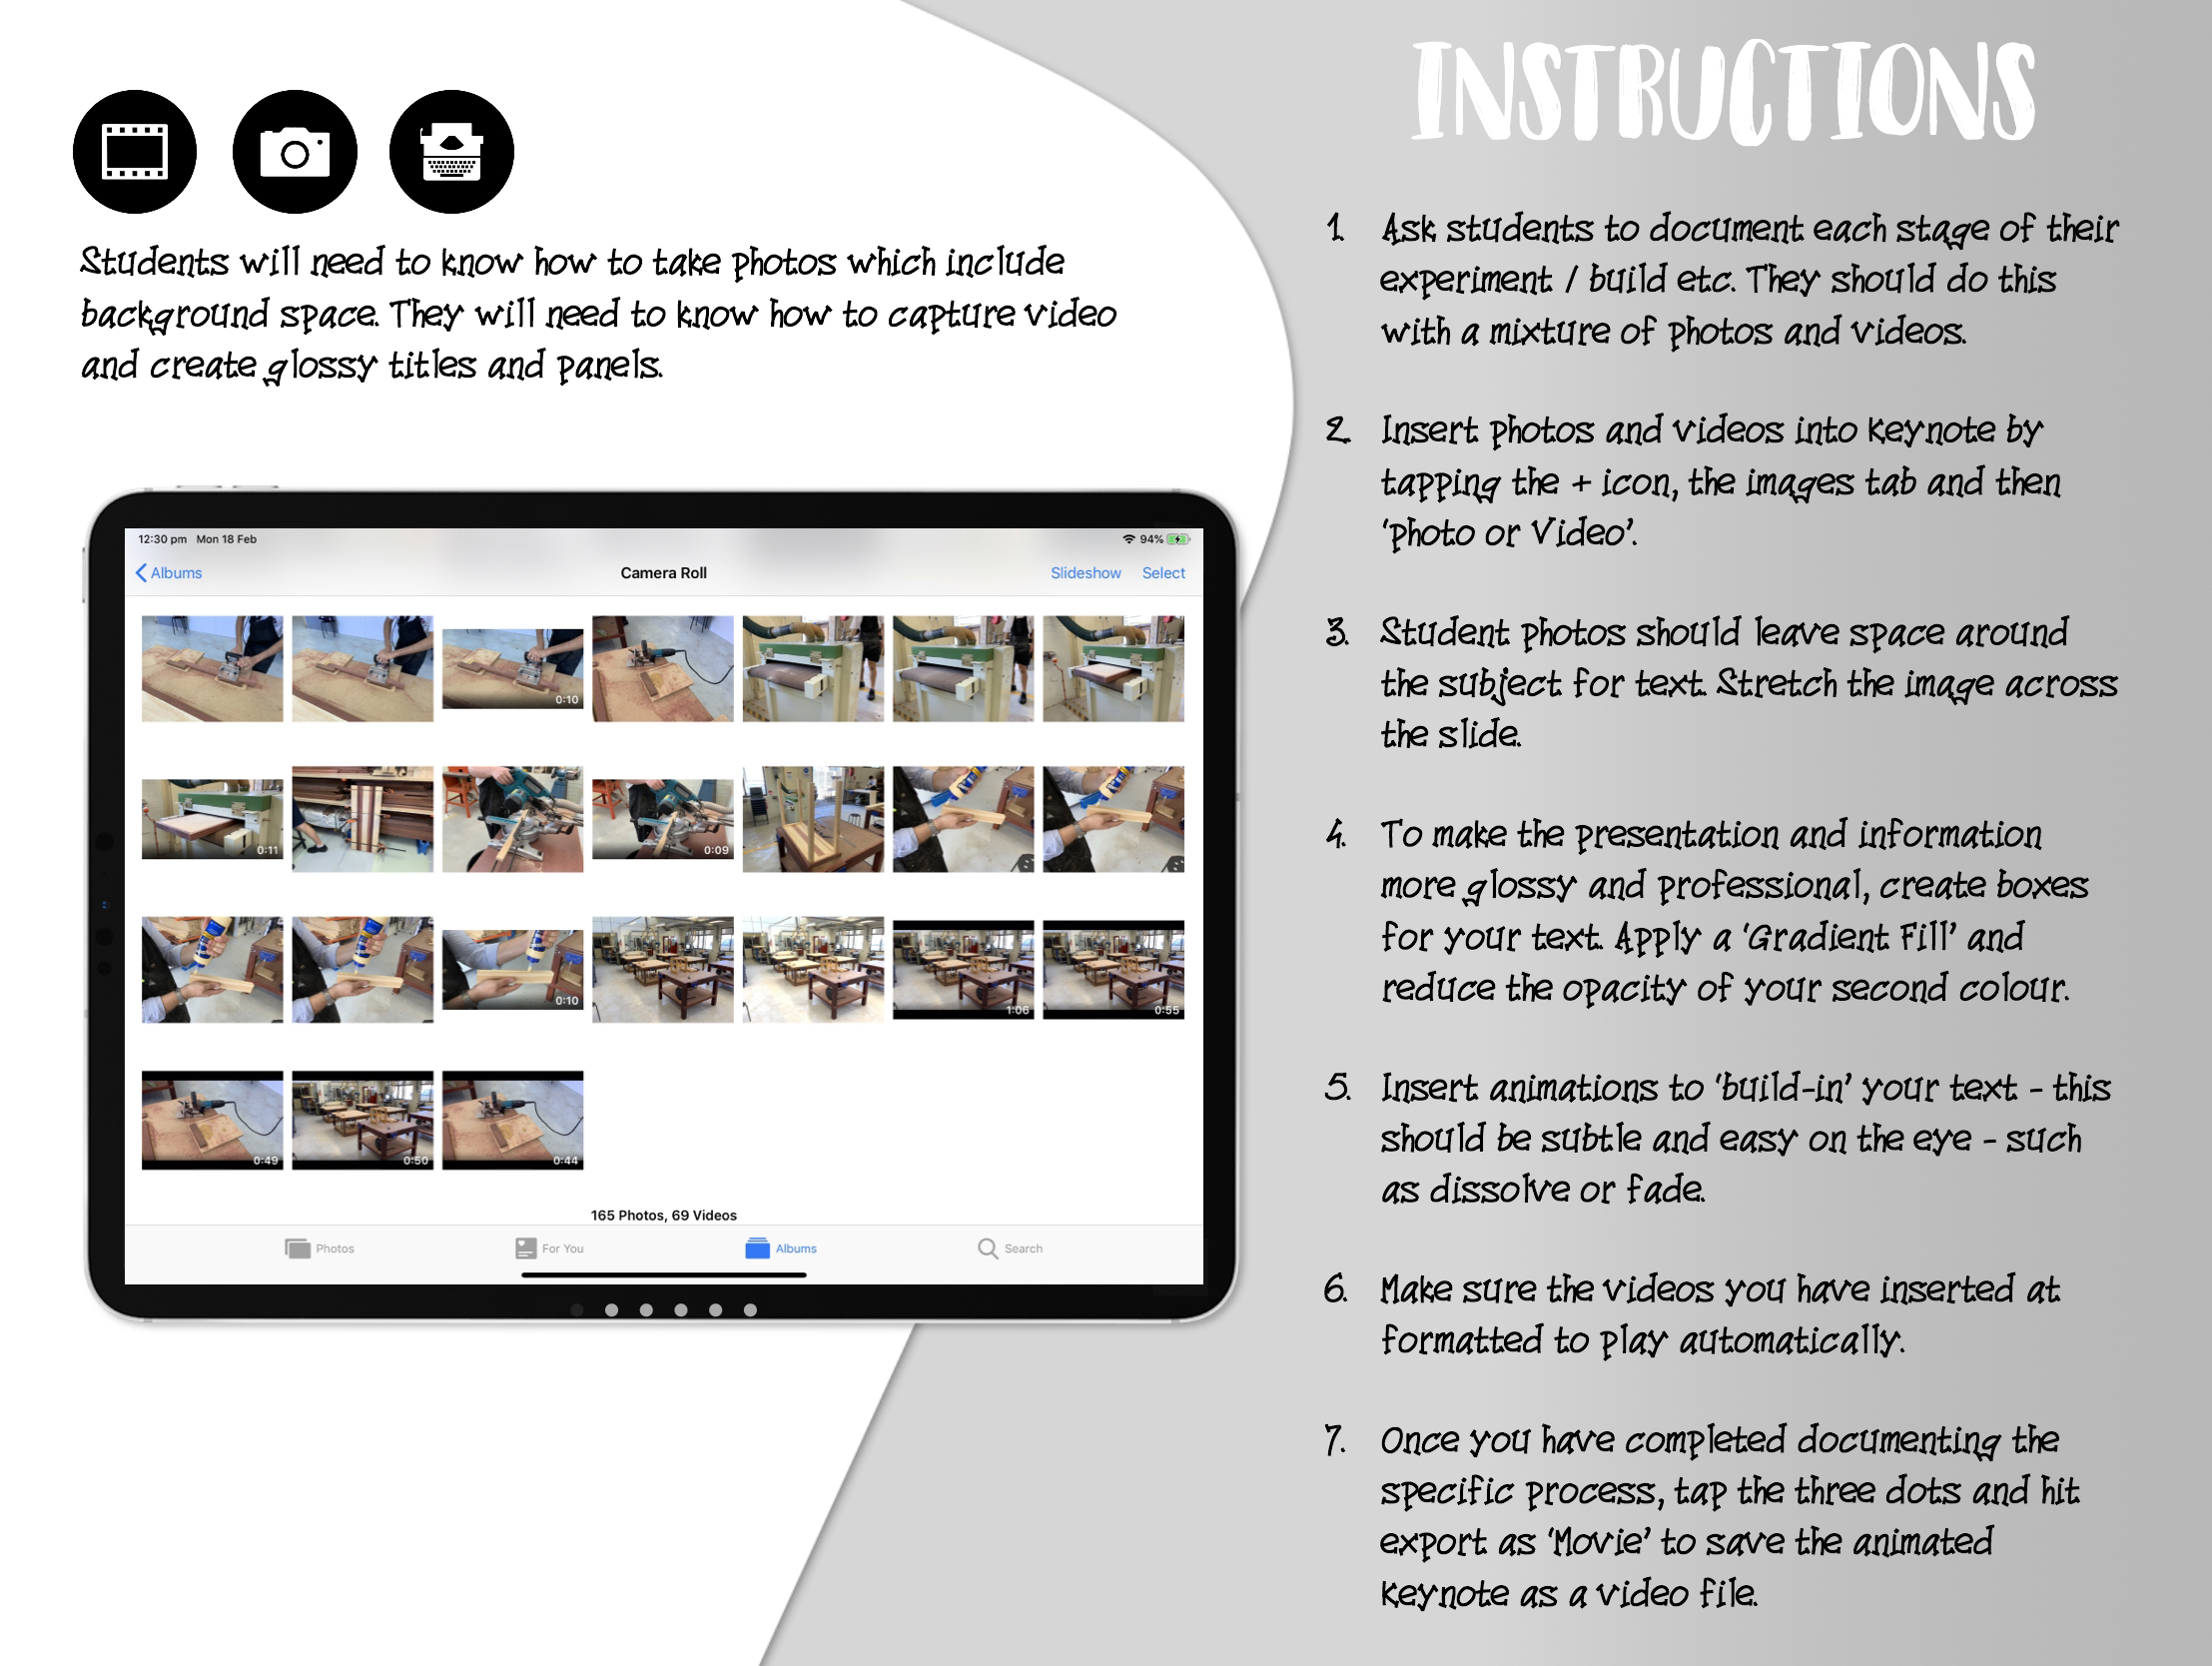
Students can use Keynote to document and explain steps or processes. By using a combination of photos, video and text, they can create glossy slideshows - or even export their slides as movies - that help them demonstrate and articulate understanding. For example, students could show the process of photosynthesis, the process of building a bed-side table or the process of throwing a cricket ball.
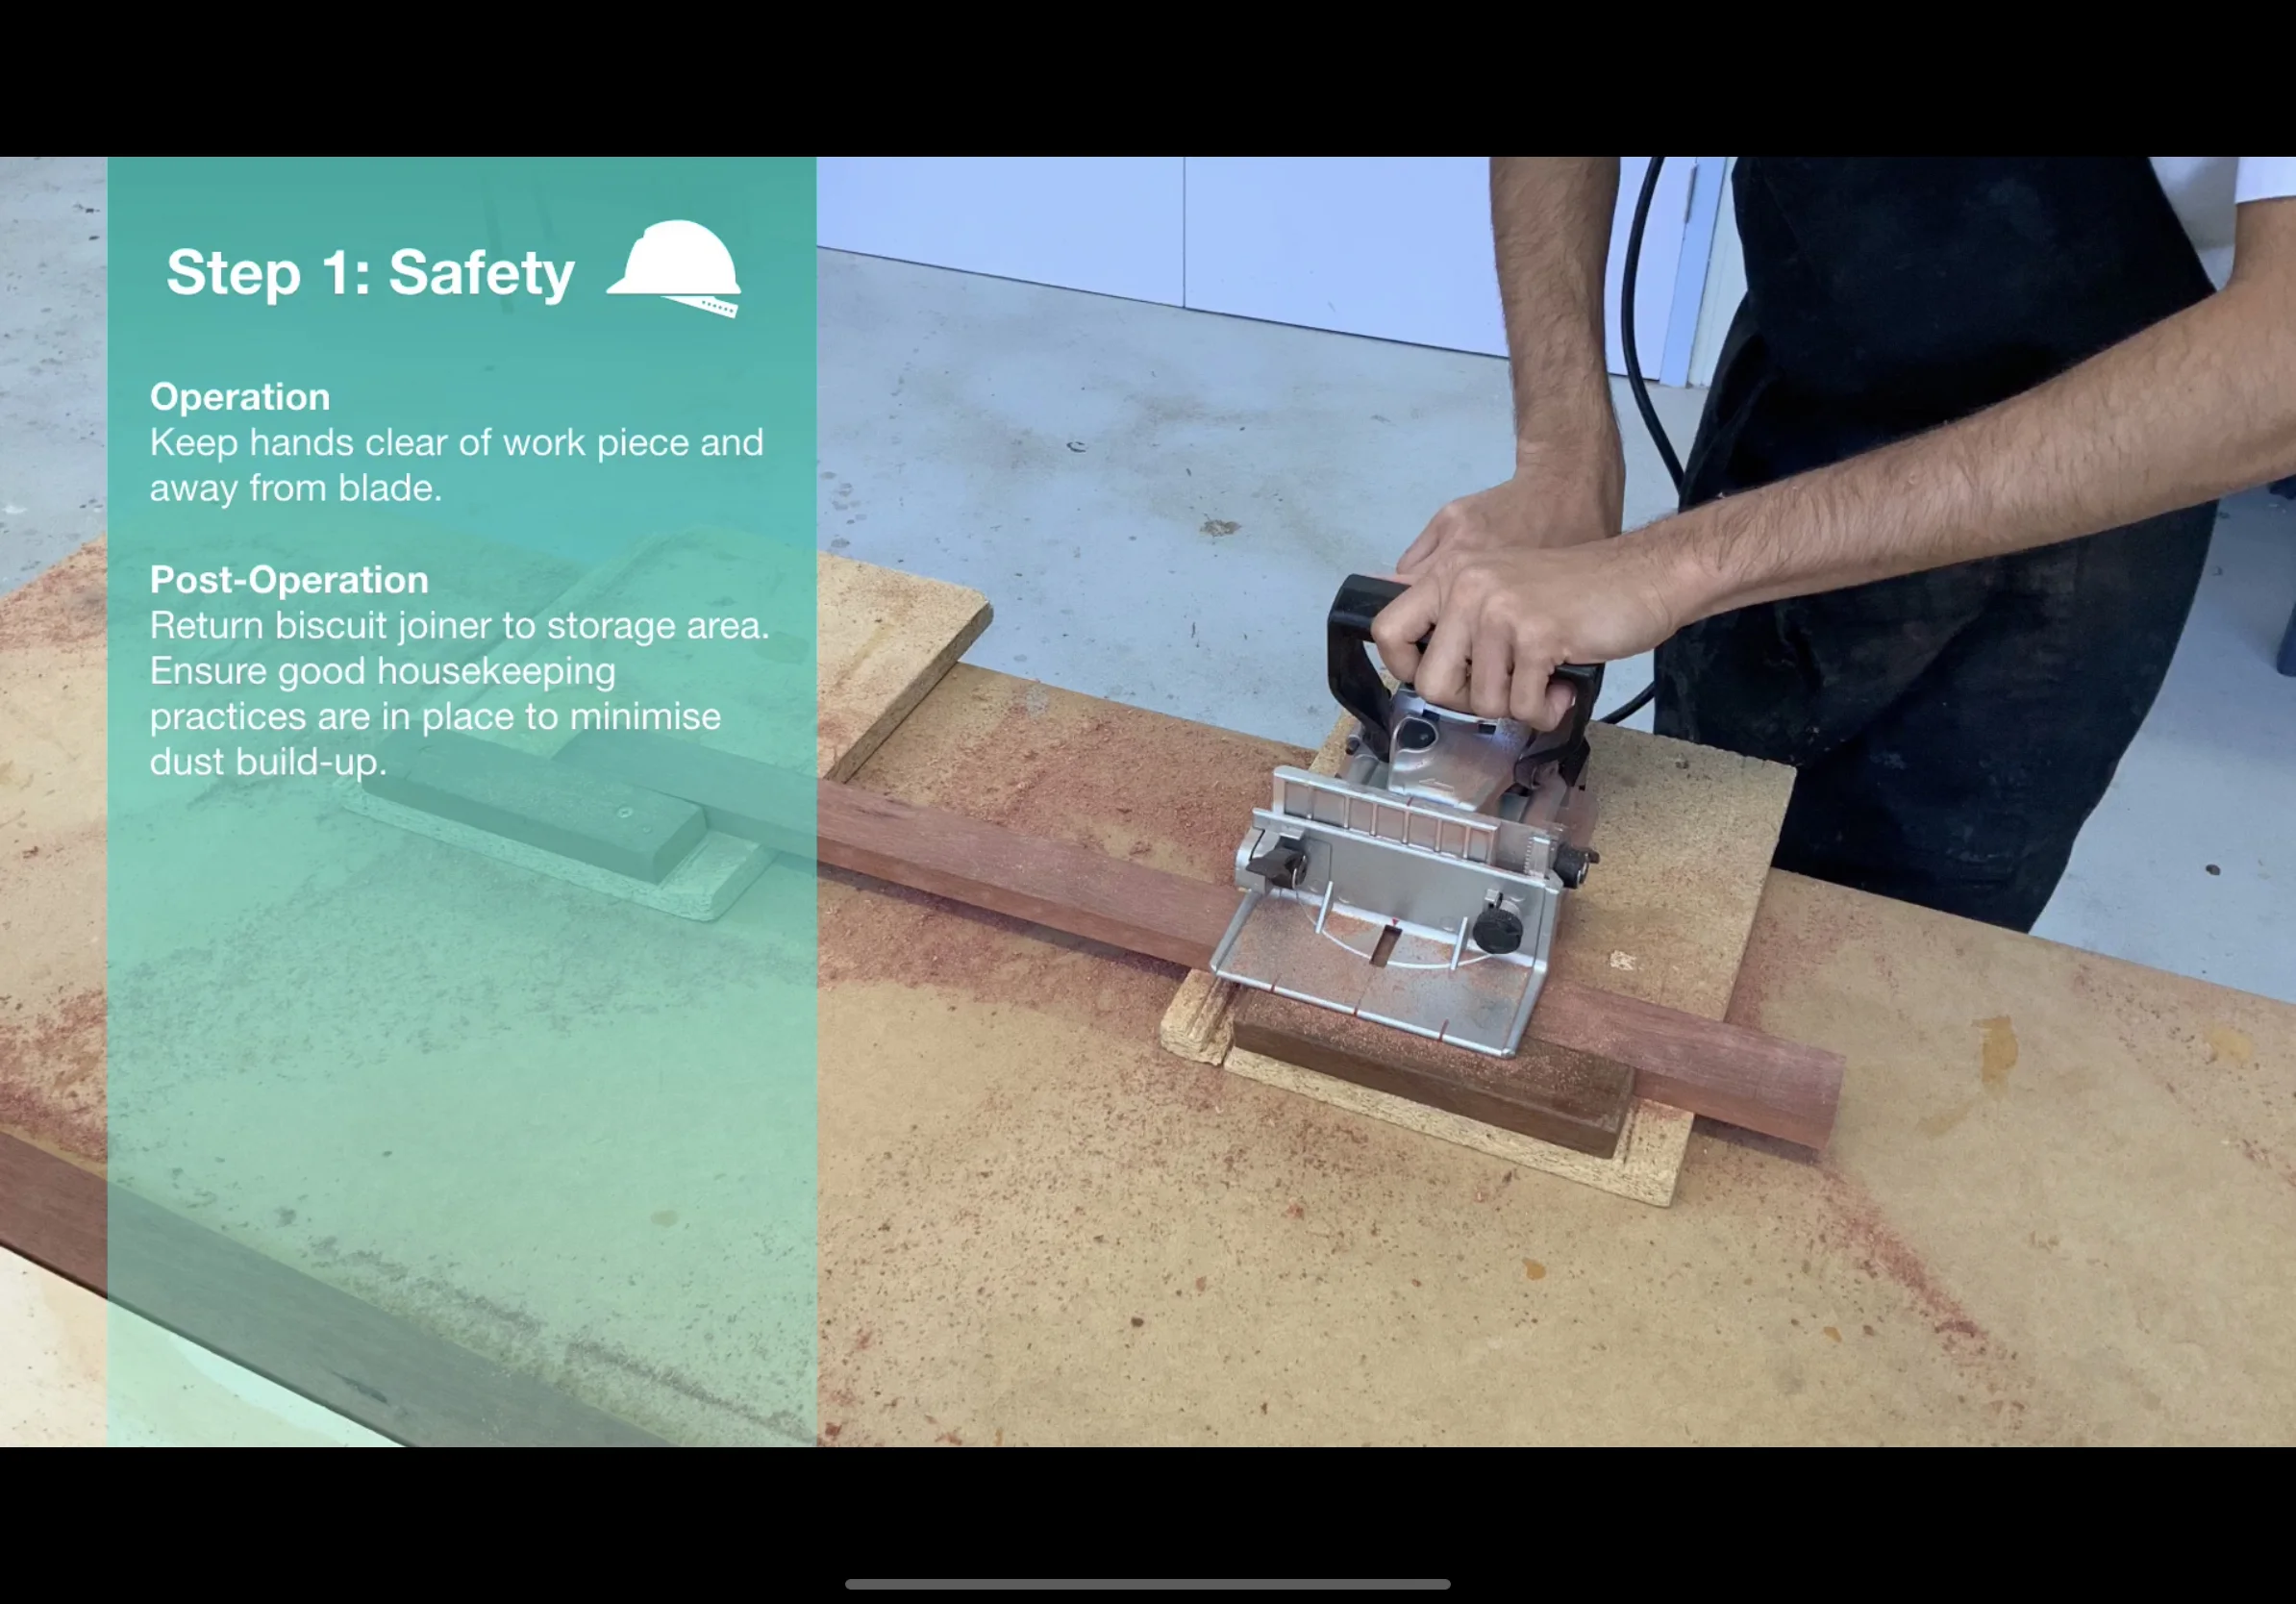
Press play and watch the example below from a Year 12 Woodwork lesson at Corpus Christi College.
Why is it effective?
By capturing each part of a process, students can deconstruct a concept and see how it is made up. Adding audio narration and text to each slide also helps consolidate students’ understanding of each stage. Full screen images work best along with minimal text so that students express their understanding in a concise and effective way. Exporting the slideshow as a movie is also a great way of saving and/or submitting their presentation! Have a go with your class!
How can I do it with my class?
Watch my step-by-step tutorial on the ‘Document a Process’ strategy below.
I hope this strategy works for you and your students.
Thanks!

Teaching with Keynote: #1 Annotate & Animate
Students can use Keynote to animate their hand-written notes on top of an image and then add audio to explain their understanding. As we know from cognitive science, a combination of visual and verbal information allows students to retain information more effectively. Here’s a screen-shot example from a Science class.
What is it?
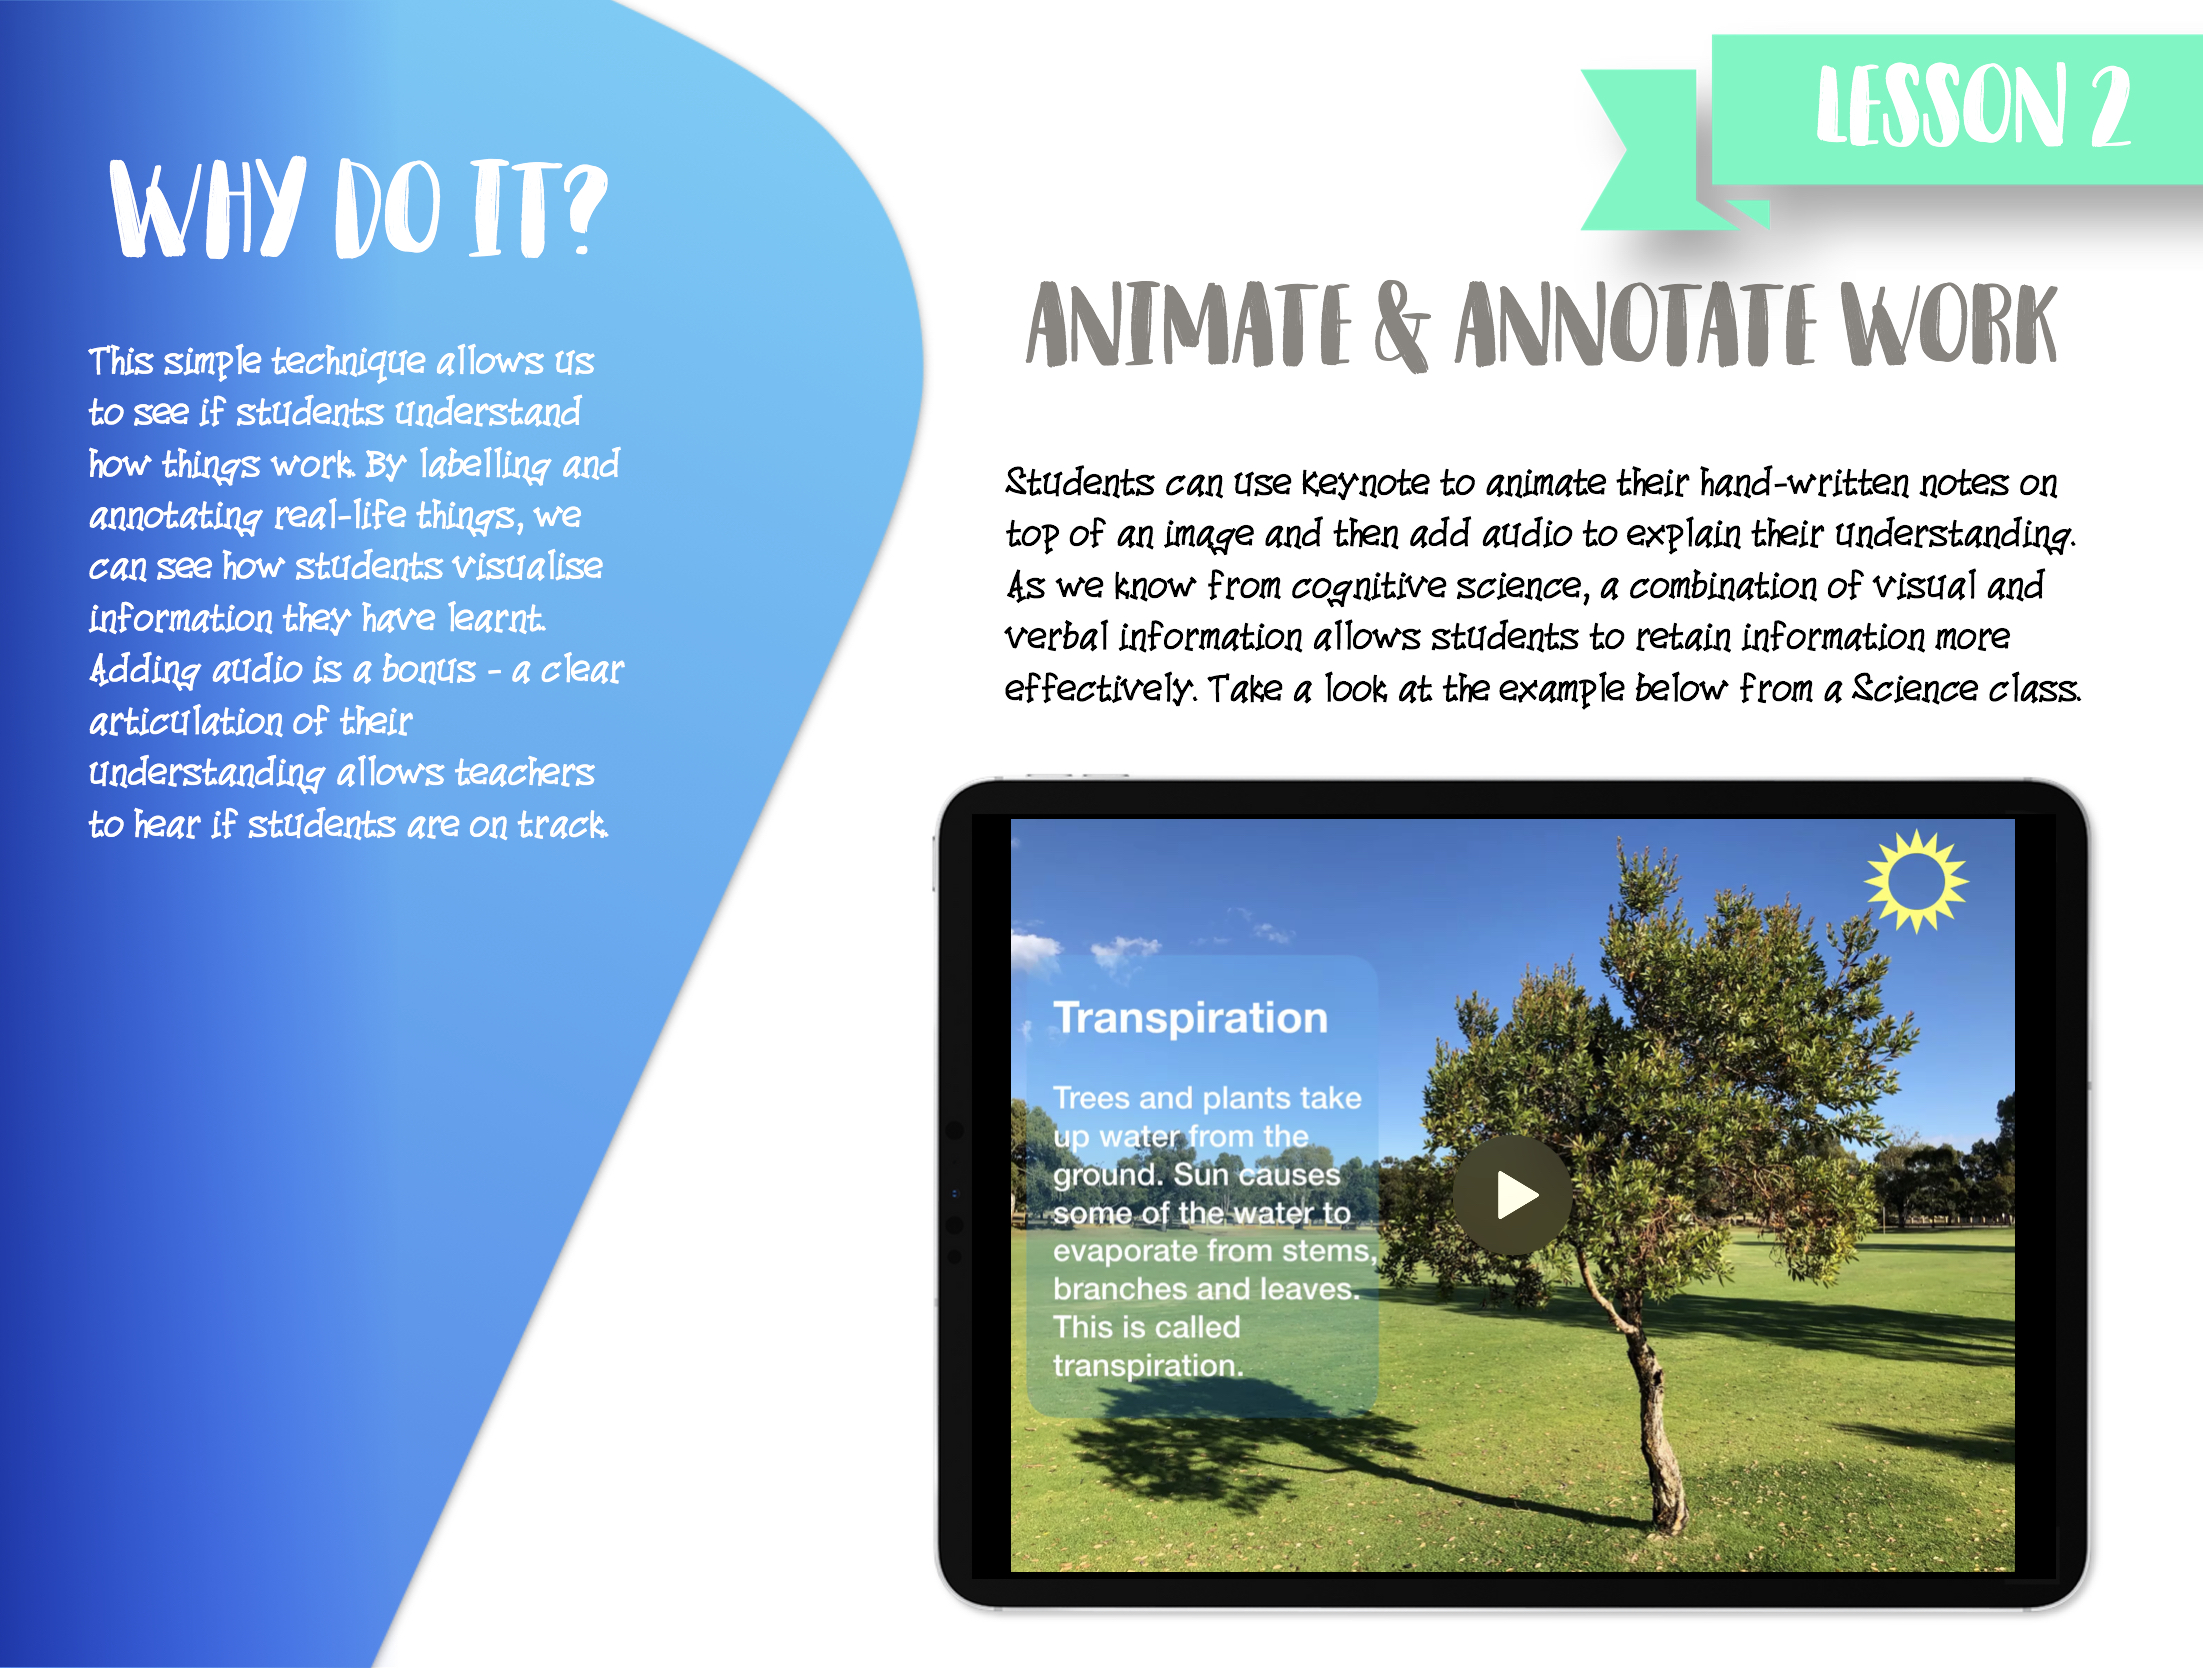
Students can use Keynote to animate their hand-written notes on top of an image and then add audio to explain their understanding. As we know from cognitive science, a combination of visual and verbal information allows students to retain information more effectively. Here’s a screen-shot example from a Science class.

Why is it effective?
This simple technique allows us to see if students understand how things work. By labelling and annotating real-life things, we can see how students visualise information they have learnt. Adding audio is a bonus - a clear articulation of their understanding allows teachers to hear if students are on track.
How can I do it with my class?
Watch my step-by-step tutorial on the ‘Annotate & Animate’ strategy below.

I don’t know anything about Keynote, can you help?
Yes – take a look at my tutorial video below on ‘The Basics’ of using Keynote in class.
