

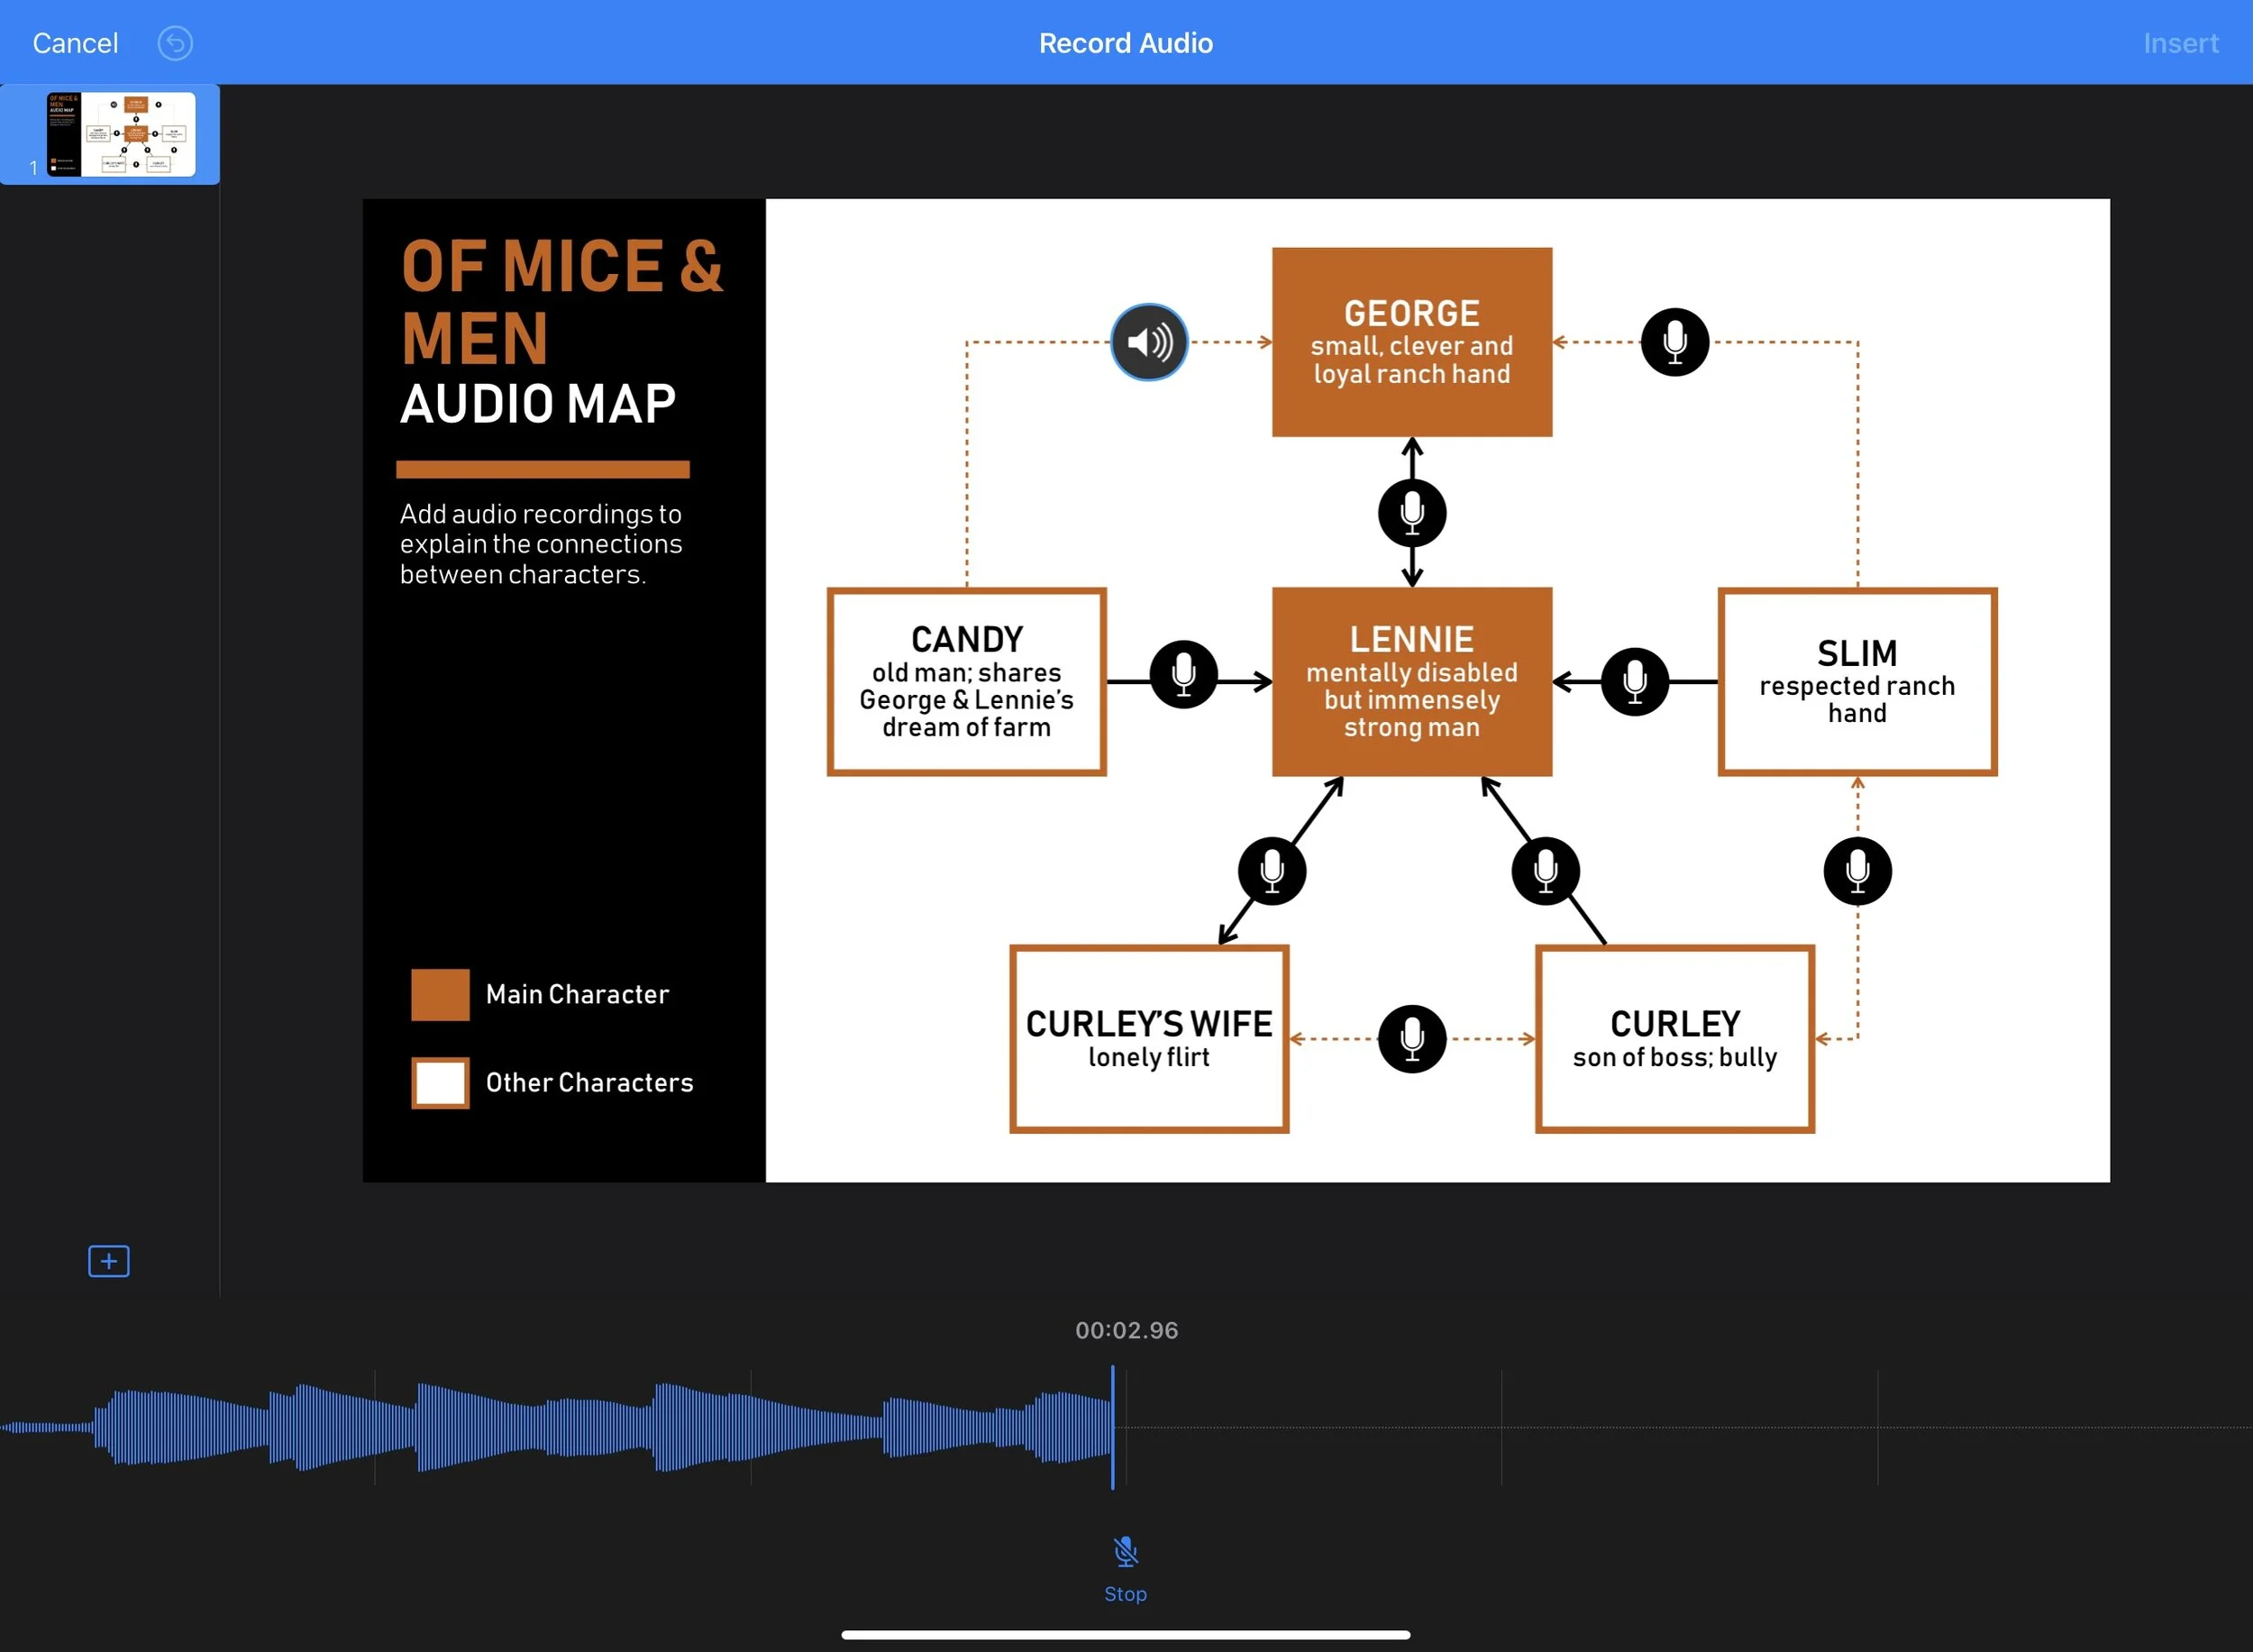
Digital Audio Maps: Interactive Word-Diagrams
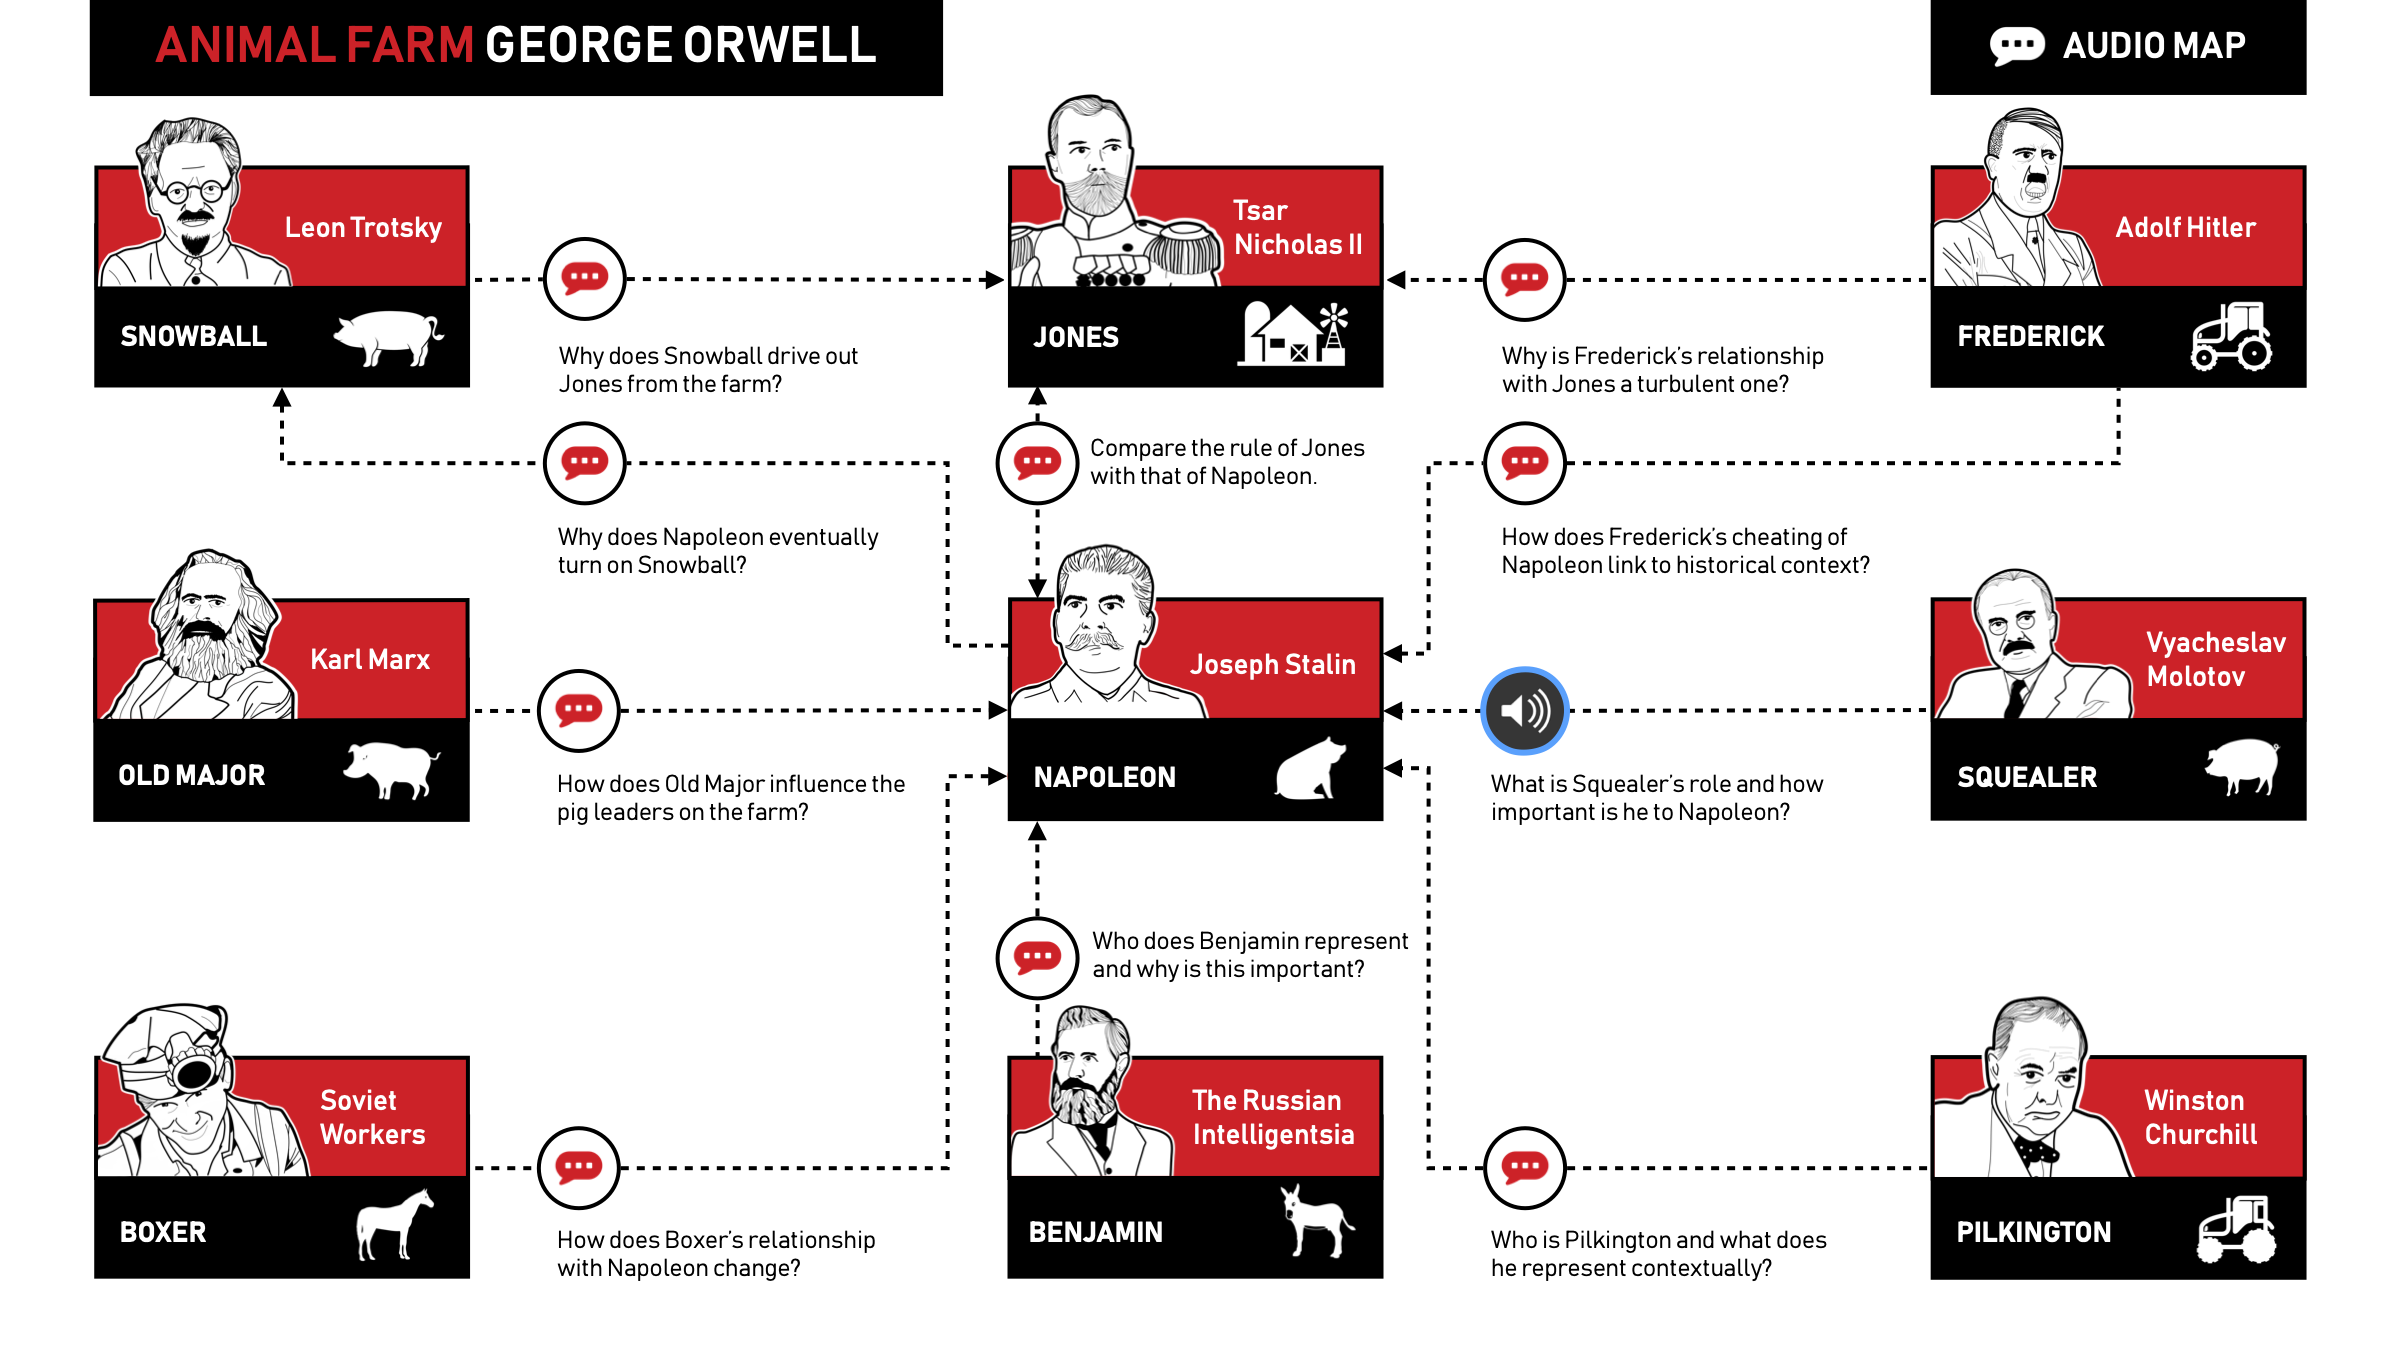
Technology has empowered my students to demonstrate learning in different ways. In order to revise the relationships between characters and historical context in George Orwell’s allegorical novella ‘Animal Farm’, I created a digital ‘audio map’. This allowed Year 9 students to record verbal explanations linking characters with underlying political ideas about power and oppression.

Illustration by David Goodwin, @MrGoodwin23
How do graphic organisers support your teaching?
Since the early days of my career as an English teacher, designing learning visuals has been part of my teaching practice. I commonly use graphic organisers to scaffold writing, break down information and assist students in making connections between themes, characters and context. Literary texts present a labyrinth of challenging ideas and techniques. By organising those ideas and pairing words with graphics, information becomes more visible so that learning is clear and concrete for students.
In recent years, I have learnt the value of good instructional design. Minimising distracting and unnecessary visuals is critical to ensure the working memory is not overloaded. I encourage thinking by providing my students with simply designed frameworks and partially completed scaffolds. I create concept maps to unpack hierarchies and flow charts to explore sequences and key events in texts.

Jamie’s resource for Year 9 English - illustrations created in Affinity Designer
How has technology changed the way your students learn with graphic organisers?
Technology has empowered my students to demonstrate learning in different ways. In order to revise the relationships between characters and historical context in George Orwell’s allegorical novella ‘Animal Farm’, I created a digital ‘audio map’. This allowed Year 9 students to record verbal explanations linking characters with underlying political ideas about power and oppression in the Russian Revolution.
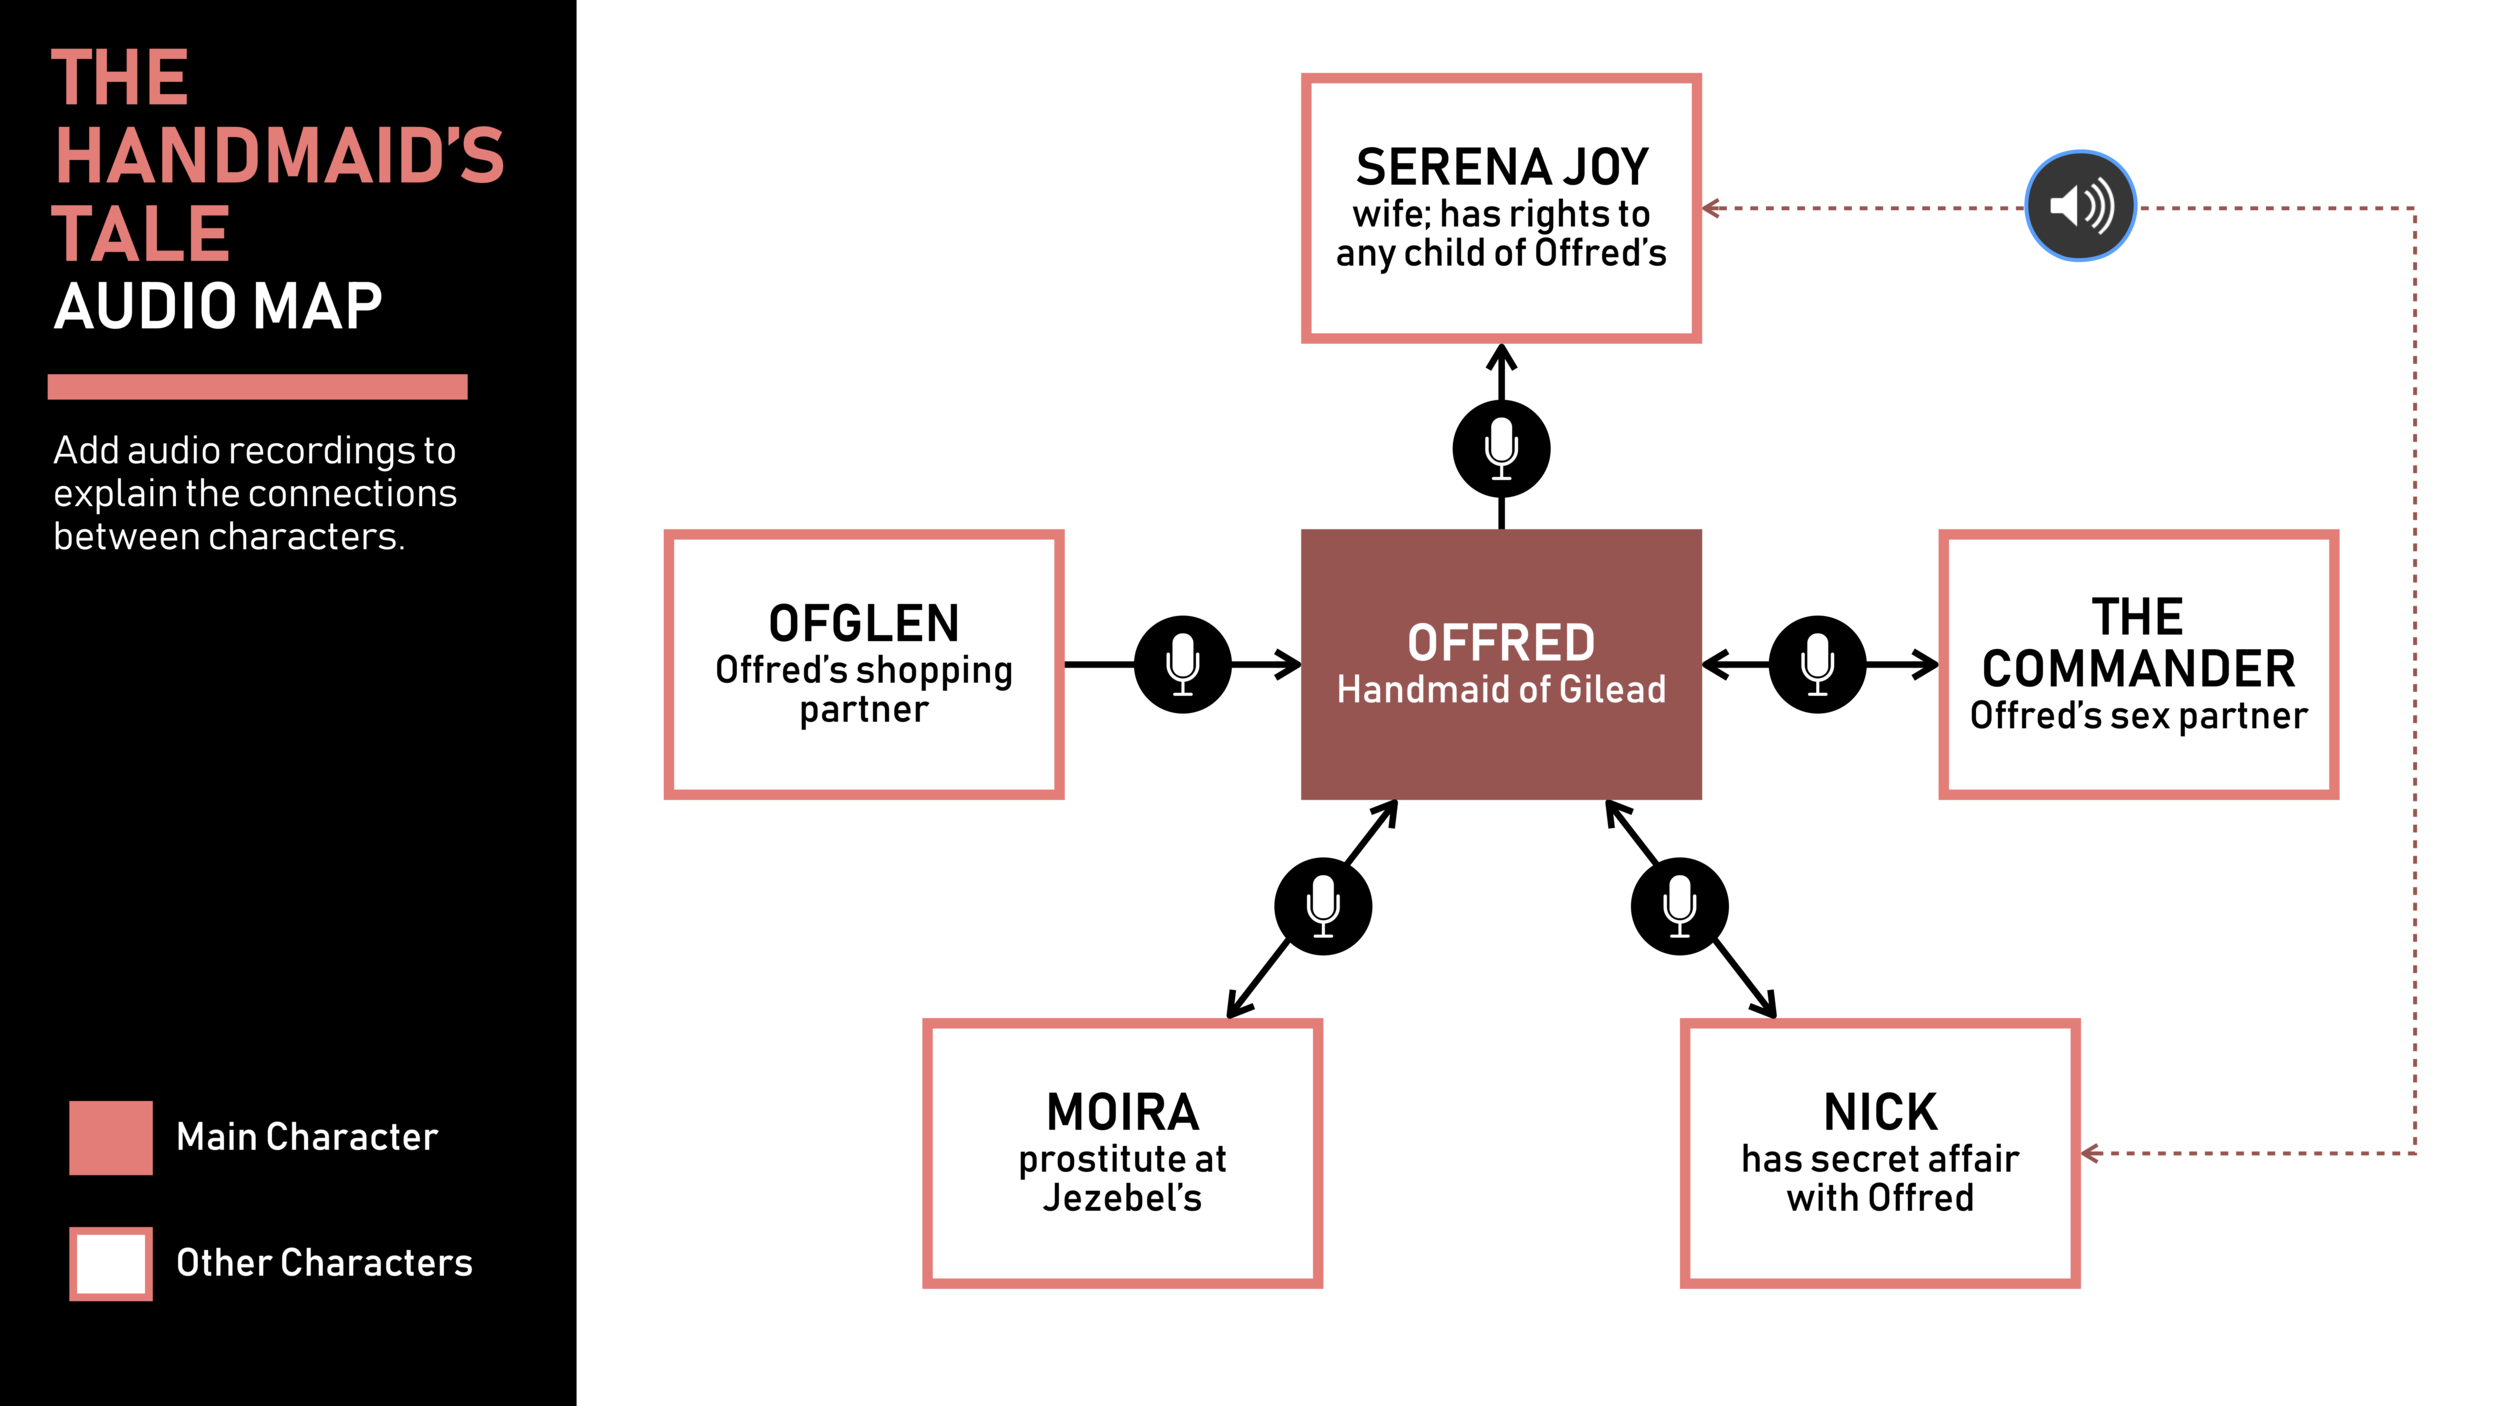
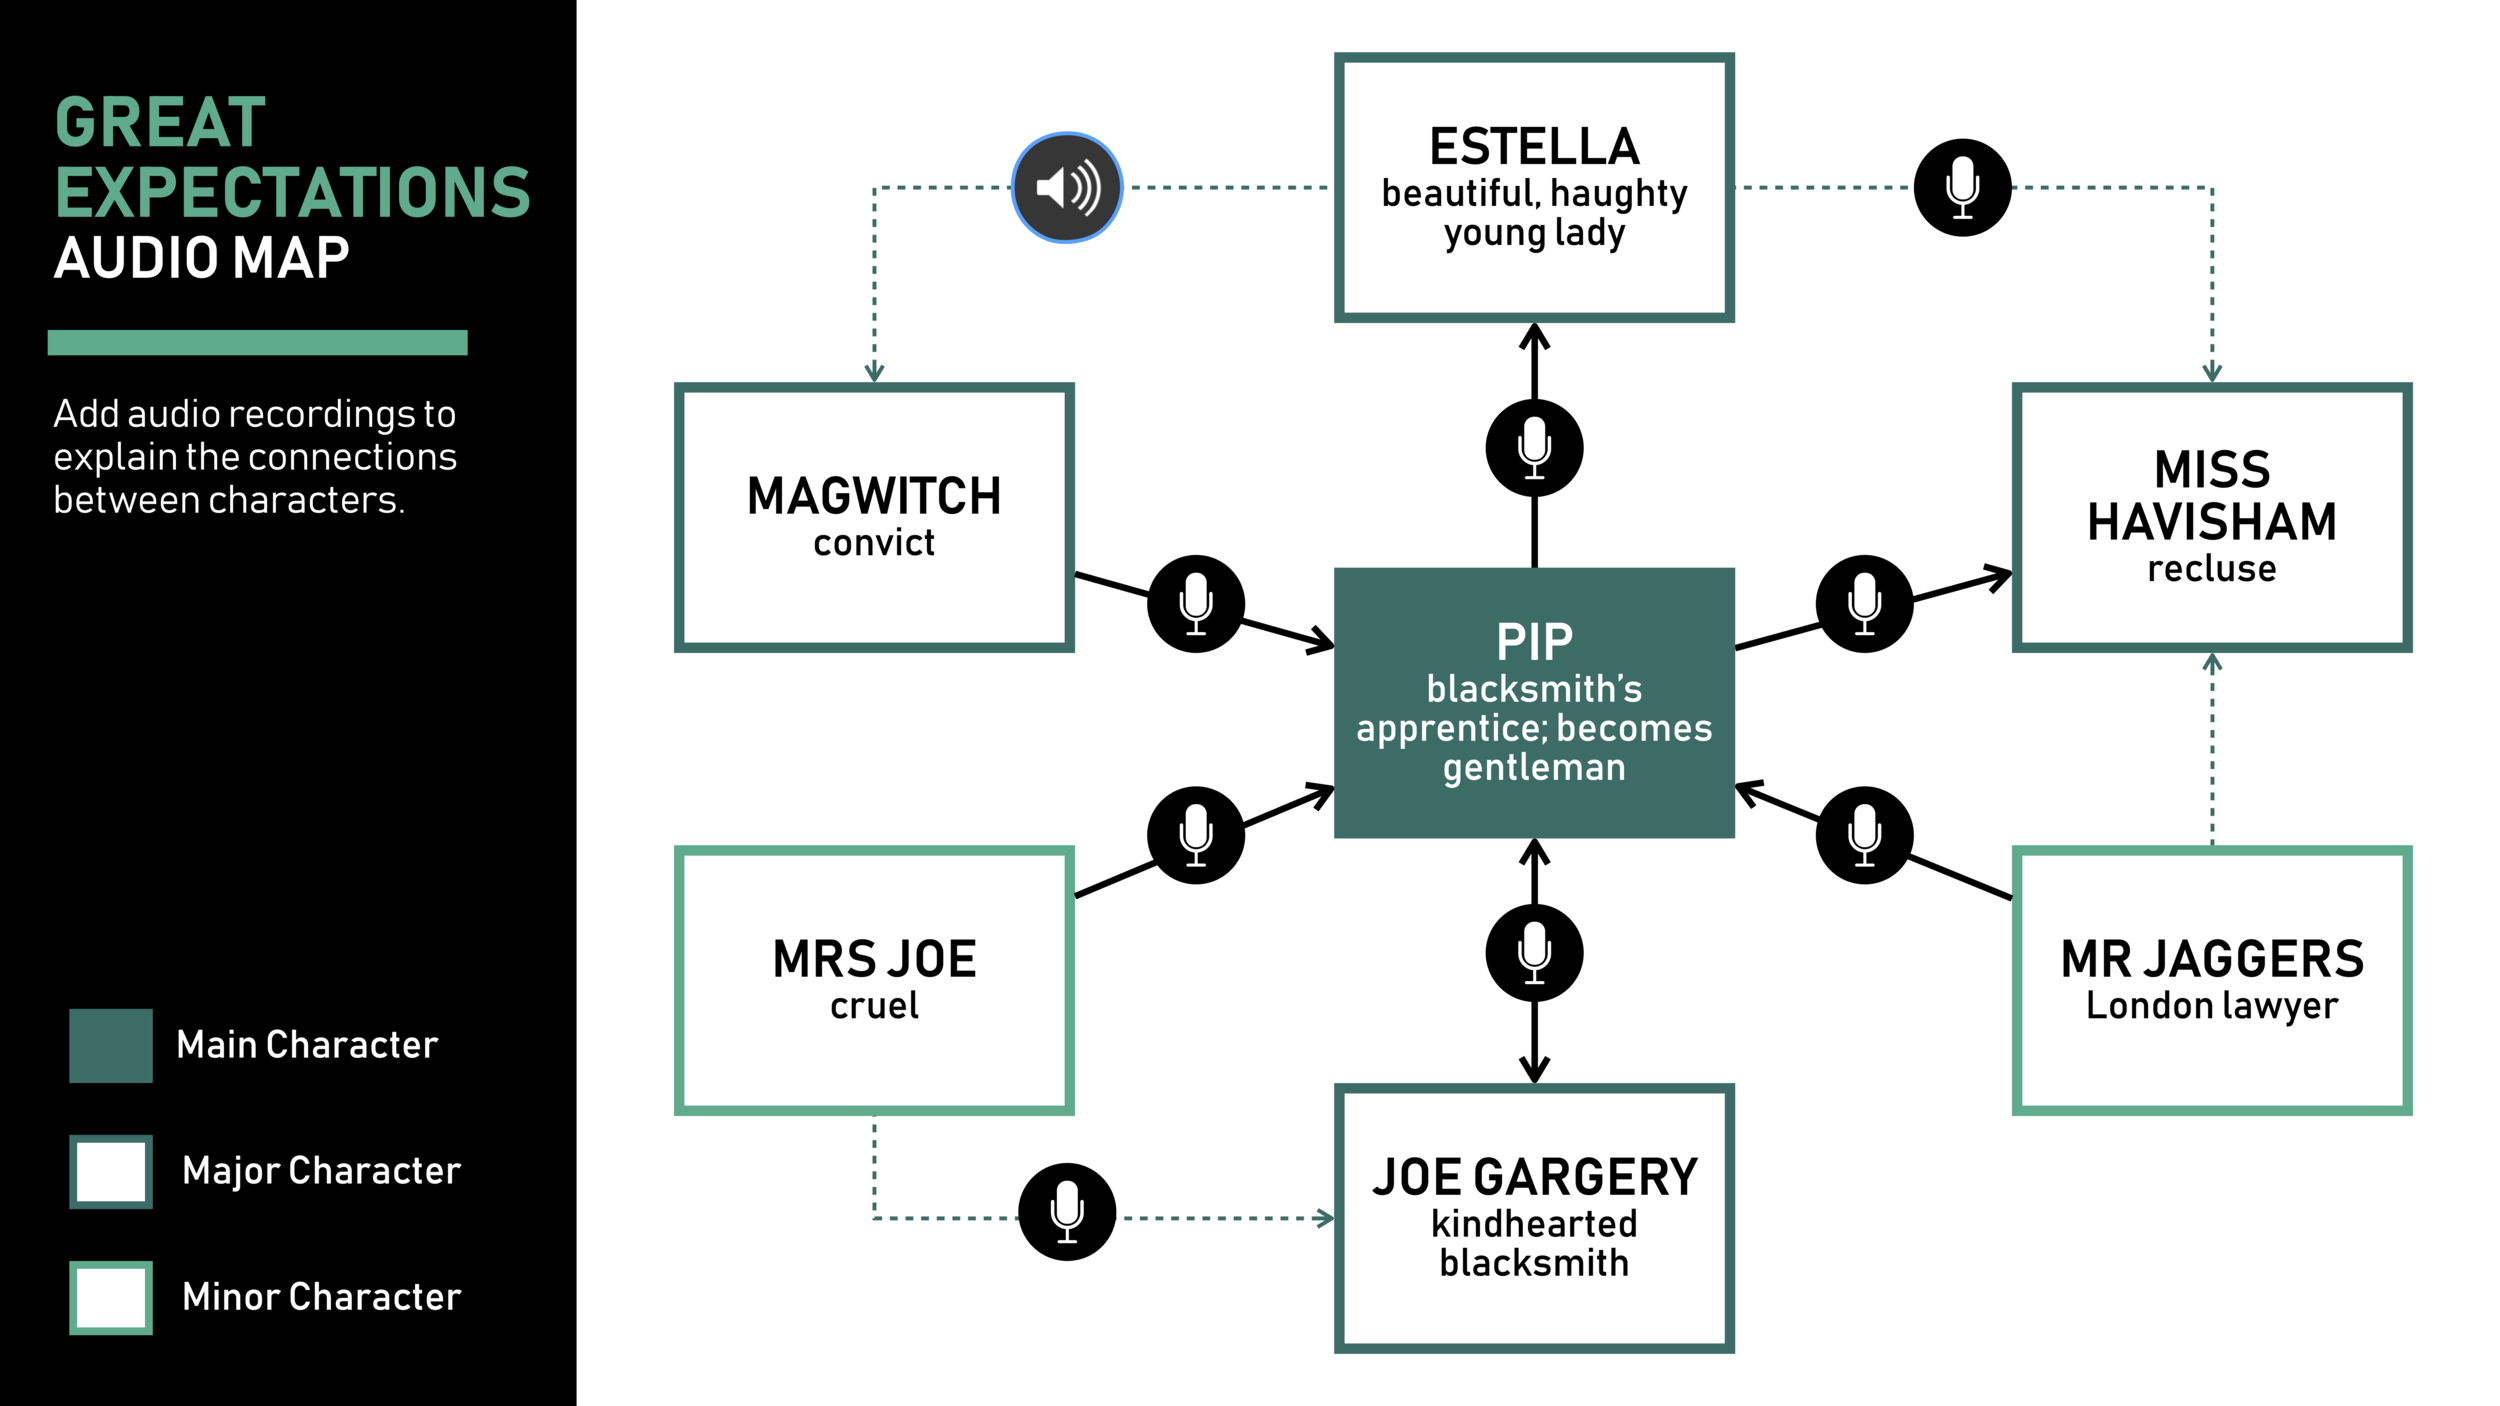
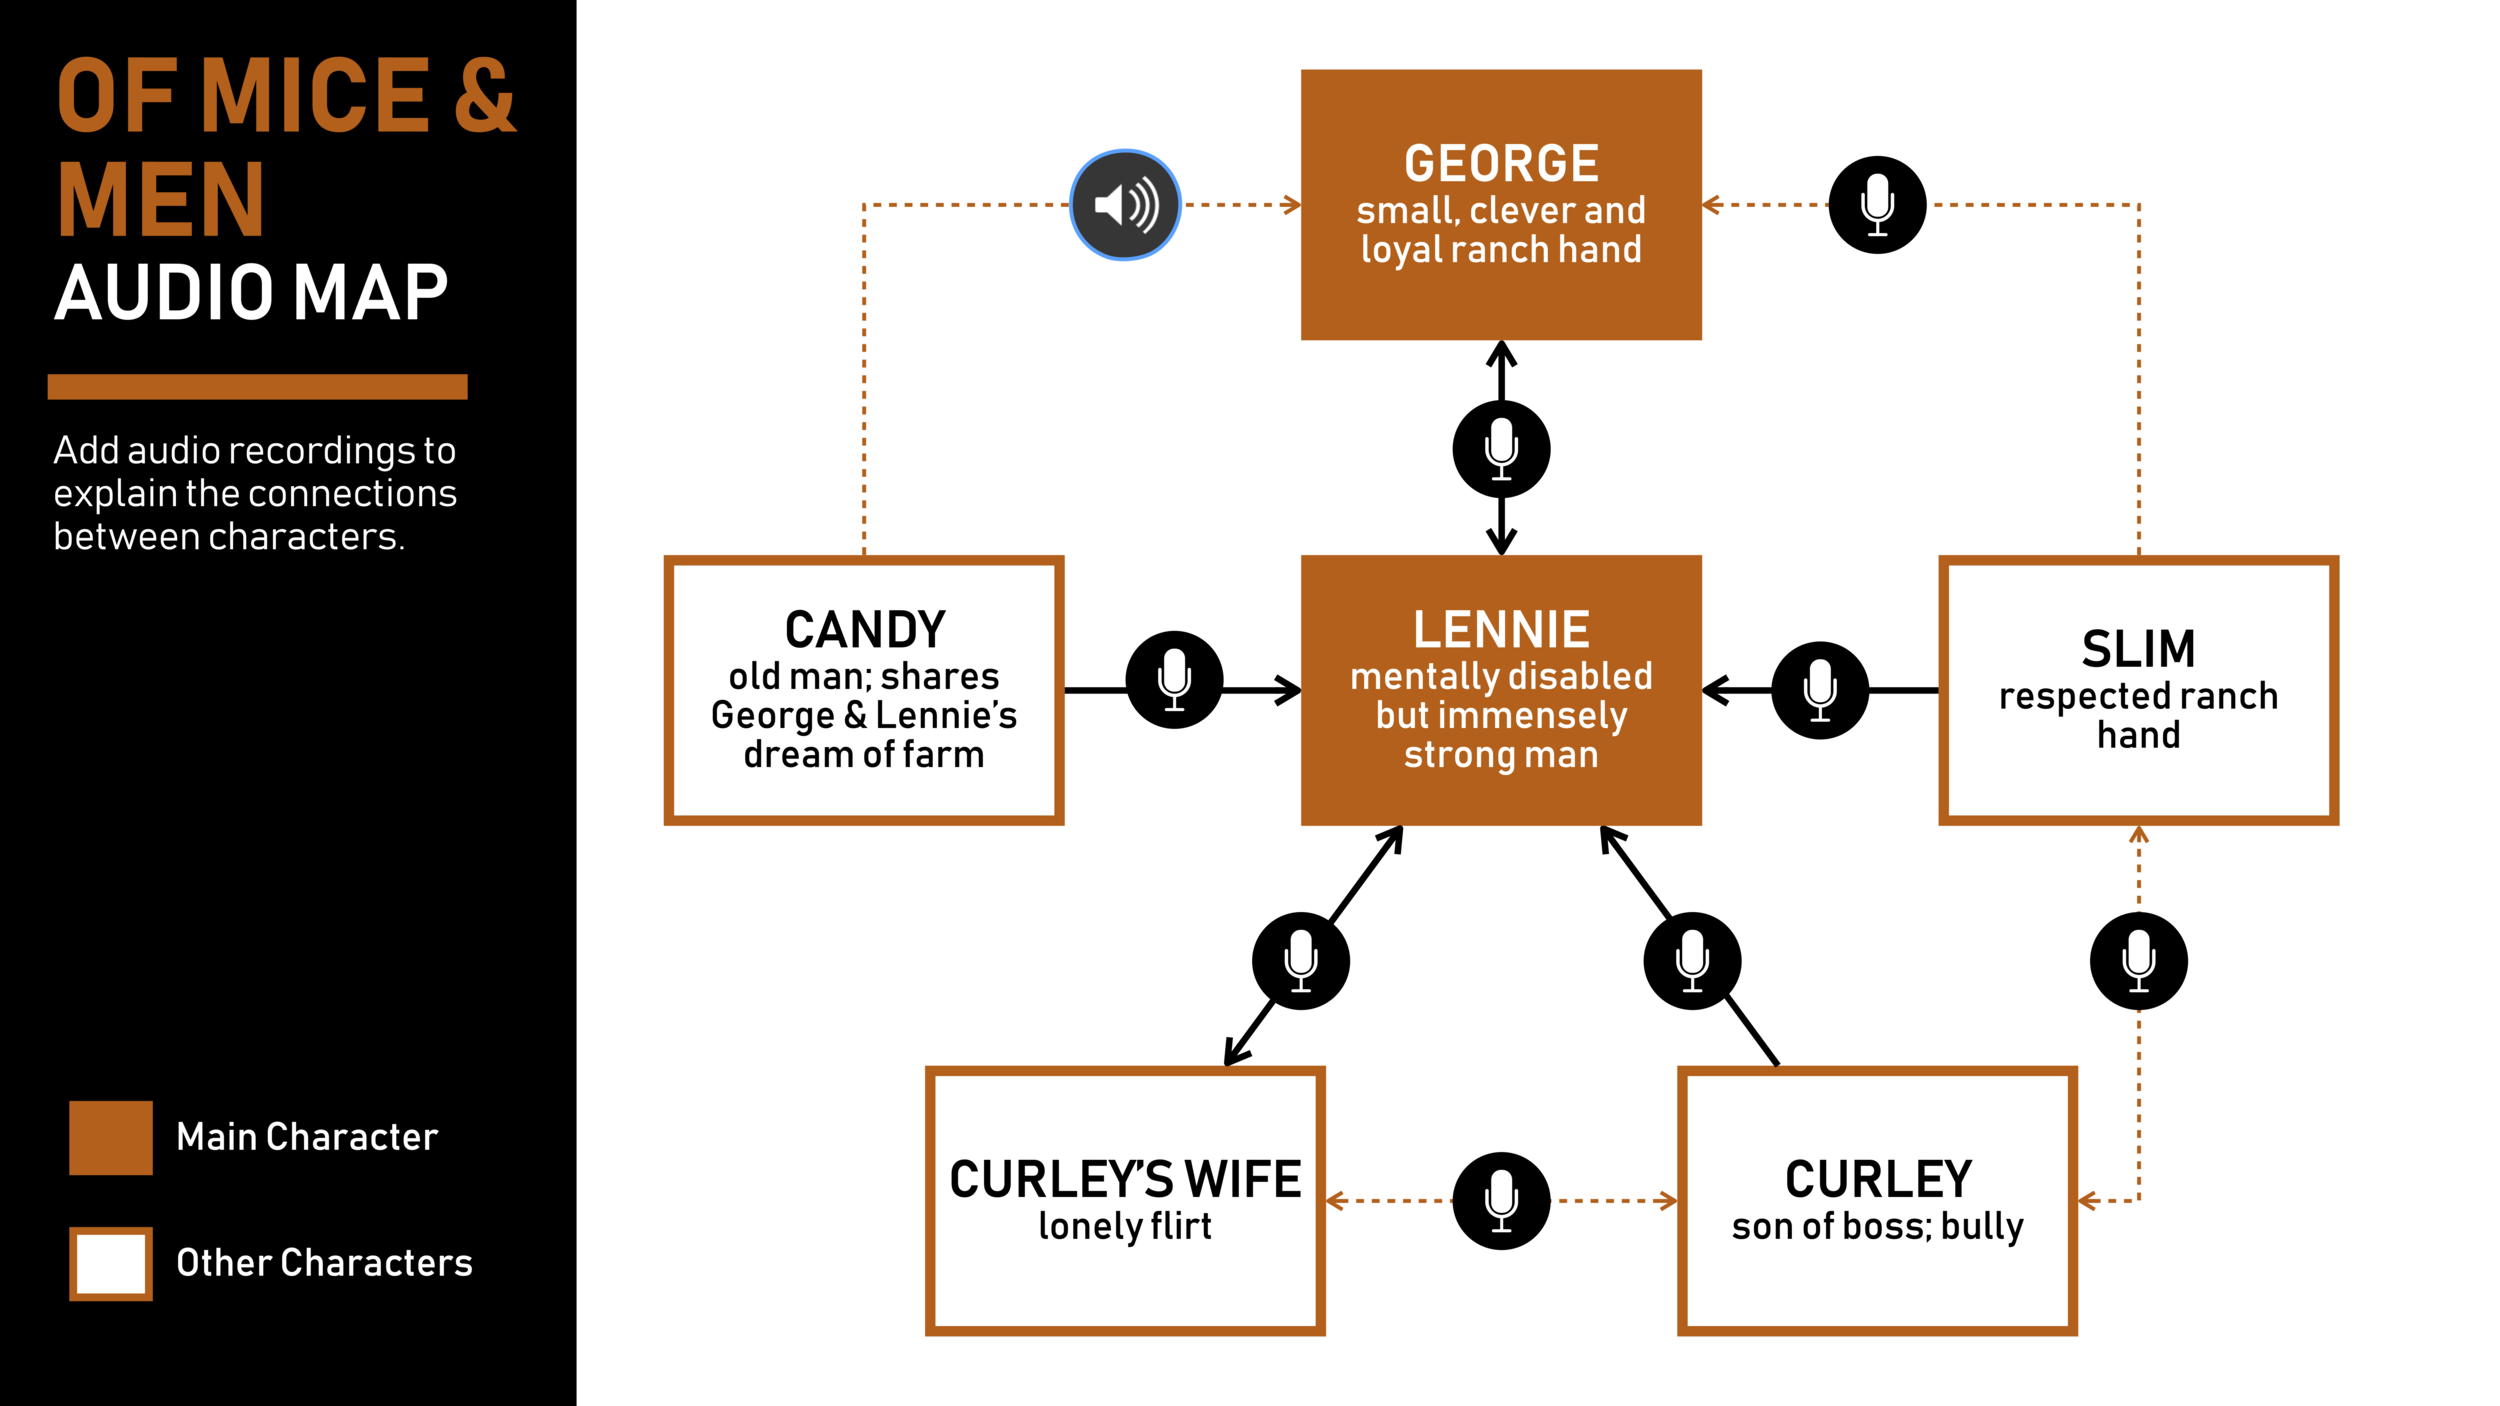
I designed the map using Apple’s Keynote software so that students could easily capture and insert short audio recordings within the app (Microsoft PowerPoint and the Mote application for Google Slides do a similar job). Adapting the conventional concept map approach, I replaced connecting verbs with big questions such as, ‘How does Boxer’s relationship with Napoleon change [throughout the text]?’. To establish my expectations, I recorded a short example to model the type of vocabulary and form of expression required for success.
This multi-modal graphic organiser worked well as a retrieval exercise, as students used their devices to narrate their understanding from memory without any supporting notes or teacher input. Afterwards, students listened to and checked their responses against their knowledge organisers and workbooks to identify crucial gaps in understanding. Any misconceptions were addressed and re-recorded onto the map.
Digital audio recordings allowed students to provide more elaborative responses and gave me a deeper insight into their understanding. Keeping the focus on pedagogy is a key message when I coach teachers as technology can sometimes be gimmicky if not utilised in a meaningful way. As a result, I created several more audio maps for other key texts in the curriculum.


How has educational research influenced your use of graphic organisers?
Understanding Cognitive Load Theory has allowed me to take into account the cognitive architecture of human memory. I challenged myself to reduce extraneous load and increase intrinsic load within all my learning materials. My graphic organisers chunk and arrange information into containers and paths that show clear relationships. I decrease the volume of words, simplify visual representations and streamline my colour palettes to achieve visual clarity and create powerful learning experiences for students.
Affinity Designer (iPad)
Whilst I use Keynote to create my resources, I realised Affinity Designer on the iPad was a useful app for high-quality illustration. Check out my first attempts!


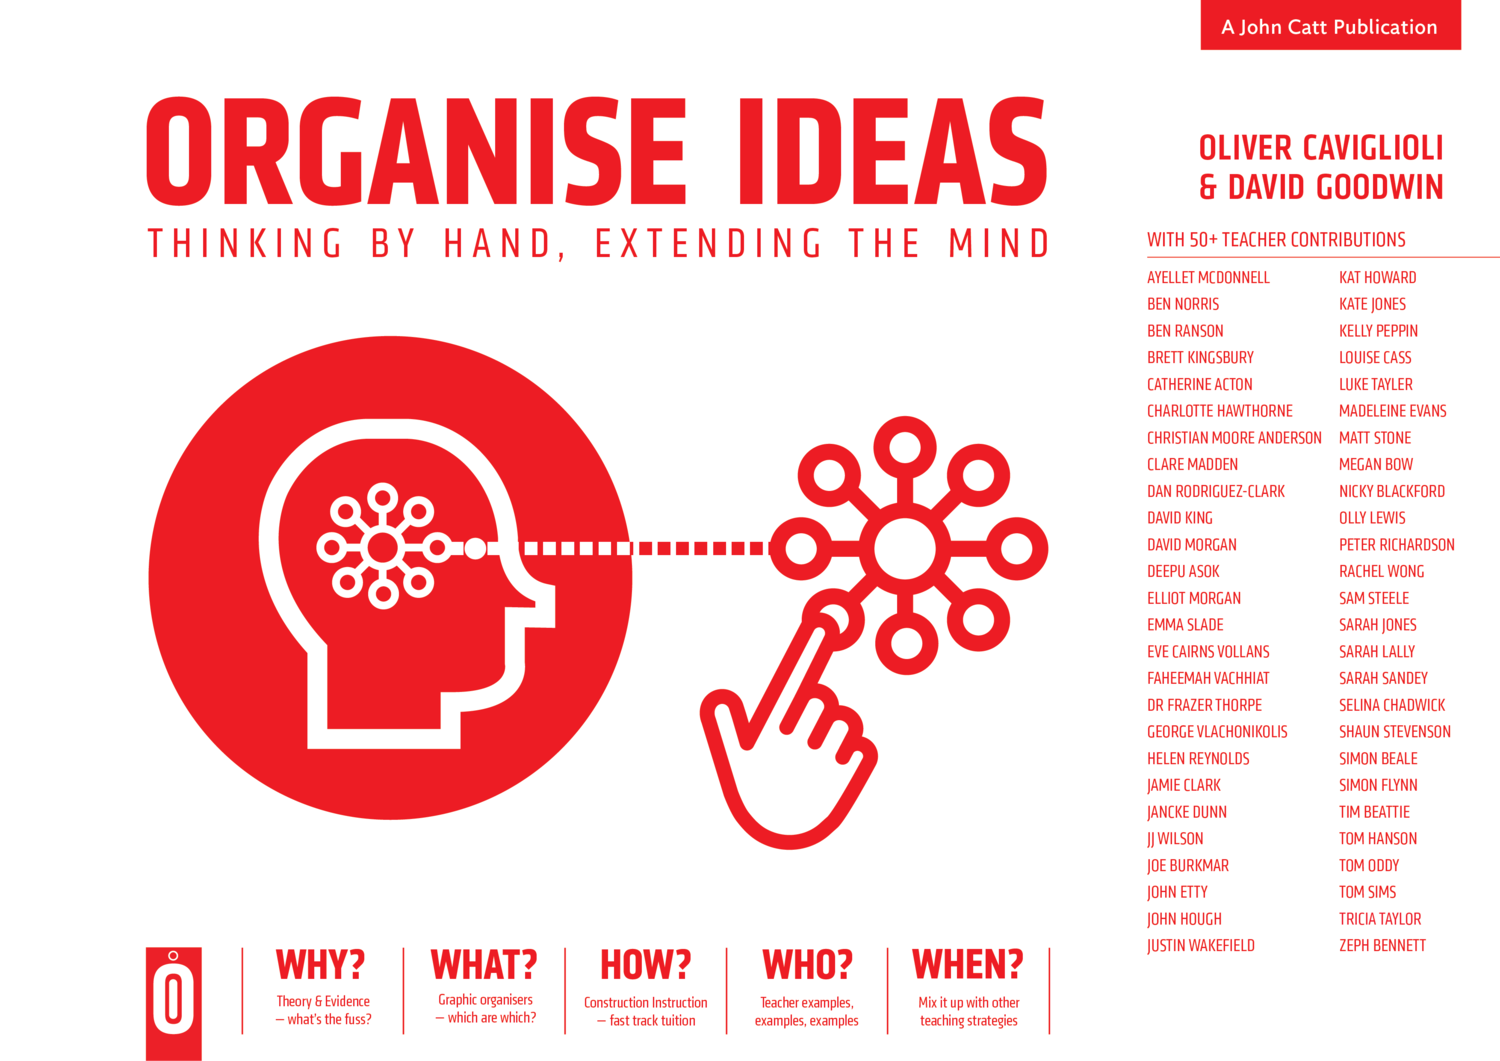
Organise Ideas: Thinking by Hand, Extending the Mind
Recently, I have had the honour of contributing to Oliver Caviglioli and David Goodwin’s book ‘Graphic Organisers: Thinking by Hand, Extending the Mind’. The experience opened my eyes to ways in which graphic organisers — or more specifically, word-diagrams — can help students capture transient information and support learning. This book has inspired my recent work on audio maps - you can purchase Oliver and David’s book on Amazon now. I highly recommend it!
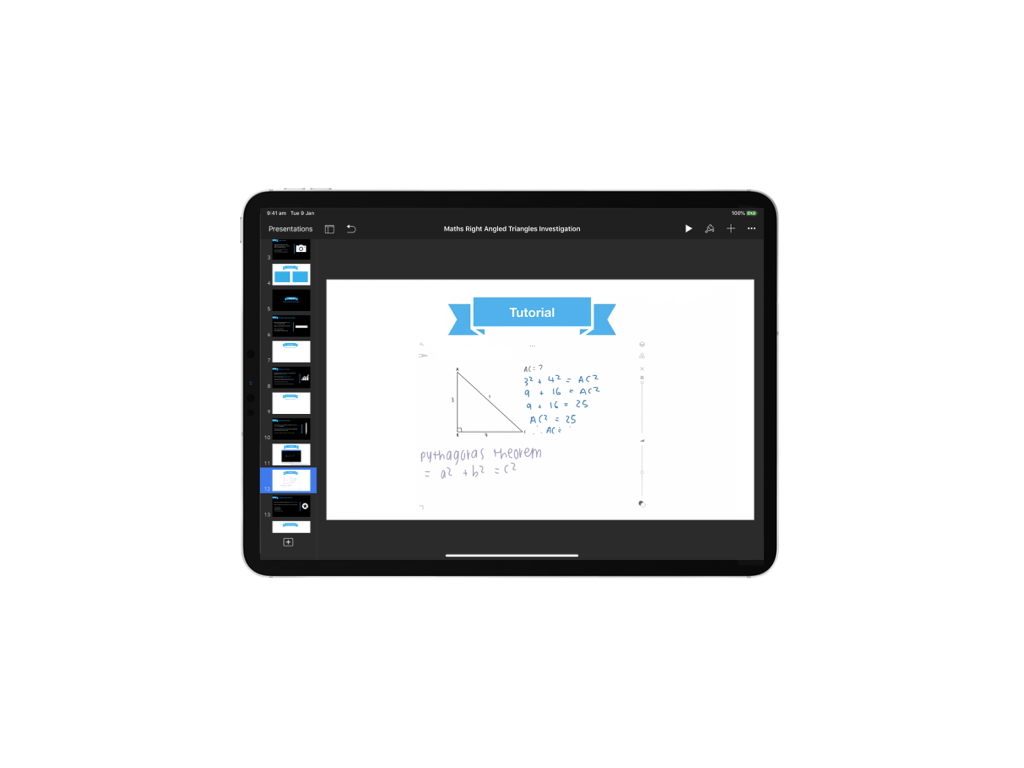
Teaching with Keynote: #3 Scaffold Screen-recorded Tutorials
Students can combine Keynote slides and screen recordings to create tutorial videos. To do this, provide a simple structure for students to follow by making a clear scaffold in Keynote. Screen-recordings are a simple and effective way for teachers to see and hear what students know about a topic. Provide blank slides for students to drop in their recordings.
What is it?
Students can combine Keynote slides and screen recordings to create tutorial videos. To do this, provide a simple structure for students to follow by making a clear scaffold in Keynote. Screen-recordings are a simple and effective way for teachers to see and hear what students know about a topic. Provide blank slides for students to drop in their recordings. Check out the example below!
Press play on the video below to watch the student example from Year 9 Mathematics!
Why is it effective?
Screen-recordings are particularly powerful as they capture a student’s thought process. What’s more, students are forced to plan and narrow-down their ideas into concise and meaningful explanations. Once again, this creative Keynote strategy provides an effective structure for students to follow and allows them to demonstrate learning orally, through written annotations and effective visuals.

How can I do it with my class?
Watch my step-by-step tutorial on how to insert screen-recordings and create effective scaffolds in Keynote. For more on Keynote and its wonderful capabilities in the classroom, check out my ‘Teaching with Keynote’ playlist.

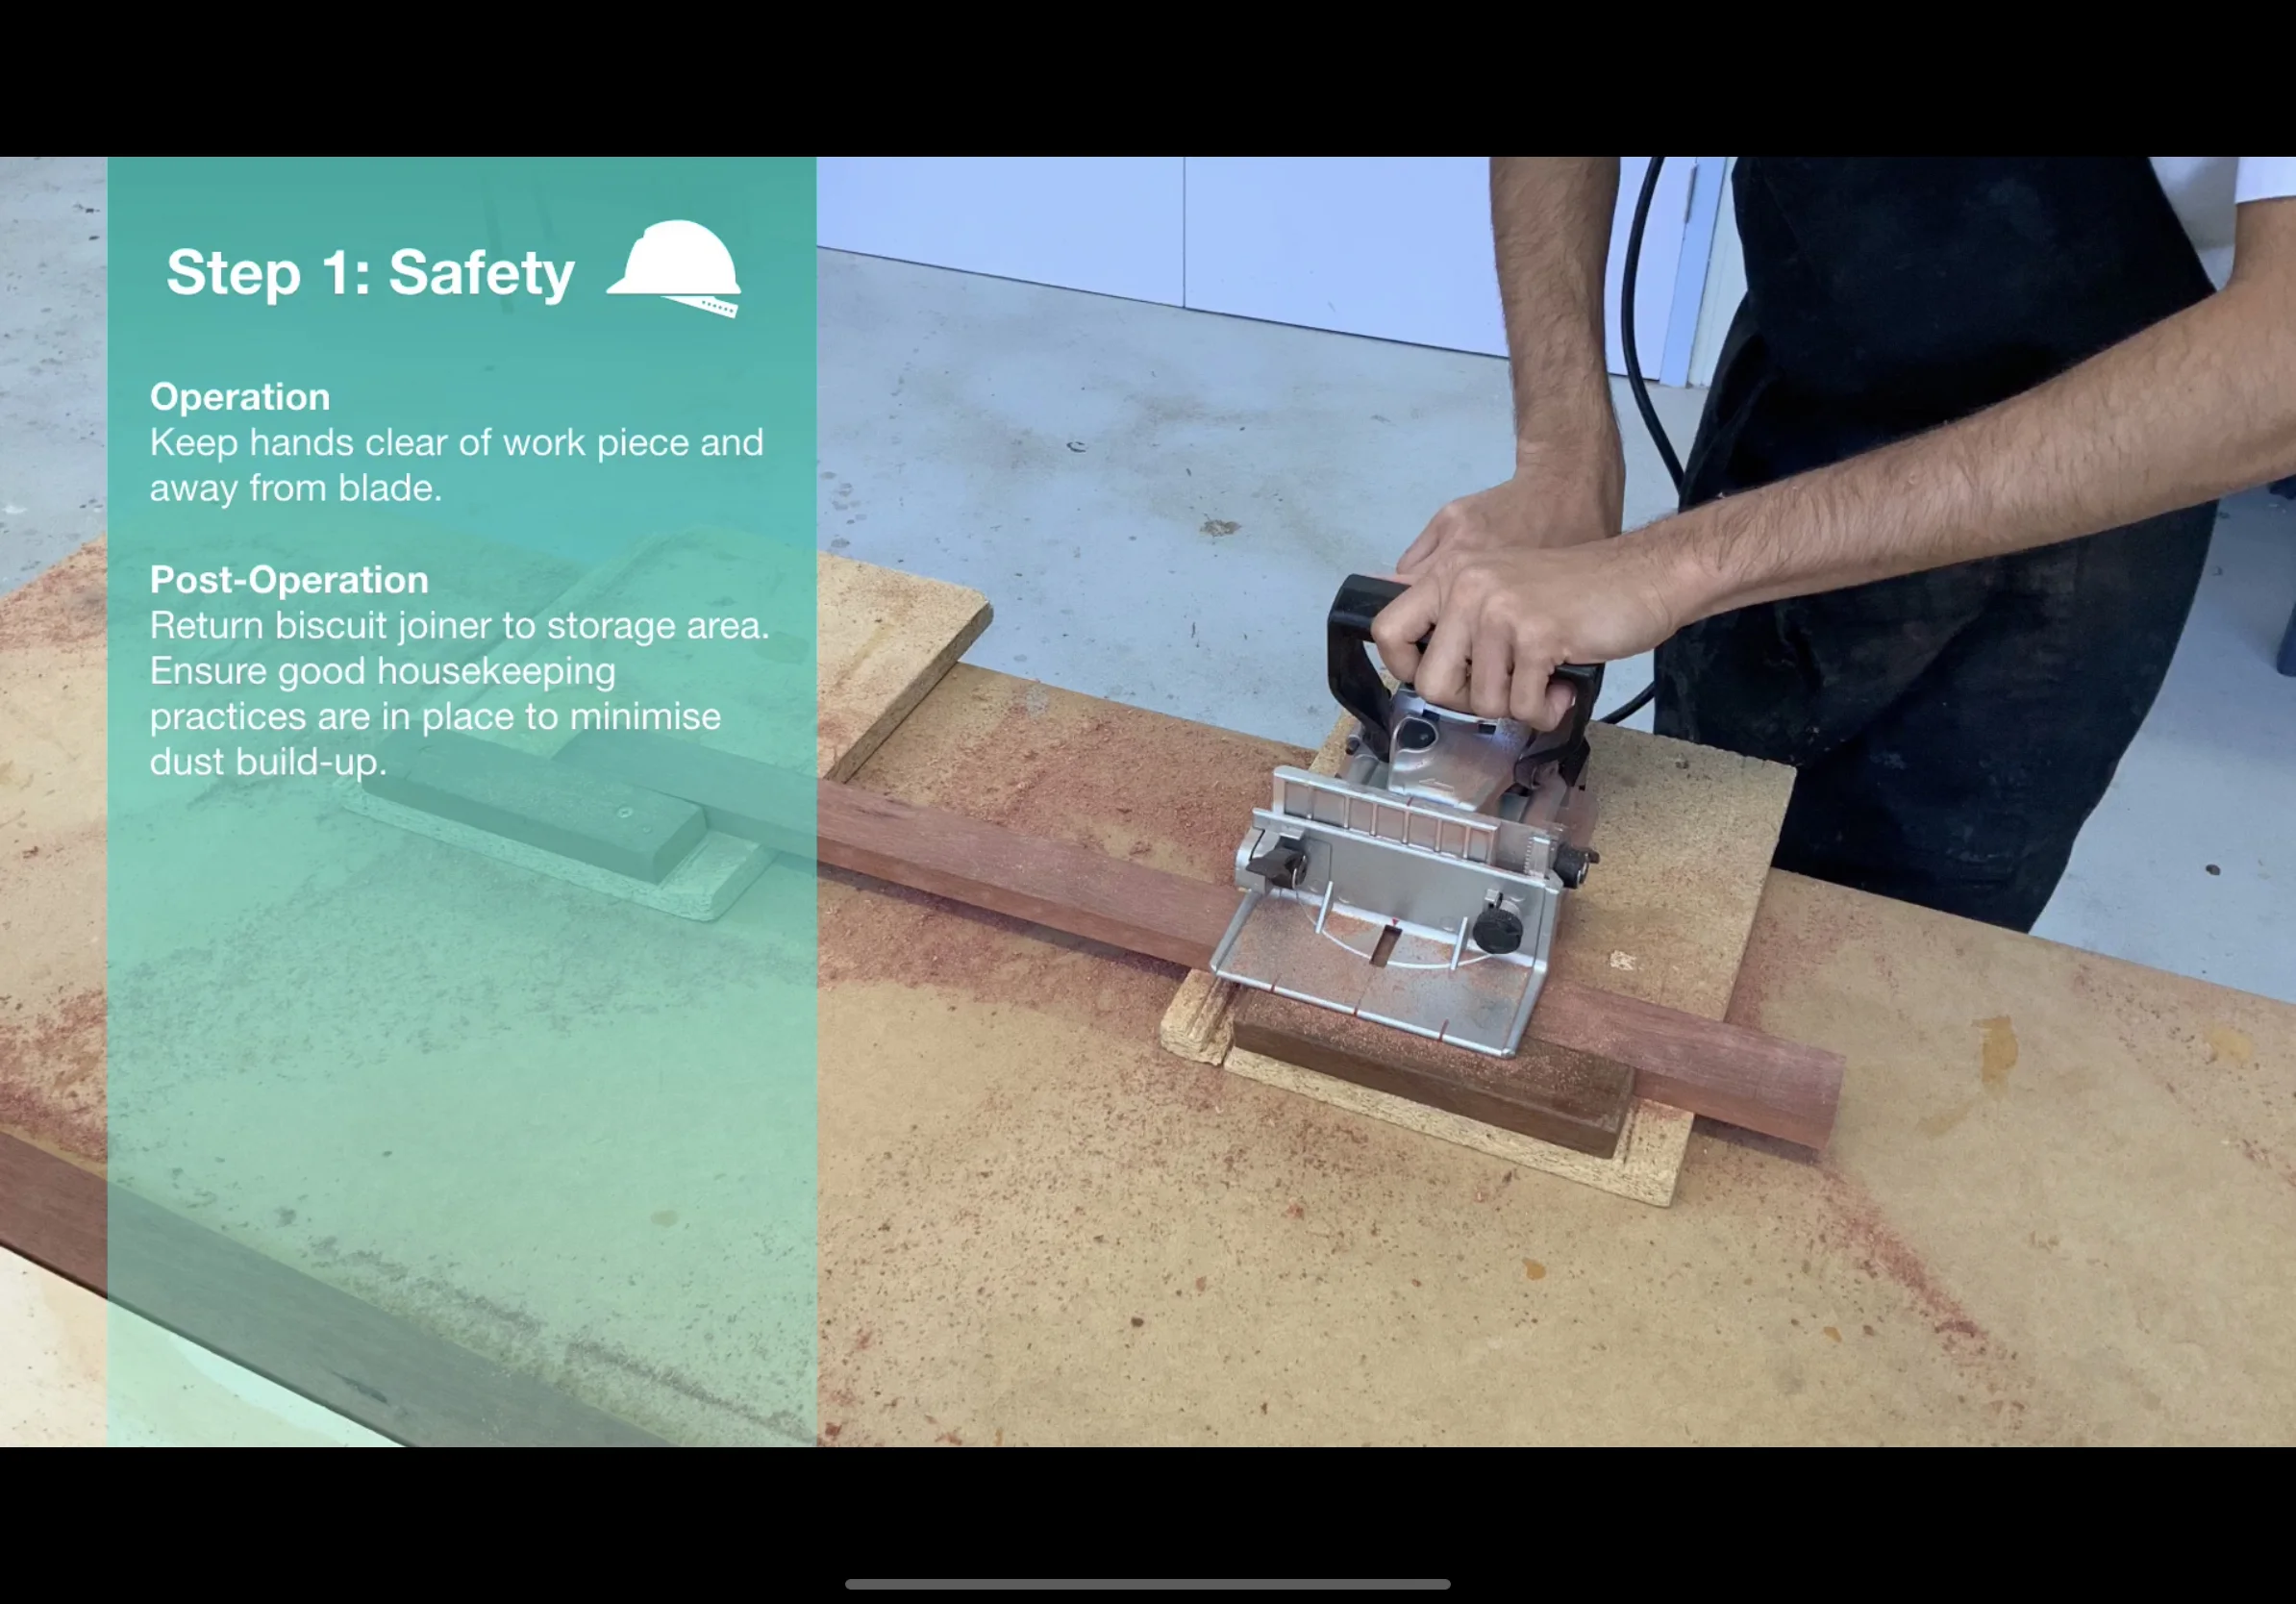
Teaching with Keynote: #2 Document a Process
Students can use Keynote to document a process with photographs. For example, students could show the process of photosynthesis, the process of building a bed-side table or the process of throwing a cricket ball. An image (or short video) on each slide supported with audio narration and text help children consolidate their understanding.
What is it?
Students can use Keynote to document and explain steps or processes. By using a combination of photos, video and text, they can create glossy slideshows - or even export their slides as movies - that help them demonstrate and articulate understanding. For example, students could show the process of photosynthesis, the process of building a bed-side table or the process of throwing a cricket ball.
Press play and watch the example below from a Year 12 Woodwork lesson at Corpus Christi College.
Why is it effective?
By capturing each part of a process, students can deconstruct a concept and see how it is made up. Adding audio narration and text to each slide also helps consolidate students’ understanding of each stage. Full screen images work best along with minimal text so that students express their understanding in a concise and effective way. Exporting the slideshow as a movie is also a great way of saving and/or submitting their presentation! Have a go with your class!
How can I do it with my class?
Watch my step-by-step tutorial on the ‘Document a Process’ strategy below.
I hope this strategy works for you and your students.
Thanks!

Teaching with Keynote: #1 Annotate & Animate
Students can use Keynote to animate their hand-written notes on top of an image and then add audio to explain their understanding. As we know from cognitive science, a combination of visual and verbal information allows students to retain information more effectively. Here’s a screen-shot example from a Science class.
What is it?
Students can use Keynote to animate their hand-written notes on top of an image and then add audio to explain their understanding. As we know from cognitive science, a combination of visual and verbal information allows students to retain information more effectively. Here’s a screen-shot example from a Science class.

Why is it effective?
This simple technique allows us to see if students understand how things work. By labelling and annotating real-life things, we can see how students visualise information they have learnt. Adding audio is a bonus - a clear articulation of their understanding allows teachers to hear if students are on track.
How can I do it with my class?
Watch my step-by-step tutorial on the ‘Annotate & Animate’ strategy below.

I don’t know anything about Keynote, can you help?
Yes – take a look at my tutorial video below on ‘The Basics’ of using Keynote in class.
